
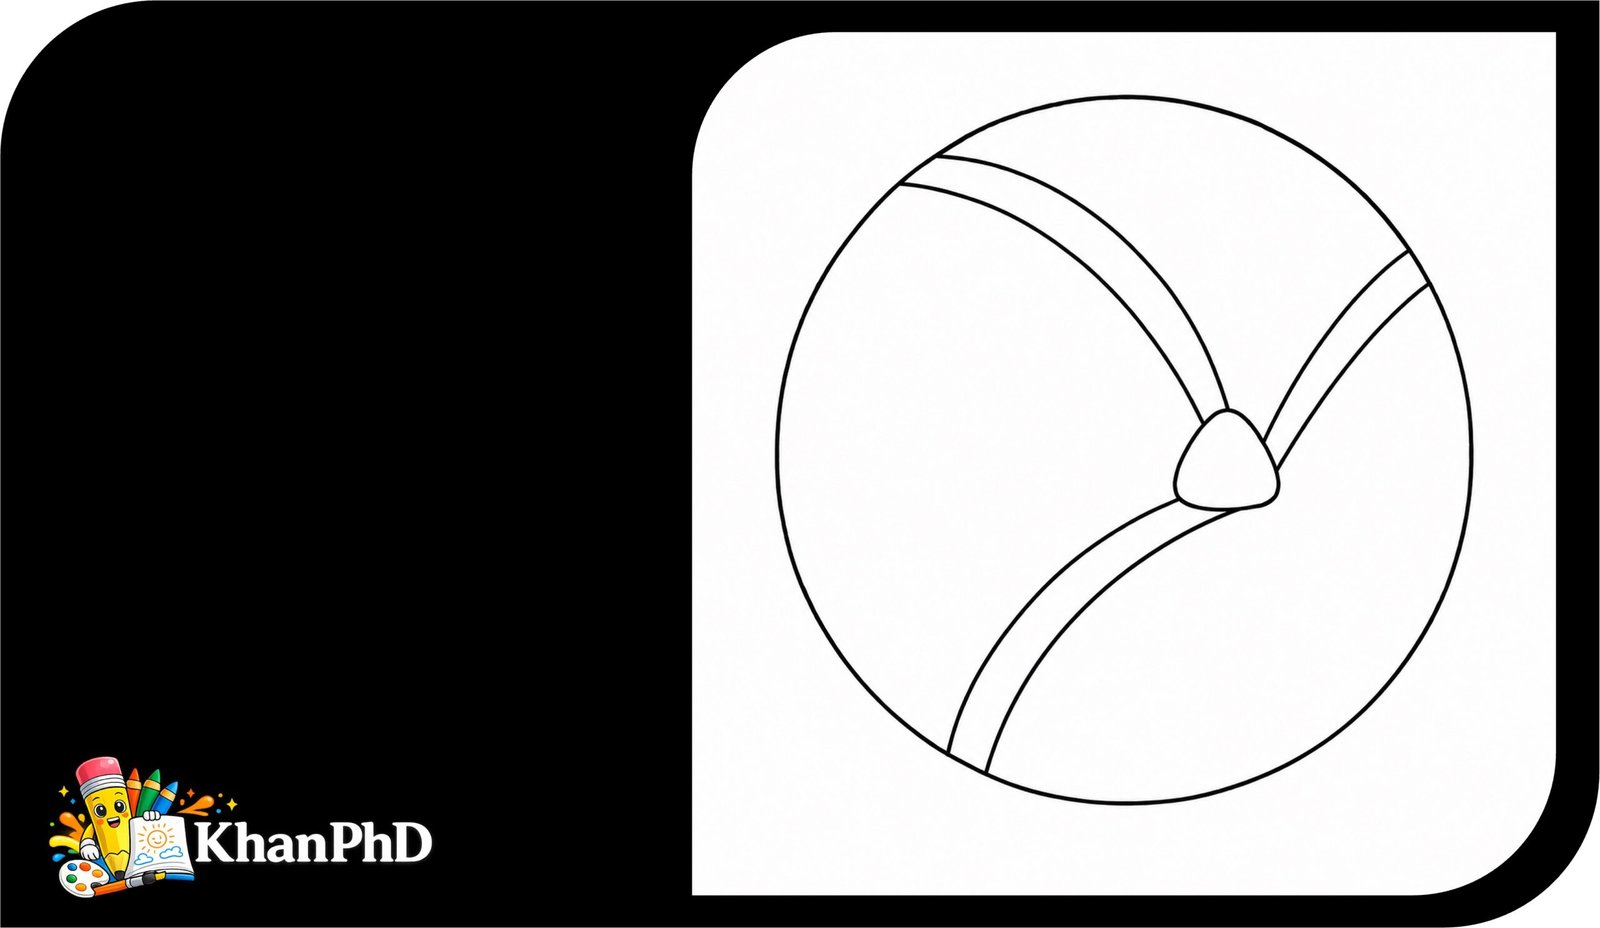
Easy Volleyball Drawing: A Fun 8-Step Tutorial for Beginners
Drawing a volleyball may look tricky at first because of the curved panel lines, but you can absolutely do it. In this lesson, we will slow everything down and build the picture one small shape at a time. You do not need steady hands, special tools, or any drawing experience. Light pencil lines and a little patience are enough.
We will begin with one large circle. Then we will add a tiny curved triangle near the middle and use simple curved lines to divide the ball into its familiar sections. Each new step keeps everything from the step before it, so you will always know where the next line belongs. There is no need to make your circle or curves perfect. Real drawings have small differences, and those little differences make your work feel personal.
By the end, you will have a clean, easy-to-recognize volleyball drawing that looks round and ready for a game. You can leave it as simple black-and-white line art, add a soft shadow underneath, or color the panels in your favorite team colors. This is a fun project for school, sports posters, notebooks, or a quiet drawing break at home.
Take your time, draw lightly, and remember that you can erase and try again whenever you need to. Let’s gather a few simple materials and begin.
MATERIALS NEEDED
- A sheet of plain drawing paper
- A pencil
- An eraser
- A round object to trace, if helpful
- An optional black pen or fine-tip marker
- Optional colored pencils, crayons, or markers
EASY VOLLEYBALL DRAWING STEP-BY-STEP GUIDE
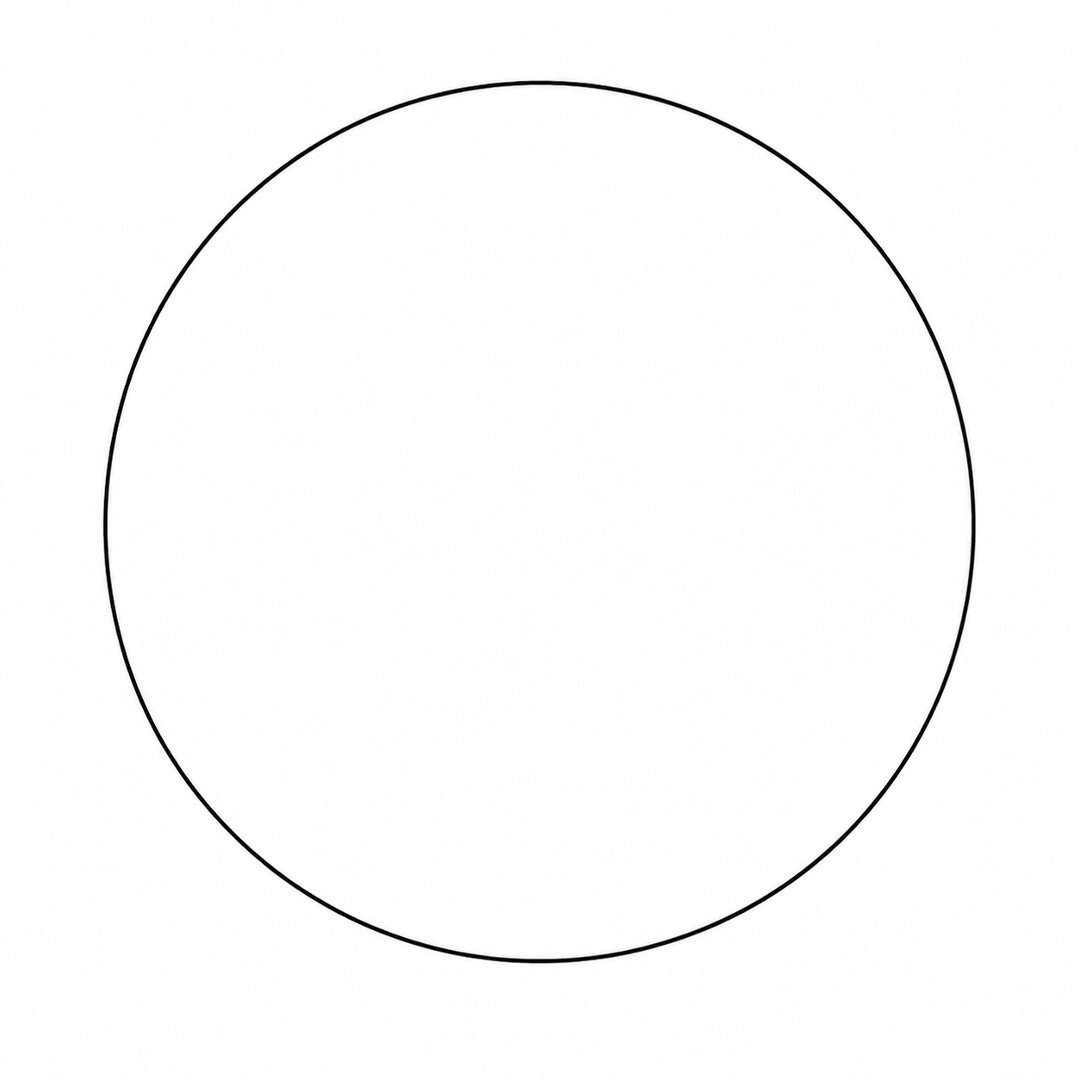
Step 1: Draw the Outer Circle
Instructions: Draw one large circle in the center of your paper. Make it about the size of a small orange, leaving open space around every side. Draw lightly so you can fix the shape easily.
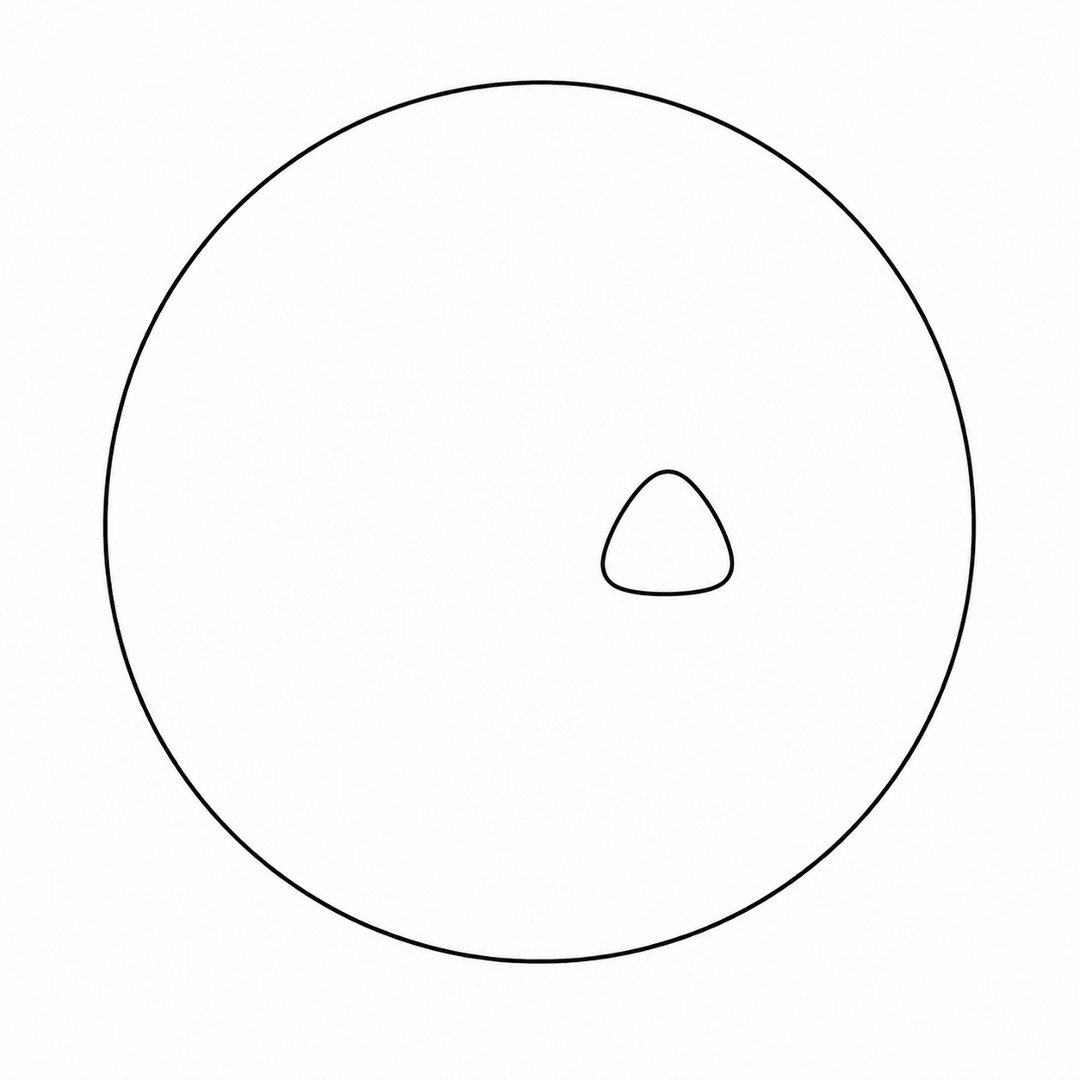
Step 2: Add a Small Curved Triangle
Instructions: Find the area slightly to the right of the circle’s center. Draw a small triangle using three gently curved lines instead of straight sides. Make it about the size of your thumbnail.
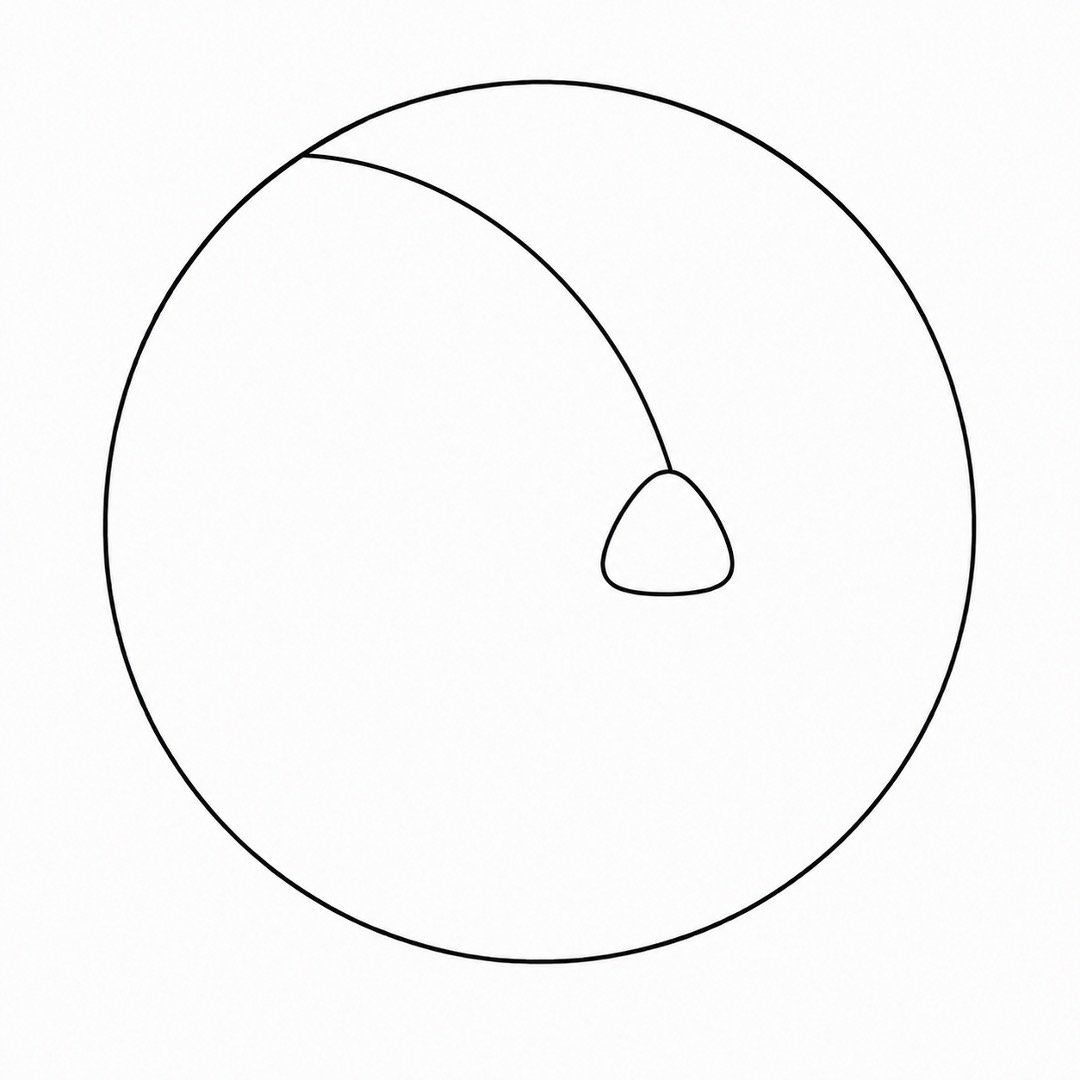
Step 3: Draw the First Long Seam
Instructions: Start at the top corner of the small curved triangle. Draw a long curve that bends gently up and left. End the curve when it touches the upper-left edge of the large circle.
Step 4: Draw the Second Long Seam
Instructions: Begin at the right corner of the small triangle. Draw another long curve toward the right side of the ball. Let the line bend slightly upward before it touches the circle.
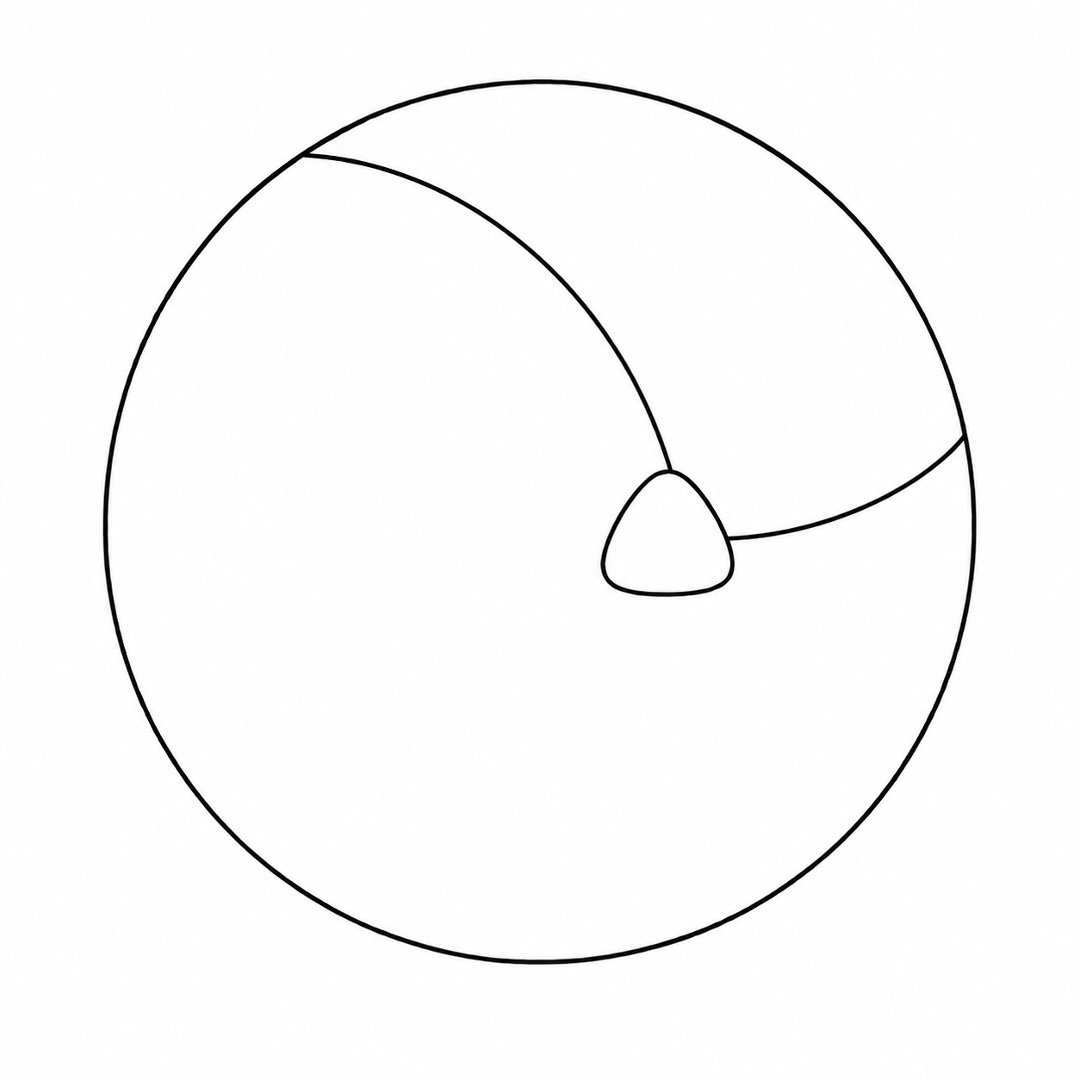
Step 5: Draw the Third Long Seam
Instructions: Start at the lower-left corner of the small triangle. Draw a long curve down and left. Finish the line at the lower-left edge of the circle.
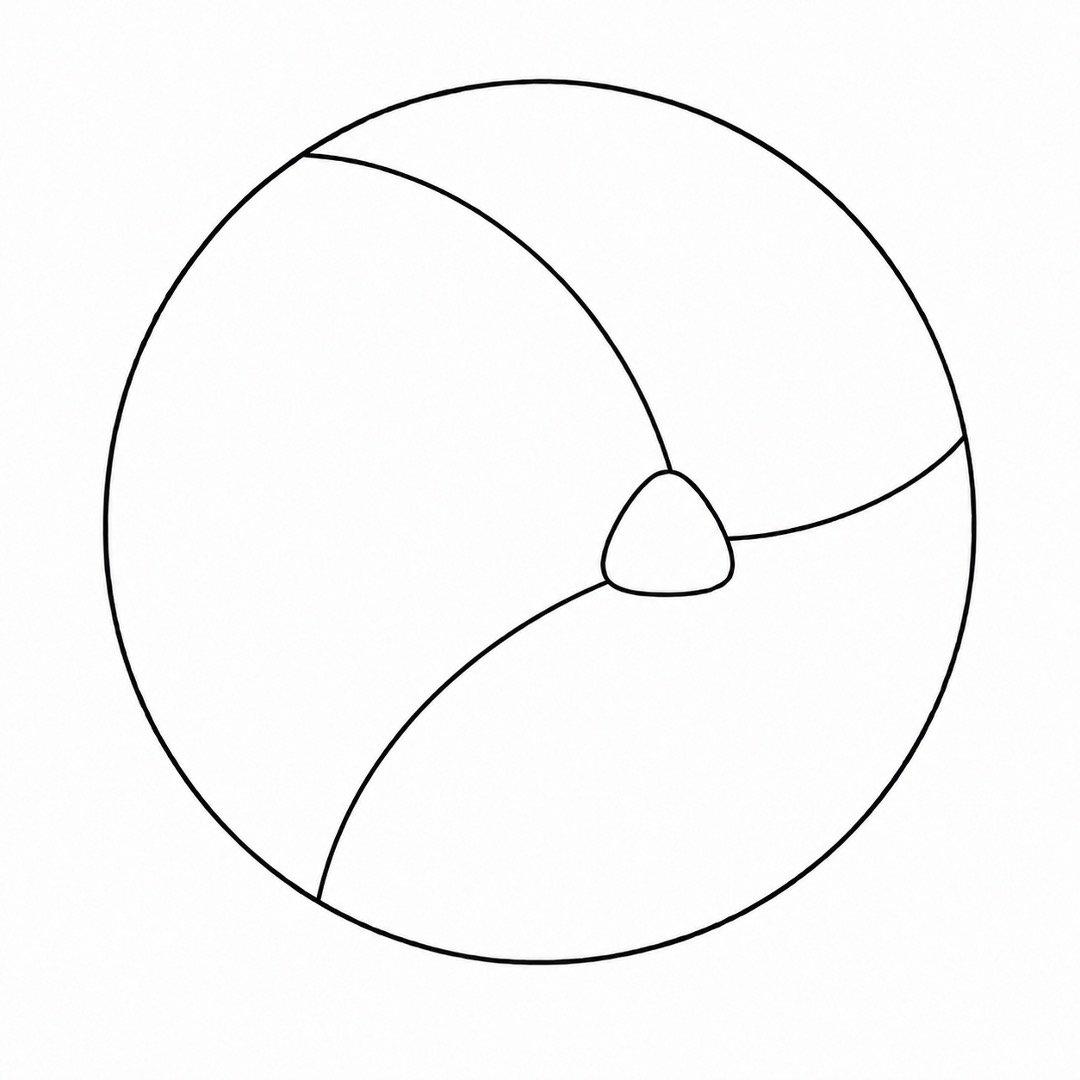
Step 6: Create the Upper-Left Panel
Instructions: Return to the first seam you drew. Add another curve beside it, leaving a small, even gap between the two lines. Start near the triangle and finish at the left edge of the circle.
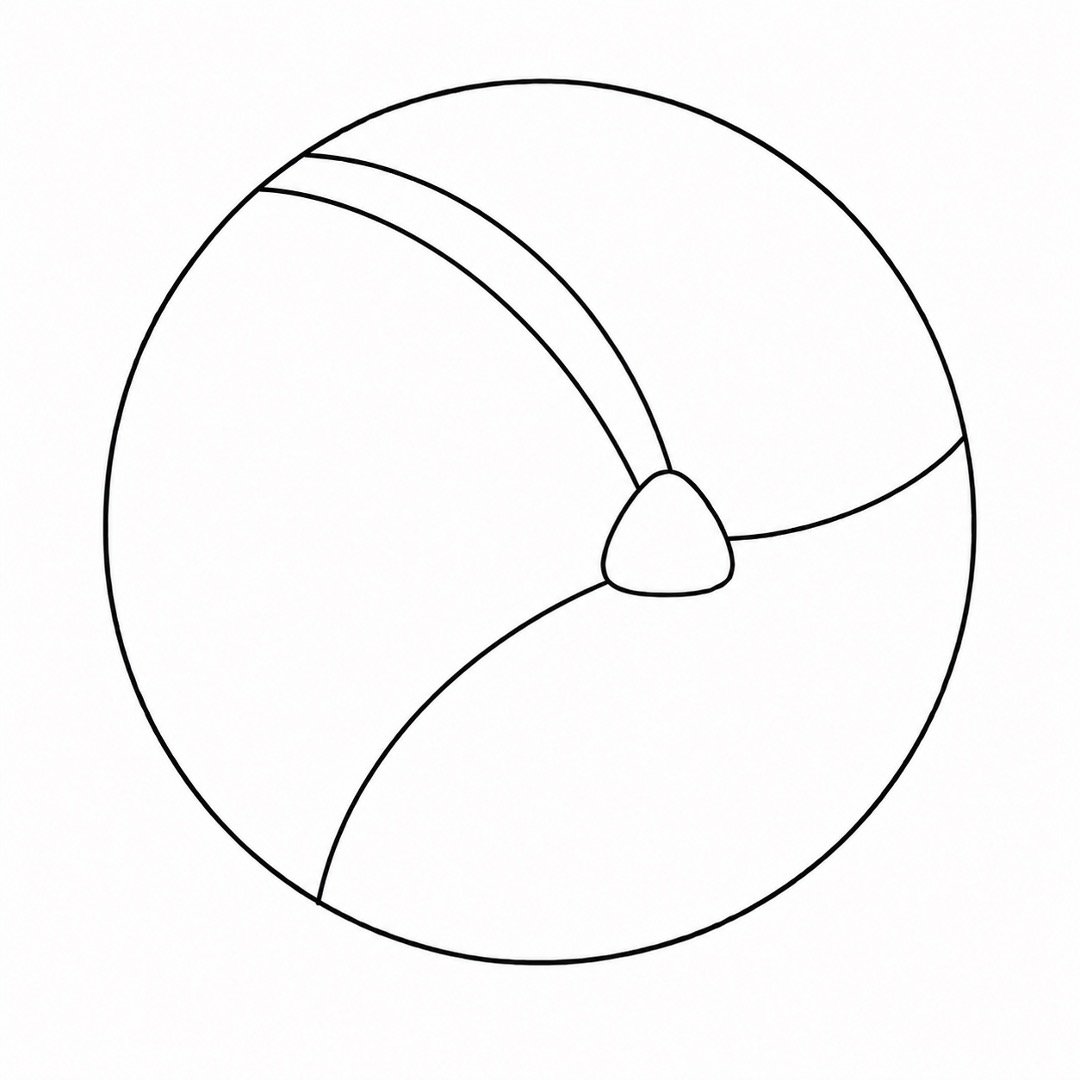
Step 7: Create the Upper-Right Panel
Instructions: Add a second curve beside the seam on the right. Keep the space between the lines about the same width as the previous panel. Let the new curve end near the upper-right edge of the circle.
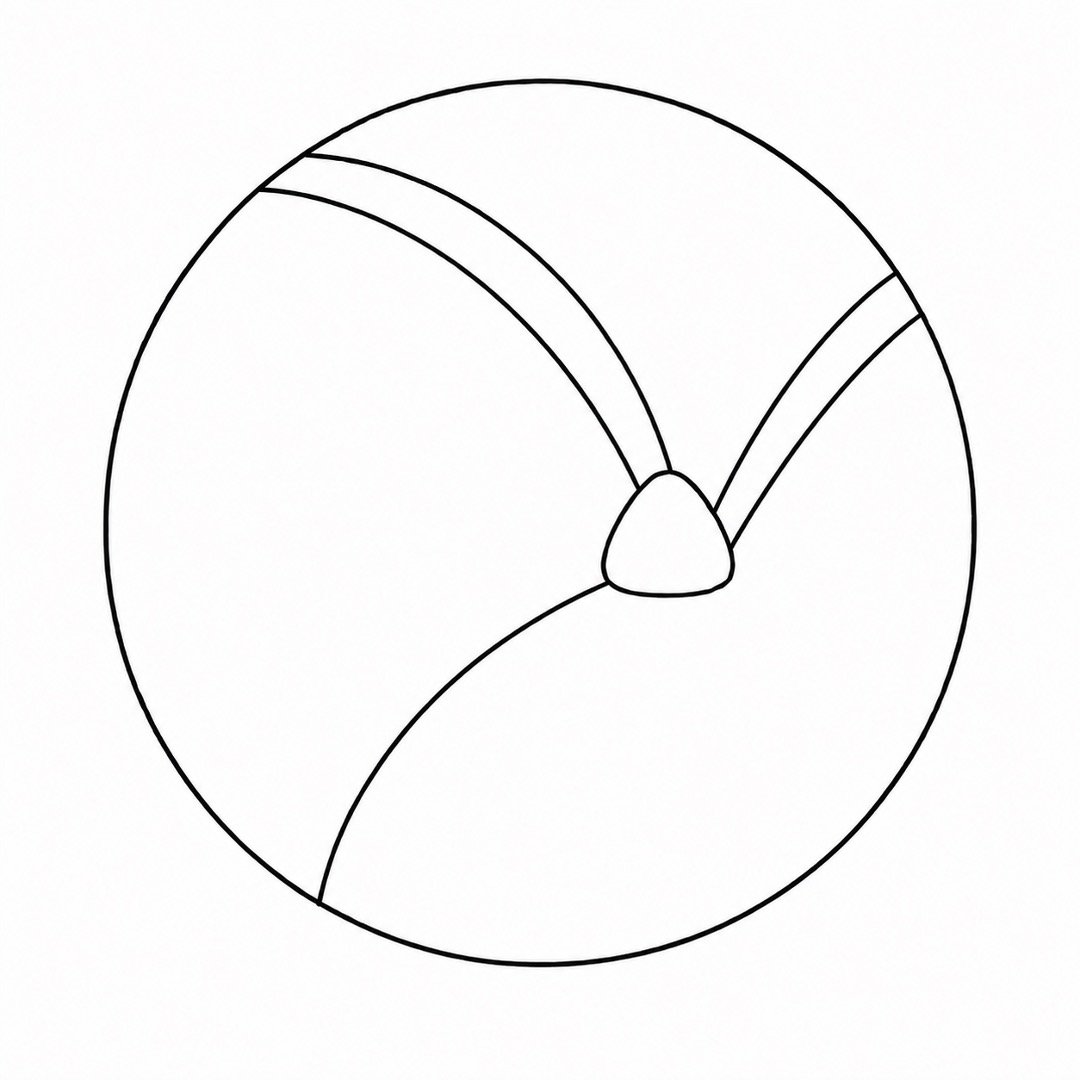
Step 8: Finish the Lower Panel
Instructions: Add one final curve beside the seam that travels down and left. End it near the bottom edge of the circle. Erase any unwanted marks, then trace the finished lines with a darker pencil or black pen.
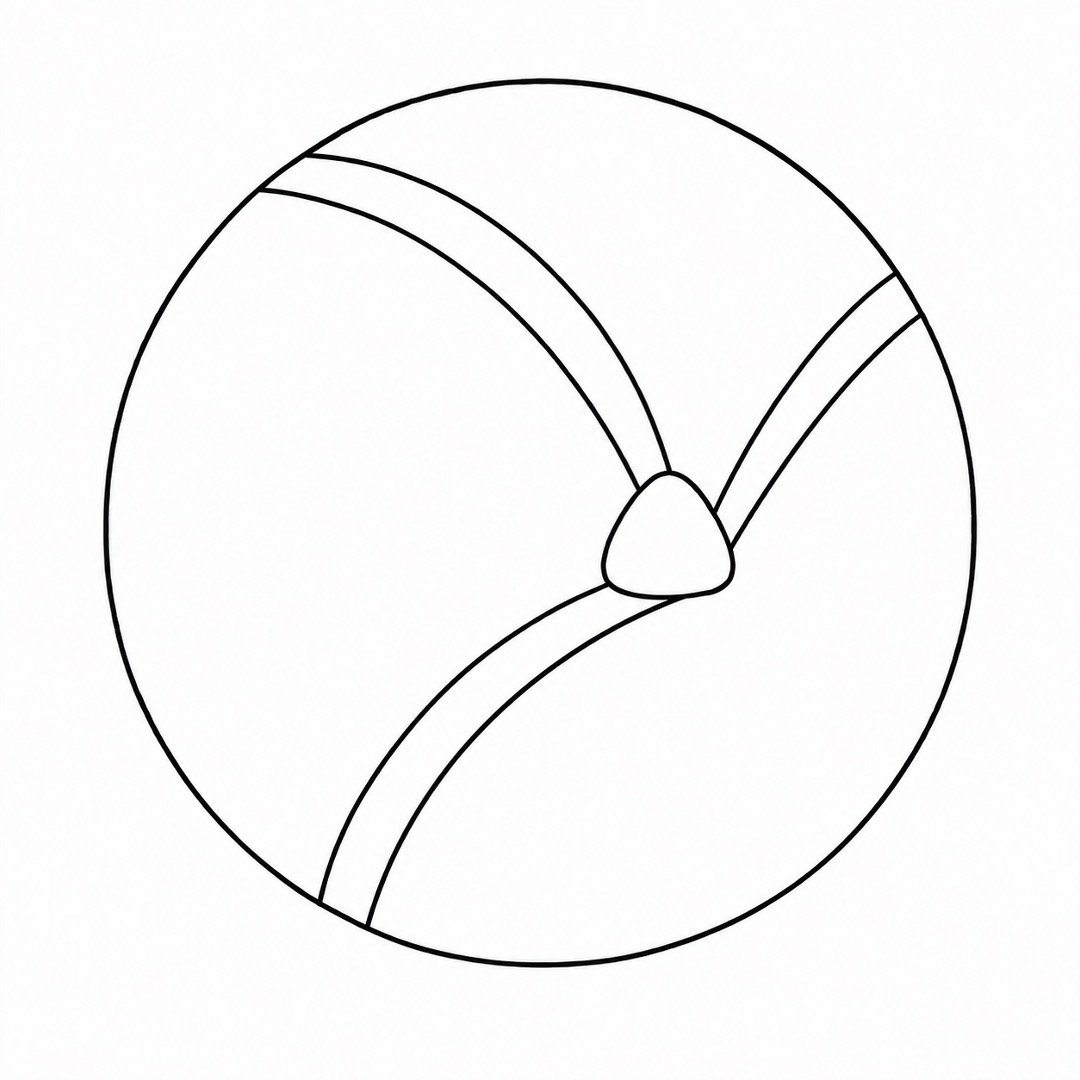
FINAL RESULT
Your completed drawing should look like a round volleyball divided into several smooth, curved panels. The small curved triangle near the center helps the lines appear to twist around the ball, giving it a more rounded look.
You can keep the drawing as simple black-and-white line art or add a few extra details. Draw a light oval underneath the ball to create a soft ground shadow. Shade one side very gently to make the volleyball look more solid and three-dimensional.
For a colorful version, fill the panels with two or three colors. You could use classic white, blue, and yellow or choose colors from your favorite team. Keep the panel lines dark so the design remains easy to see.
Great job completing your easy volleyball drawing! Every curve you practiced has helped you become more comfortable with drawing simple shapes. Share your finished picture, leave a comment with your questions, or try another beginner sports drawing tutorial next.


About author










Add comment