
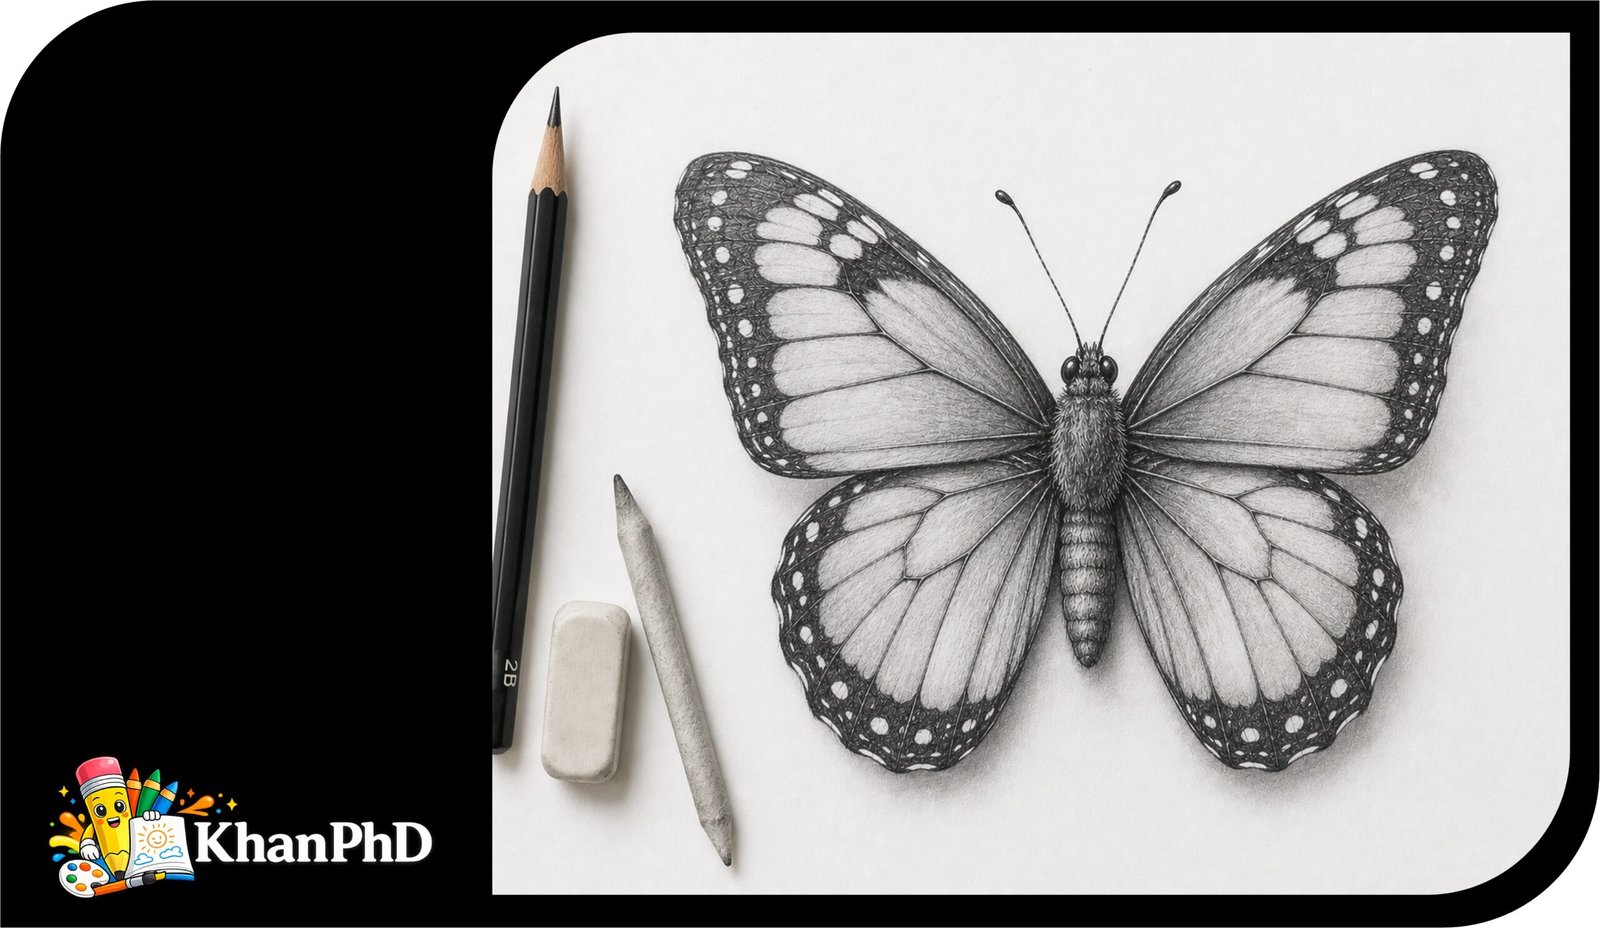
Realistic Butterfly Drawing for Beginners
A realistic butterfly drawing is especially satisfying because a few simple pencil marks can grow into delicate wings, patterned surfaces, and a body that seems ready to lift from the page. Butterflies may look complicated, but they are built from clear, repeatable shapes. You do not need natural talent, previous lessons, or even experience holding a pencil for drawing. This tutorial starts at the very beginning and explains exactly what to place on the paper.
You will use a simple six-step method: rough shapes → refined outline → butterfly details → basic shading → wing texture → final polish.
Materials:
- One standard graphite pencil, or an HB pencil for sketching. Graphite is the gray drawing material inside an ordinary pencil.
- An optional 2B or 4B pencil for darker areas. These pencils are softer and make darker marks than an HB pencil.
- A clean standard eraser. A kneaded eraser—a soft, moldable eraser—is helpful but not required.
- Smooth or lightly textured drawing paper.
- A blending stump, cotton swab, or folded tissue for gently smoothing pencil marks.
- A clear, top-down butterfly reference photo.
Plan on about 45-60 minutes for your first drawing. Taking longer is completely normal. Realistic drawing is not about racing or making every line perfect on the first try. It is about looking carefully, using light pressure, and improving the drawing one small decision at a time.
By the end, you will know how to measure the wings, build the body, place simple veins and markings, and shade the butterfly so it looks three-dimensional.
1. SIX-STEP REALISTIC BUTTERFLY DRAWING TUTORIAL
Step 1: Sketch the Basic Shapes
Goal: Create a light framework that establishes the butterfly’s size, position, and wing proportions.
Instructions:
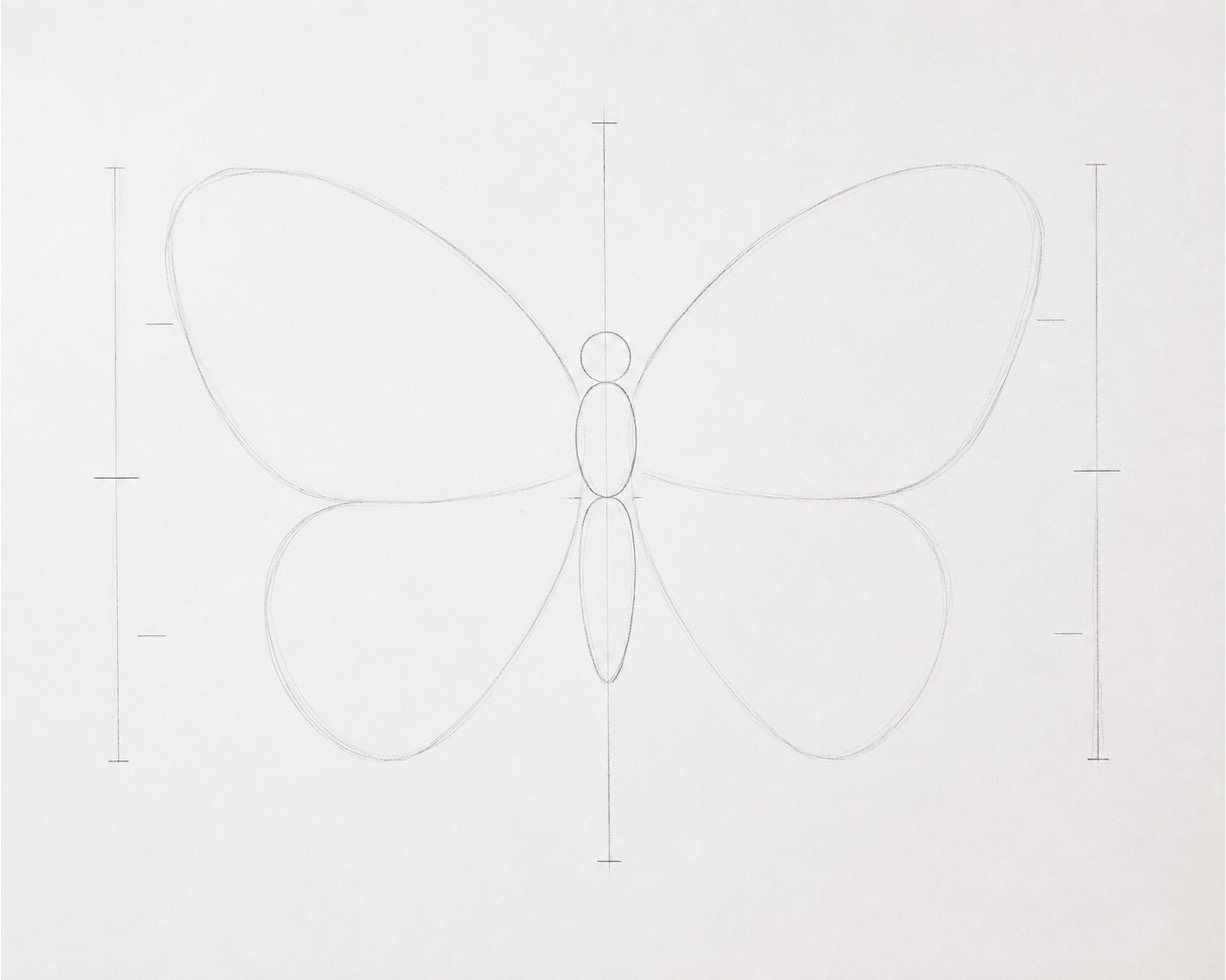
Place your paper horizontally and draw a faint vertical line where the center of the butterfly will be. Use an HB pencil with very light pressure, as though you are barely touching the paper. Add a small circle for the head, a short oval for the middle body, and a longer narrow oval for the abdomen. Sketch one large upper wing and one smaller lower wing on each side using simple rounded shapes. Compare the left and right sides, but do not worry about making them perfectly identical.
Beginner tip: A common mistake is pressing too hard during the first sketch. Keep these lines pale so you can erase or adjust them without damaging the paper.
Step 2: Refine the Wing Outline and Contour
Goal: Turn the rough construction shapes into a clean, believable butterfly silhouette.
Instructions:
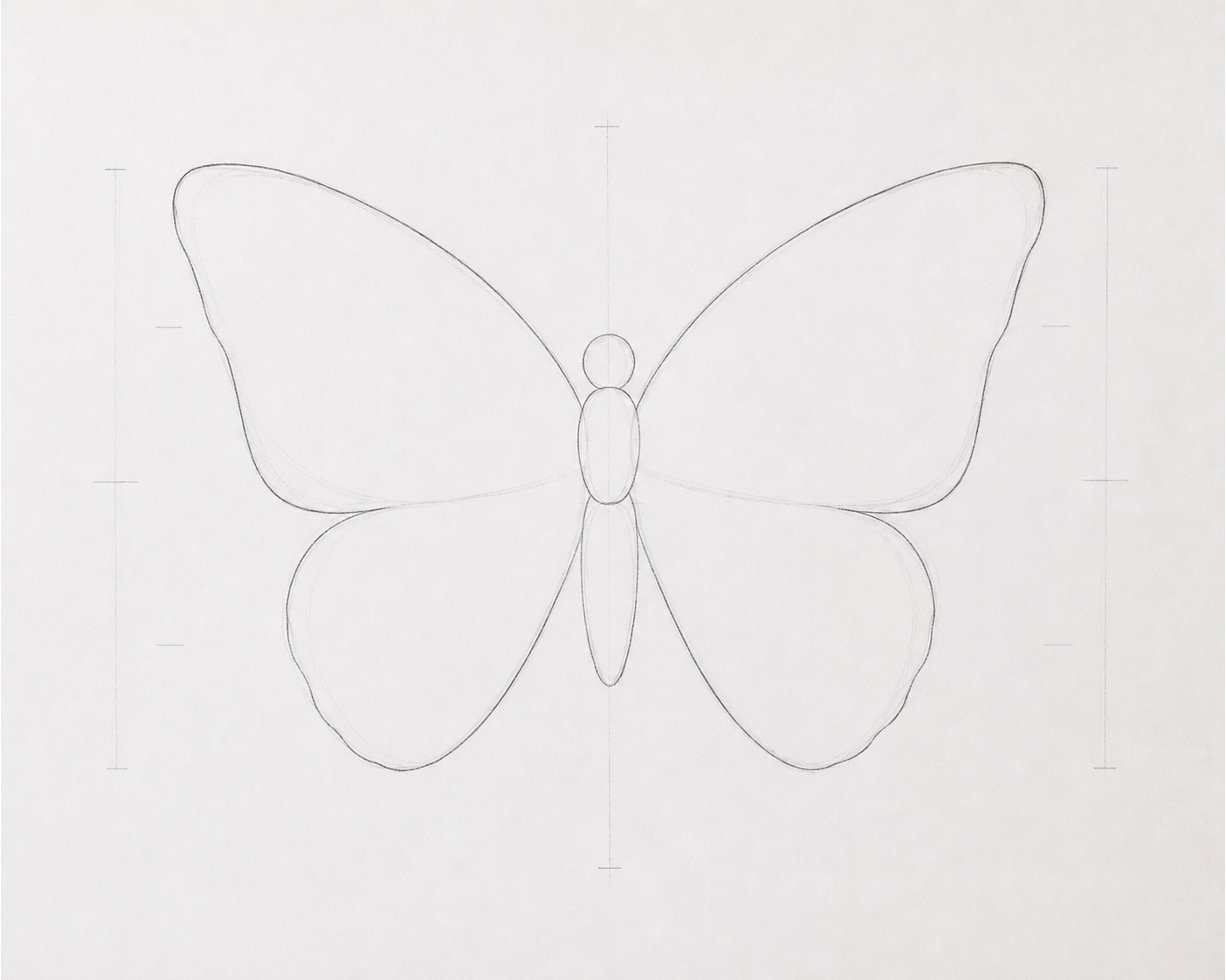
Study the outer edge of the wings in your reference photo and draw a smoother line over your rough shapes. This outer edge is called the contour, which simply means the visible outline of an object. Notice where the wings curve outward, flatten, form a small point, or dip inward. Refine one section at a time instead of trying to draw each wing with one long stroke. Lightly erase the construction lines that are no longer needed, but leave the center guideline visible.
Beginner tip: Avoid drawing from memory after only glancing at the reference. Look back and forth often, comparing one small curve at a time.
Step 3: Add the Body, Antennae, and Wing Structure
Goal: Add the main anatomical details that make the shape clearly recognizable as a butterfly.
Instructions:
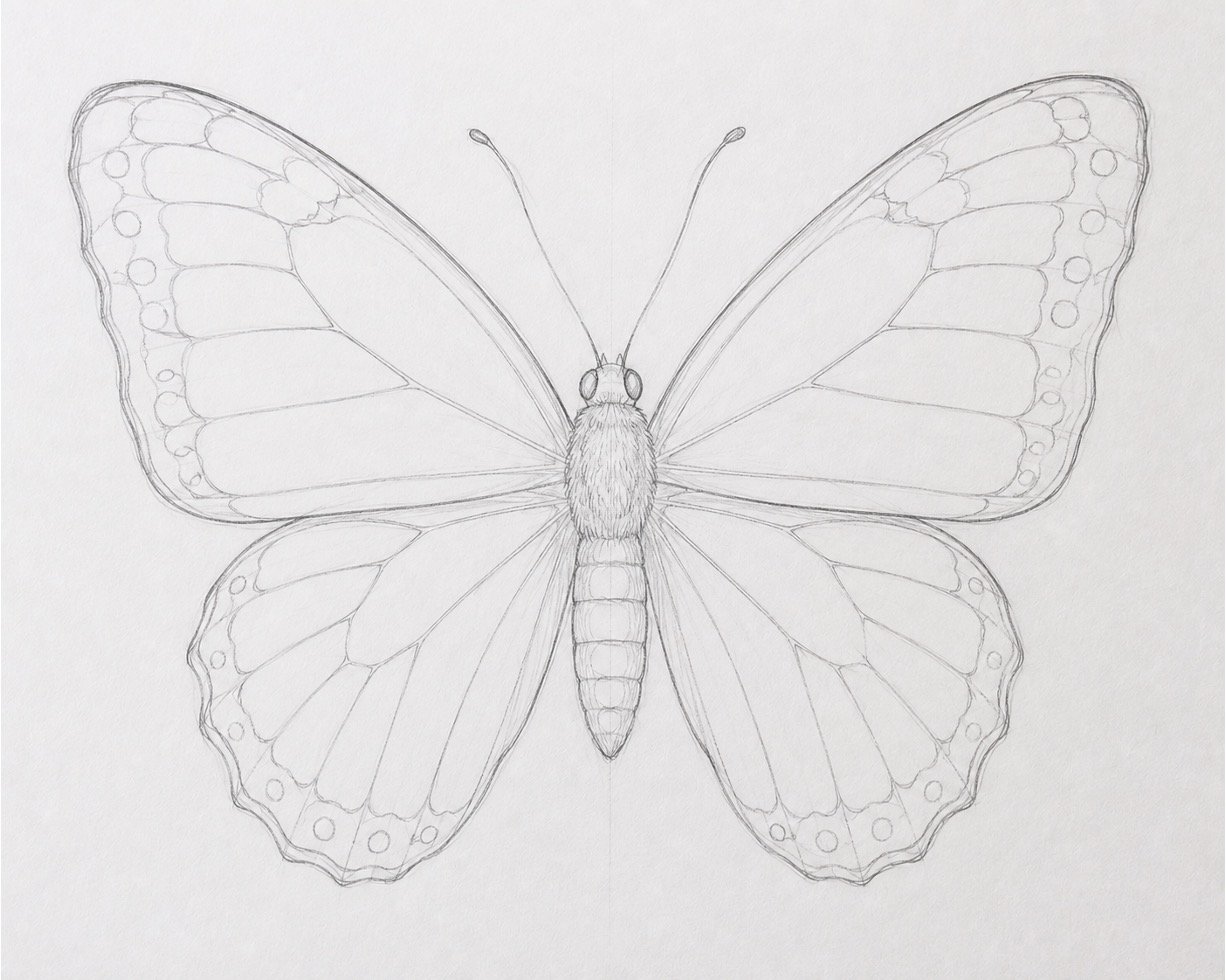
Refine the head, middle body, and abdomen with gentle curved lines. Divide the abdomen into several small sections using faint horizontal curves, and add two thin antennae that bend gradually outward. Draw the main wing veins as light lines spreading from the body toward the wing edges. Next, lightly map the largest bands, spots, or patches visible in your reference. Focus on major shapes rather than copying every tiny marking.
Beginner tip: Do not make every wing vein equally dark. Keep them light at this stage so they do not overpower the wing patterns later.
Step 4: Establish the Light and Basic Shading
Goal: Use light and dark areas to make the butterfly appear three-dimensional instead of flat.
Instructions:
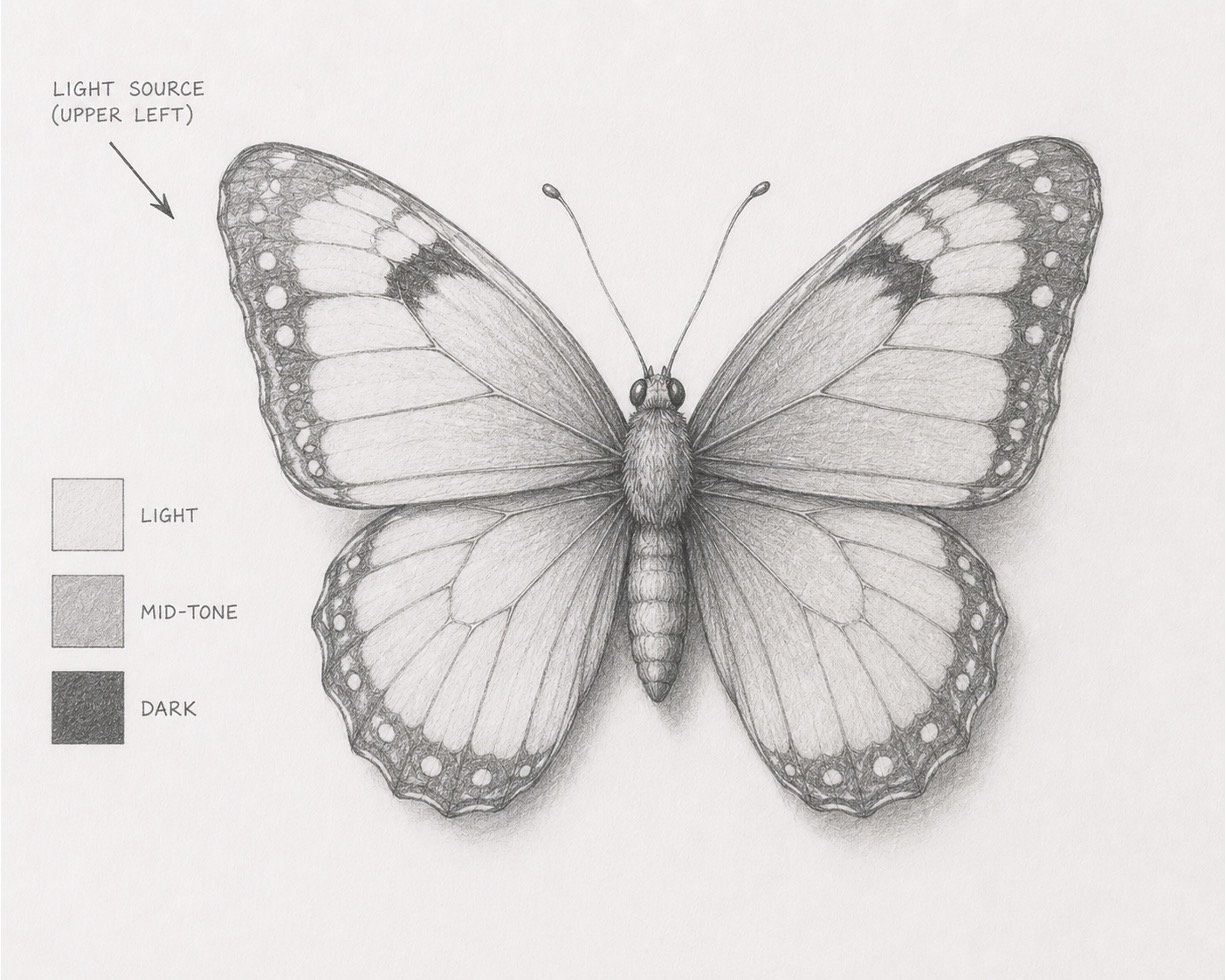
Choose a light direction before shading; for example, imagine the light coming from the upper left. In drawing, value means how light or dark an area appears. Leave the lightest areas mostly white, add gentle pencil shading to the mid-tones, and use a 2B or 4B pencil for the darkest markings. Shade with short, overlapping strokes rather than scribbling back and forth. Make the underside of the body and the areas where the wings meet the body slightly darker.
Beginner tip: A common mistake is making everything equally gray. Protect a few white areas and place the darkest marks only where your reference truly shows deep shadows or dark patterns.
Step 5: Build Wing Texture and Fine Details
Goal: Add the surface patterns and subtle marks that create a realistic butterfly appearance.
Instructions:
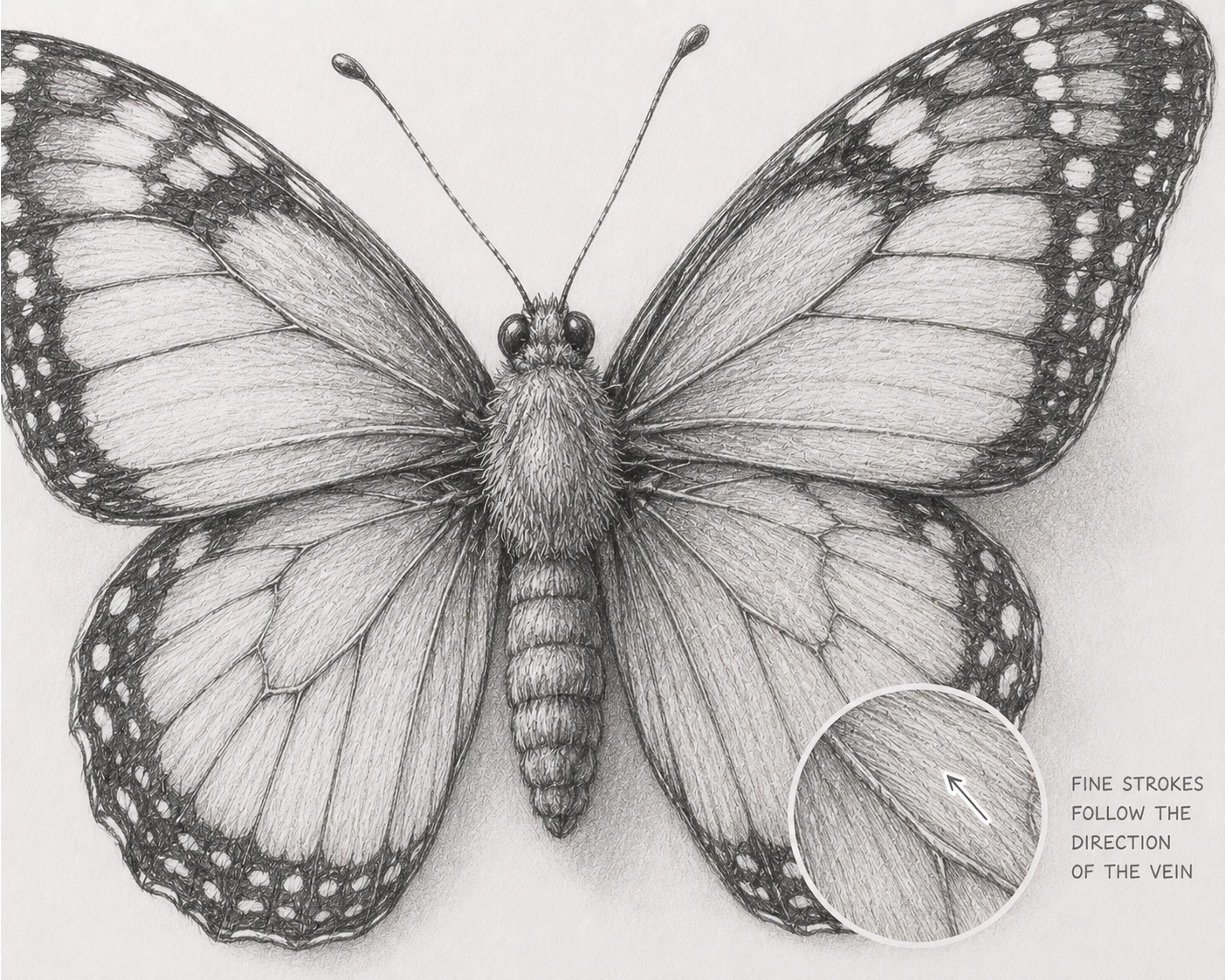
Texture means the way a surface looks or feels, such as smooth, fuzzy, or finely scaled. Use a sharp HB or 2B pencil to strengthen selected wing veins and add the smaller patterns from your reference. Shade the wings with tiny strokes that follow the direction of the veins instead of using random marks. Add short, soft strokes around the middle body to suggest fine hairs. Keep details sharper near the body and slightly softer near the outer wing edges.
Beginner tip: Trying to draw every individual scale can make the wings look noisy. Suggest the scale texture with groups of tiny marks and smooth shaded areas instead.
Step 6: Blend, Lift Highlights, and Polish
Goal: Unify the shading, restore bright areas, and make the final drawing look clean and intentional.
Instructions:
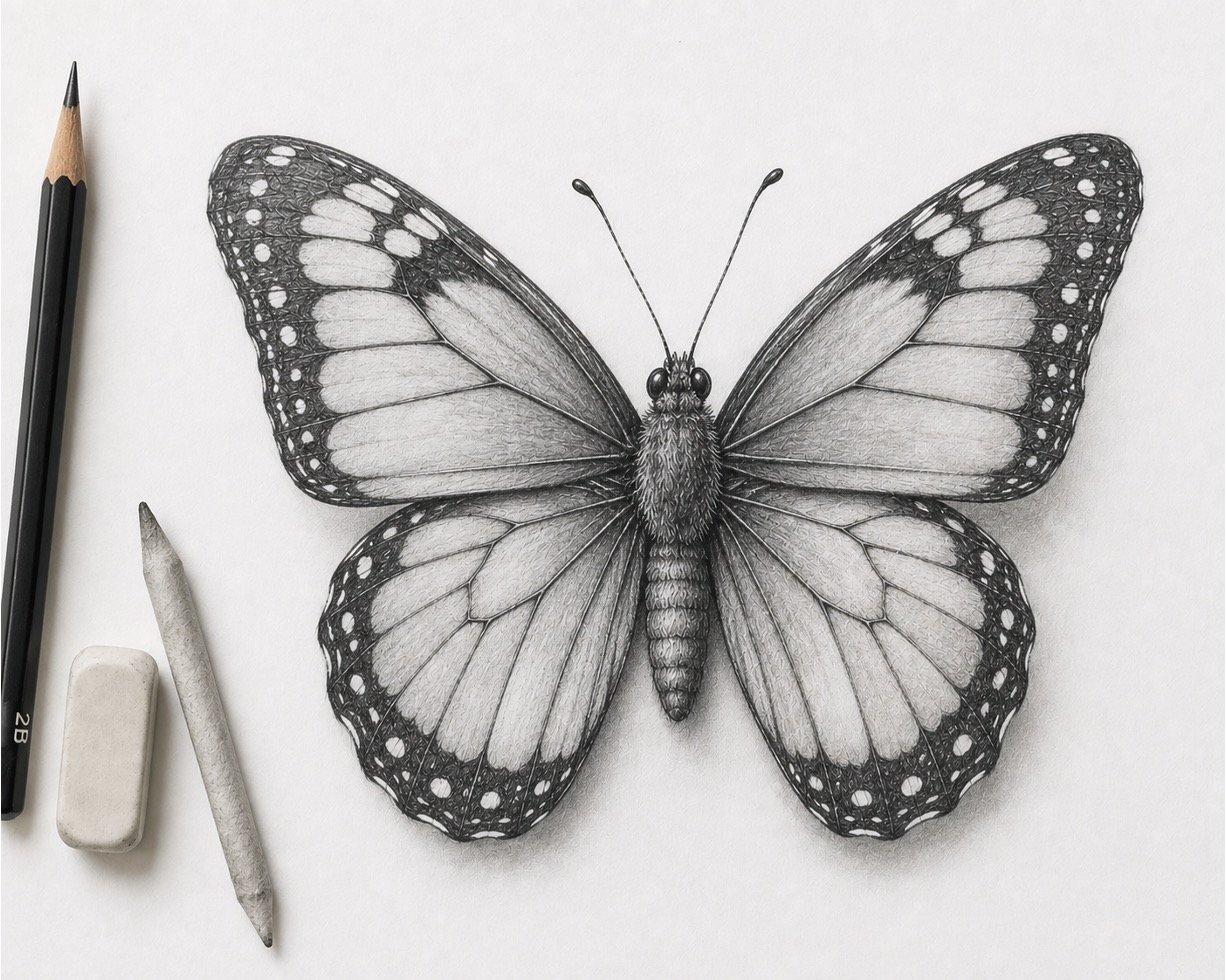
Gently smooth selected shaded areas with a blending stump, cotton swab, or folded tissue. Blend in the direction of the wing patterns, and leave some pencil strokes visible so the wings do not look plastic. A highlight is one of the brightest areas where light appears to strike the subject; create highlights by pressing a clean eraser lightly onto the graphite. Strengthen the darkest markings with a sharp 2B or 4B pencil, then clean any smudges around the butterfly. Finish by checking the entire drawing from a short distance and correcting only the areas that truly need attention.
Beginner tip: Over-blending can turn the whole drawing into one flat gray shape. Blend only selected areas and keep clear differences between the light, middle, and dark values.
About author










Add comment