

Skull Drawing with Colour: A Fun 8-Step Tutorial for Kids and Adults
Drawing a colorful skull may look tricky at first, but this tutorial makes it calm, simple, and fun. You do not need drawing experience, special talent, or perfect lines. We will build the picture one small shape at a time, so kids and adults can follow along with confidence.
In these eight easy steps, you will learn how to make a friendly skull using an oval, curved lines, circles, triangles, and a few straight lines. You will add large eye shapes, a tiny nose, simple teeth, and cheerful decorations. Then you will bring the whole drawing to life with bright colors. Every step grows naturally from the one before it, so you will always know what to draw next.
You only need basic supplies. Grab a sheet of paper, a pencil, an eraser, and a black marker or fineliner for the final outlines. For coloring, use whatever you already have, such as crayons, markers, or colored pencils. There is no single correct color plan. You can follow the suggested colors or choose your own favorites.
Skulls are fun to draw because they can be spooky, silly, sweet, or full of celebration. This version is cheerful and decorative, with bold shapes that are easy to see and color. Small wobbles will make your artwork feel unique, so do not worry about making both sides match perfectly. Take a breath, grab your supplies, and let’s start your colorful skull drawing together!
MATERIALS LIST
- White drawing paper
- Pencil
- Eraser
- Black marker or fineliner
- Crayons, markers, or colored pencils
SKULL DRAWING WITH COLOUR: A FUN 8-STEP TUTORIAL FOR KIDS AND ADULTS
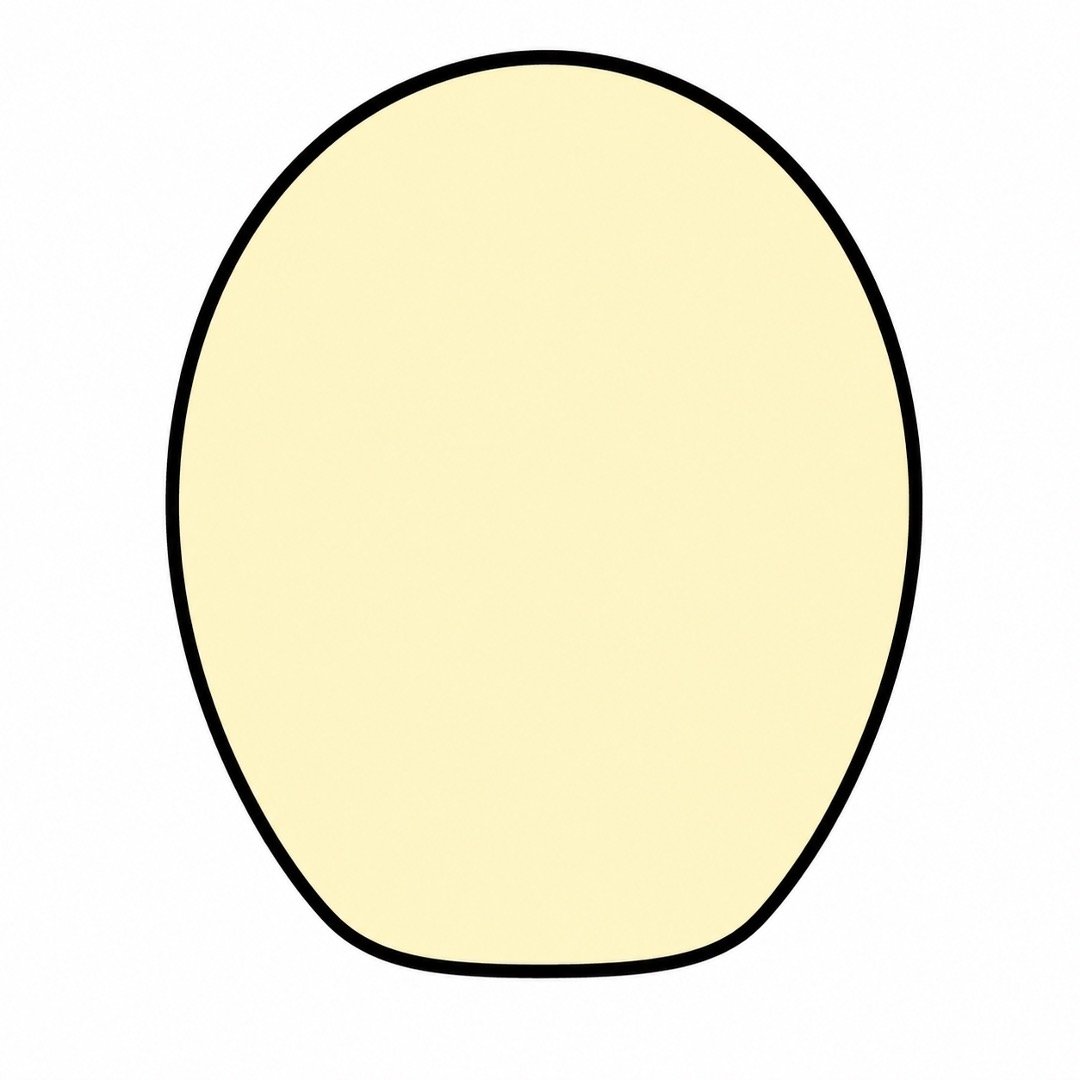
Step 1: Draw the Head Shape
- Instruction: Draw one large oval in the middle of your paper. Make the bottom of the oval a little flatter than the top.
- Add color: Lightly color the inside of the oval pale cream. Leave a little white space near the edges.
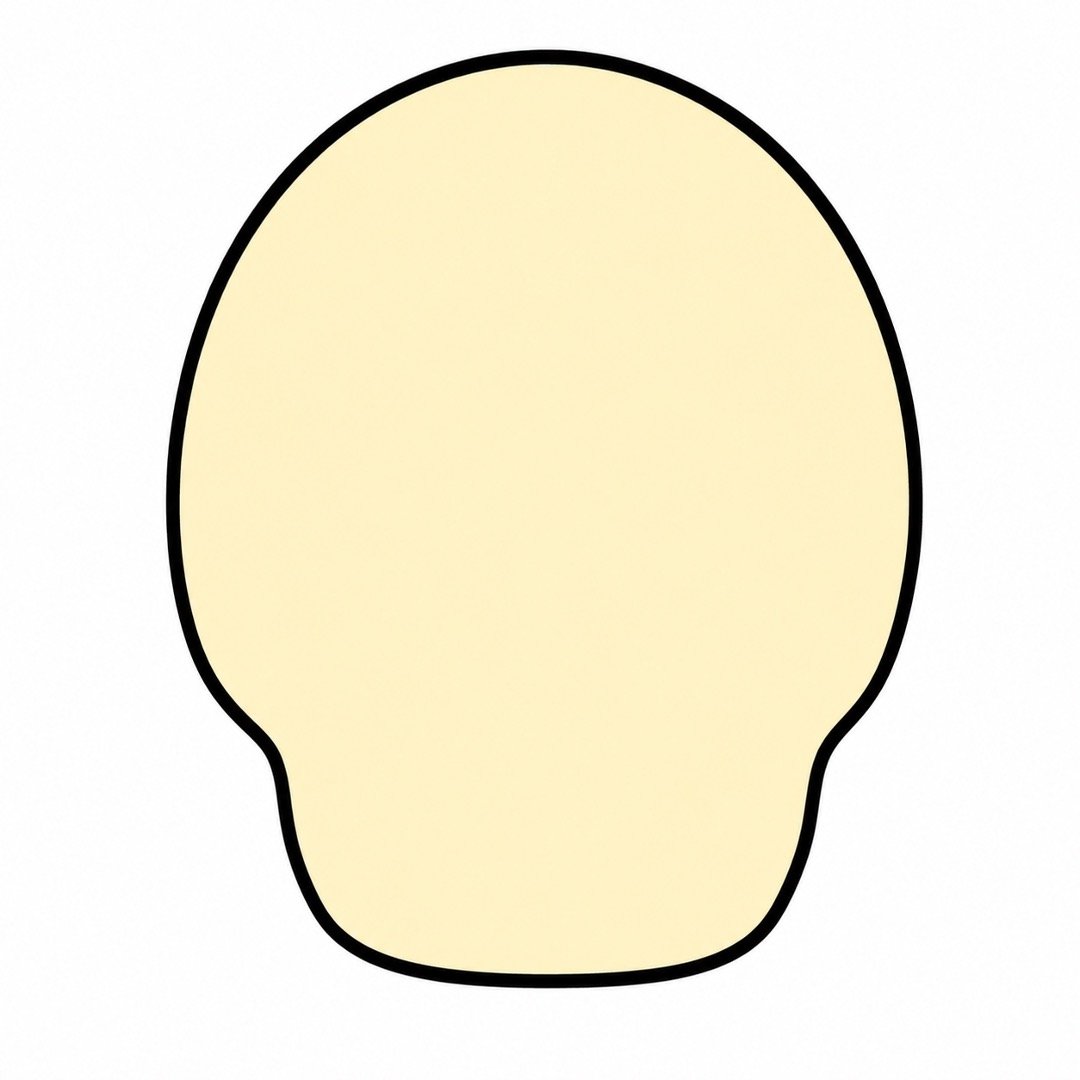
Step 2: Add the Jaw
- Instruction: Draw two short curved lines down from the bottom sides of the oval. Join them with a wide curved line to make a simple jaw.
- Add color: Color the new jaw area the same pale cream as the head.
Step 3: Draw the Eye Shapes
- Instruction: Draw two large circles inside the upper half of the head. Place one circle on each side and leave a small gap between them.
- Add color: Color both eye circles bright turquoise blue.

Step 4: Add the Nose
- Instruction: Draw a small upside-down triangle between the eyes. Round the three corners slightly if you like.
- Add color: Color the nose triangle bright purple.

Step 5: Make the Teeth
- Instruction: Draw one straight line across the middle of the jaw. Add five short straight lines crossing it to make six simple teeth.
- Add color: Color the teeth soft golden yellow. Leave the thin spaces between them white.

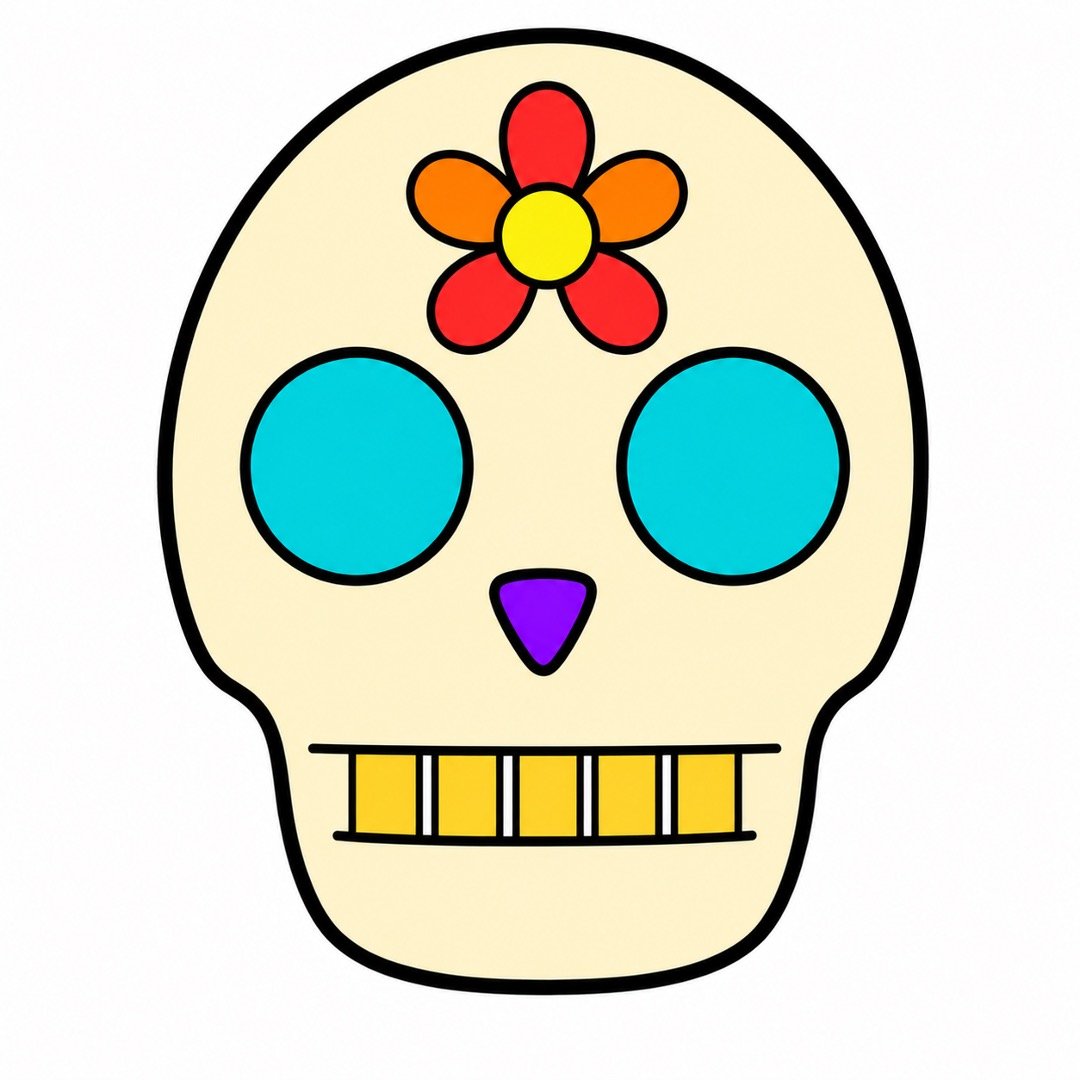
Step 6: Add a Forehead Flower
- Instruction: Draw one small circle above the eyes. Add five small ovals around it to make an easy flower.
- Add color: Color the center circle yellow. Color the five oval petals bright red and orange, changing color from one petal to the next.
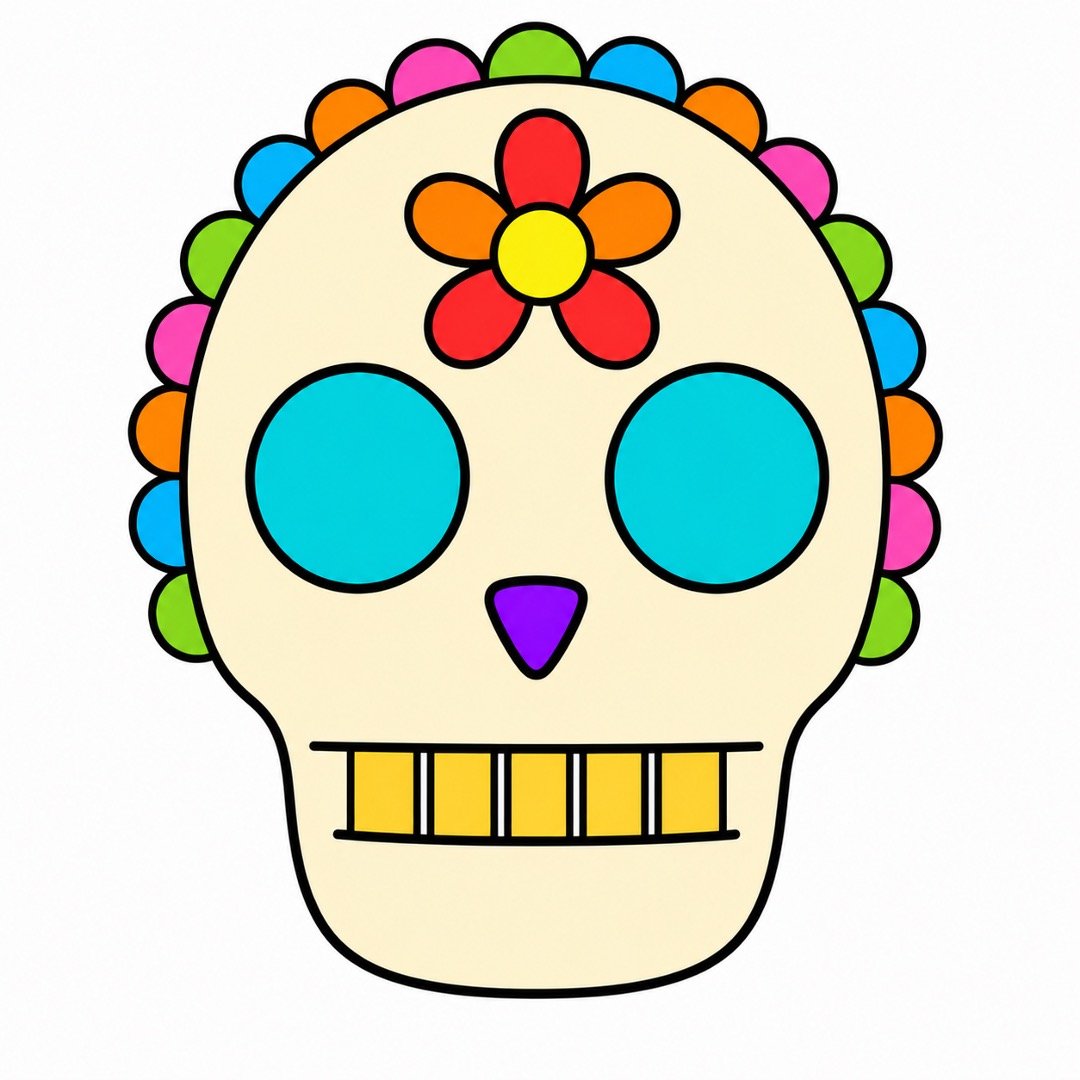
Step 7: Decorate the Outer Edge
- Instruction: Draw a row of small half-circles around the top and sides of the skull. Keep them simple and leave the jaw area clear.
- Add color: Color the half-circles pink, orange, green, and blue. Repeat the colors in any order you enjoy.
Step 8: Finish the Colorful Details
- Instruction: Draw three small circles on each cheek. Add two tiny triangles beside the circles, then trace your finished pencil lines with a black marker.
- Add color: Color the cheek circles bright green, blue, and pink. Color the small triangles orange and purple, then fill any missed spaces with your favorite bright colors.

Wonderful work—you have finished your colorful skull drawing! Share your picture with a friend, family member, or fellow artist, and remember that your unique colors make it special. Get ready for the next beginner tutorial, where we will create another cheerful picture using easy shapes and bright colors.


About author









Add comment