
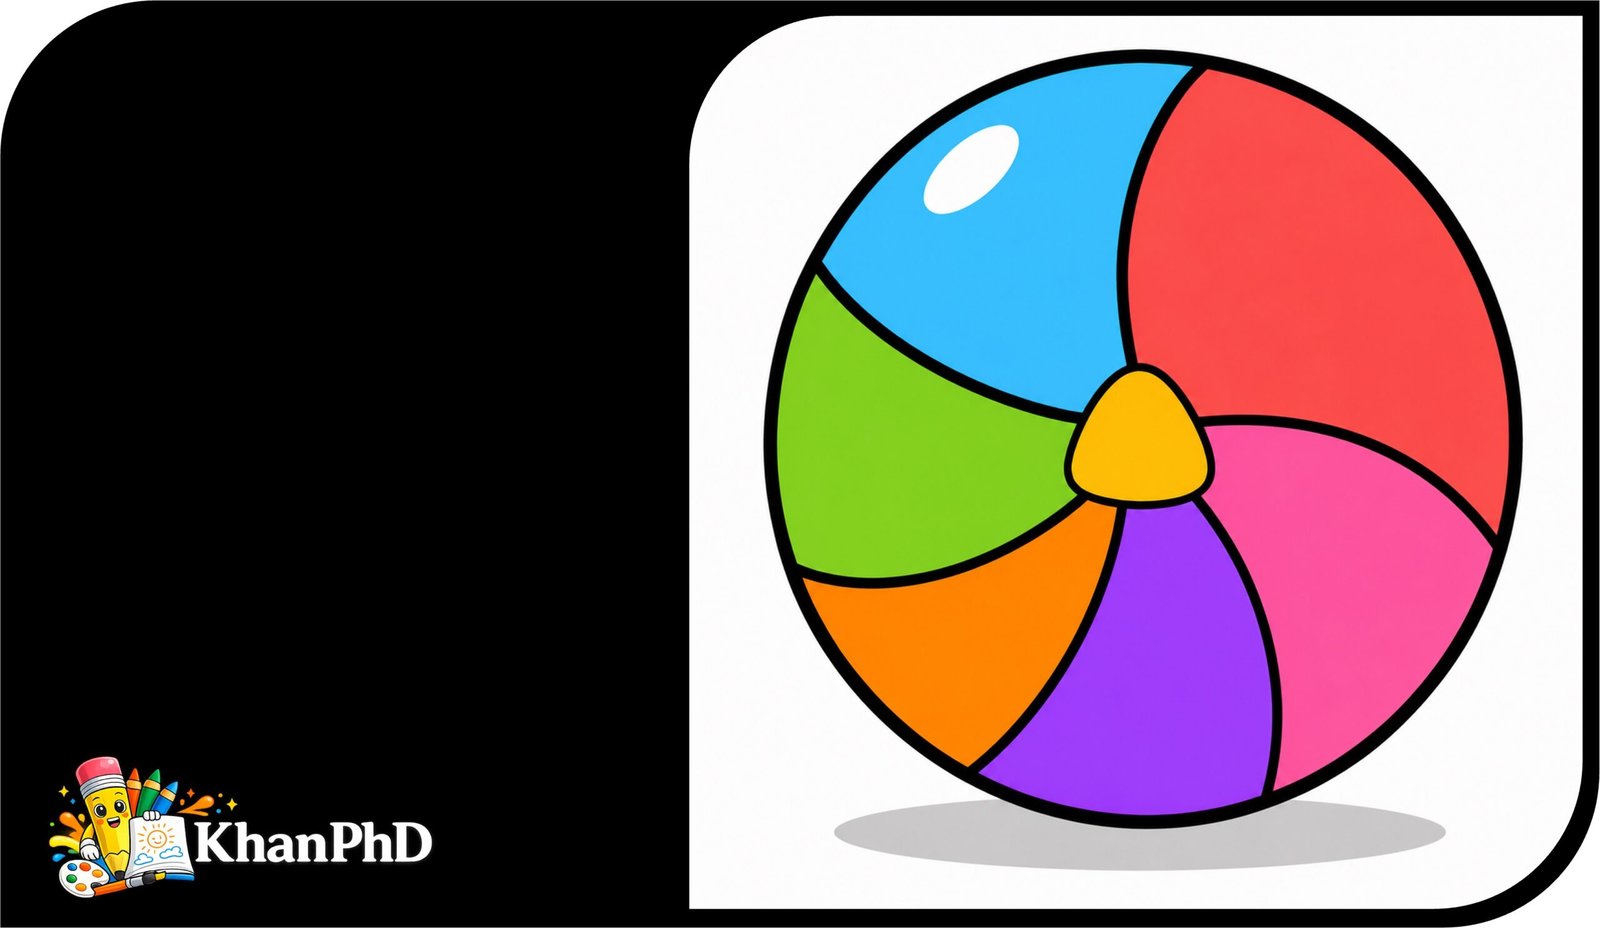
Volleyball Drawing with Colour: 8 Simple Steps for Kids and Beginners
Drawing a volleyball can look tricky at first, but it becomes easy when you build it one small shape at a time. In this beginner-friendly lesson, you will learn how to make a colorful volleyball drawing with colour in eight clear steps. We will begin with one large circle. Then we will add a few gentle curved lines, simple panels, a tiny shine, and a soft shadow.
You do not need drawing experience, special talent, or perfect lines. This tutorial is made for complete beginners, including children, teens, and adults who are picking up a pencil for the first time. Your volleyball can be round, wobbly, bright, or playful. Every drawing will have its own charm.
You only need plain paper, a pencil, an eraser, a black marker or fineliner, and your favorite coloring tools. Crayons, markers, or colored pencils will all work well. We will use cheerful colors such as yellow, blue, coral, purple, and green to turn a simple sports ball into a fun piece of art.
A volleyball is a great subject to draw because it uses familiar shapes and gives you lots of room to explore color. It is also a lovely project for sports fans, school art time, rainy afternoons, or family drawing practice.
Take a slow breath, relax your hand, and remember that there is no wrong way to make art. Grab your supplies, find a comfortable place, and let’s draw your colorful volleyball together!
1. MATERIALS LIST
- Plain drawing paper
- Pencil
- Eraser
- Black marker or fineliner
- Crayons, markers, or colored pencils
2. STEP-BY-STEP TUTORIAL OF VOLLEYBALL DRAWING WITH COLOUR
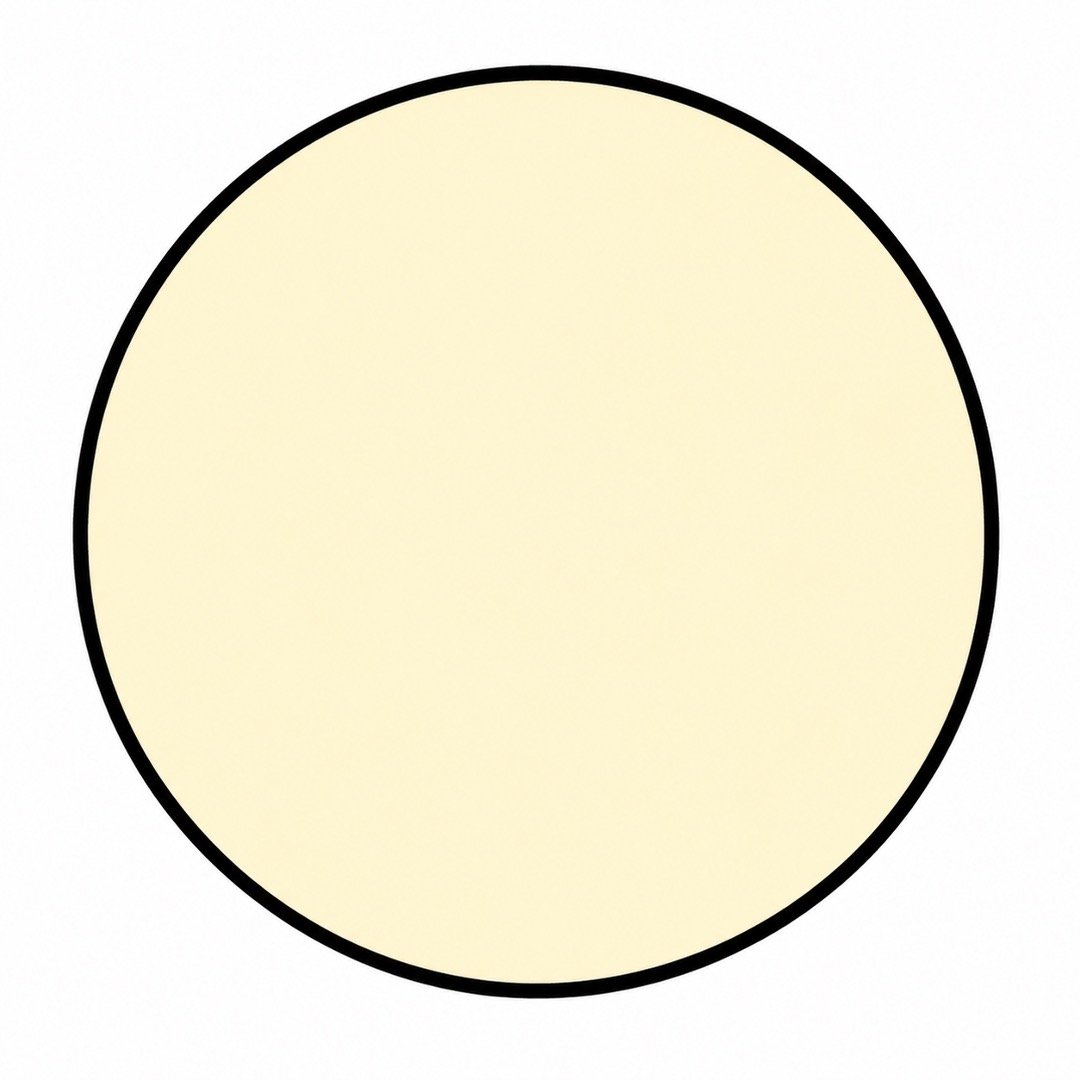
Step 1: Draw a Large Circle
- Instruction: Draw one large circle in the middle of your paper. It does not need to be perfectly round.
- Add color: Lightly color the inside of the circle soft cream.
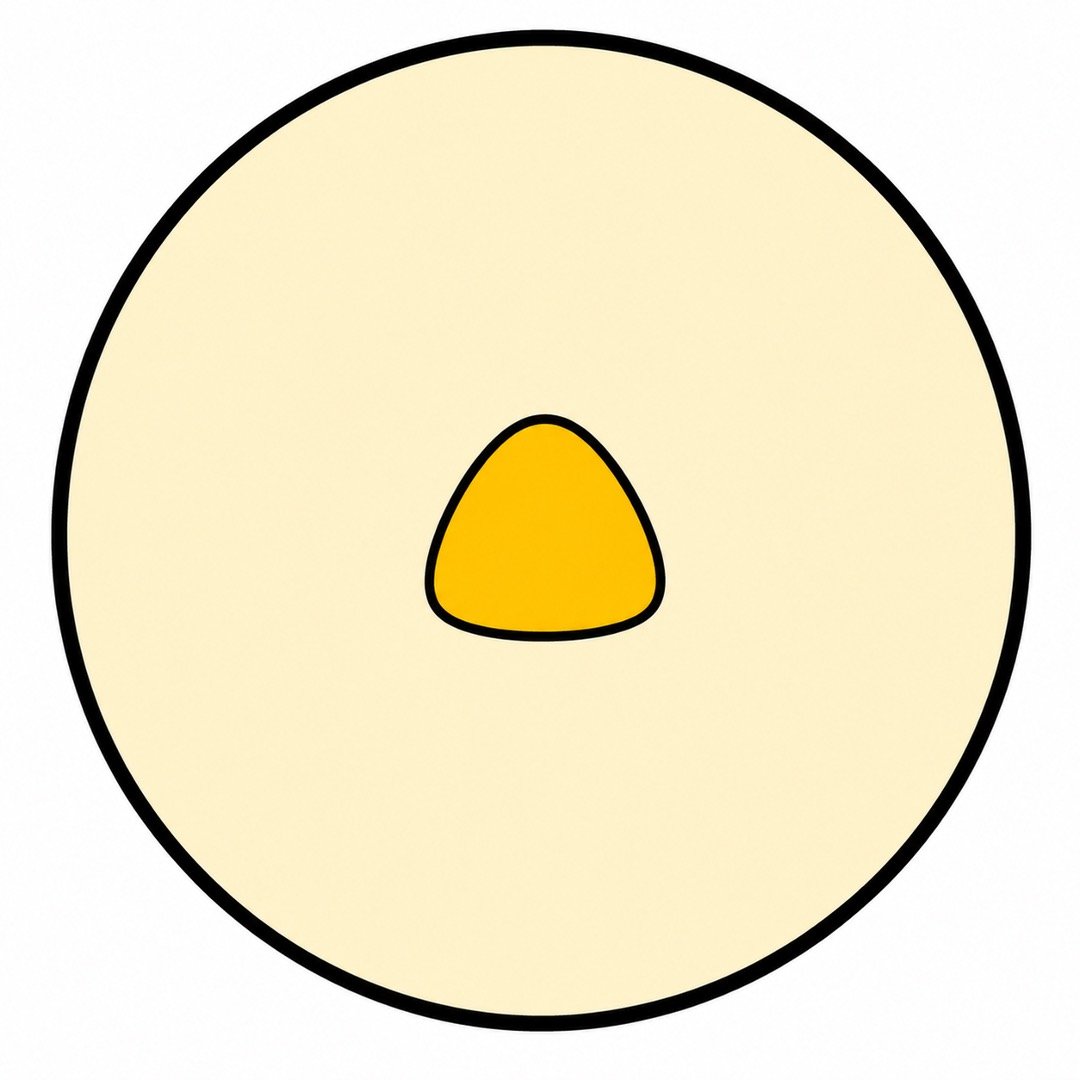
Step 2: Add the Center Shape
- Instruction: Near the middle of the circle, draw a small rounded triangle. Make it with three short curved lines.
- Add color: Color the small center shape golden yellow.
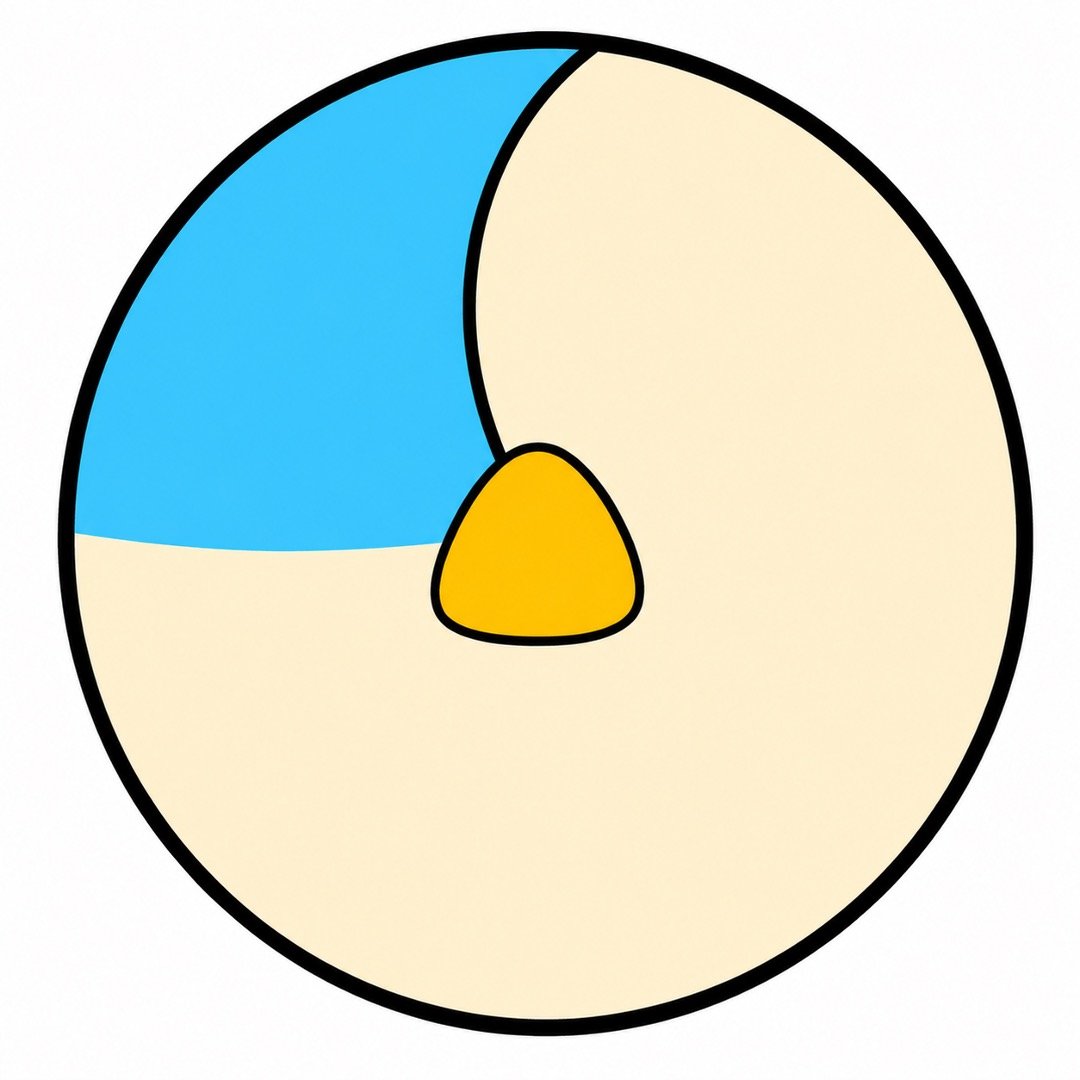
Step 3: Make the Top Panel
- Instruction: Start at the top point of the small center shape. Draw one curved line that reaches the top edge of the circle and bends slightly to the left.
- Add color: Color the new top panel sky blue.
Step 4: Make the Right Panel
- Instruction: Begin at the right point of the center shape. Draw a curved line toward the right edge of the circle. Let the line bend gently downward.
- Add color: Color the new right panel coral red.
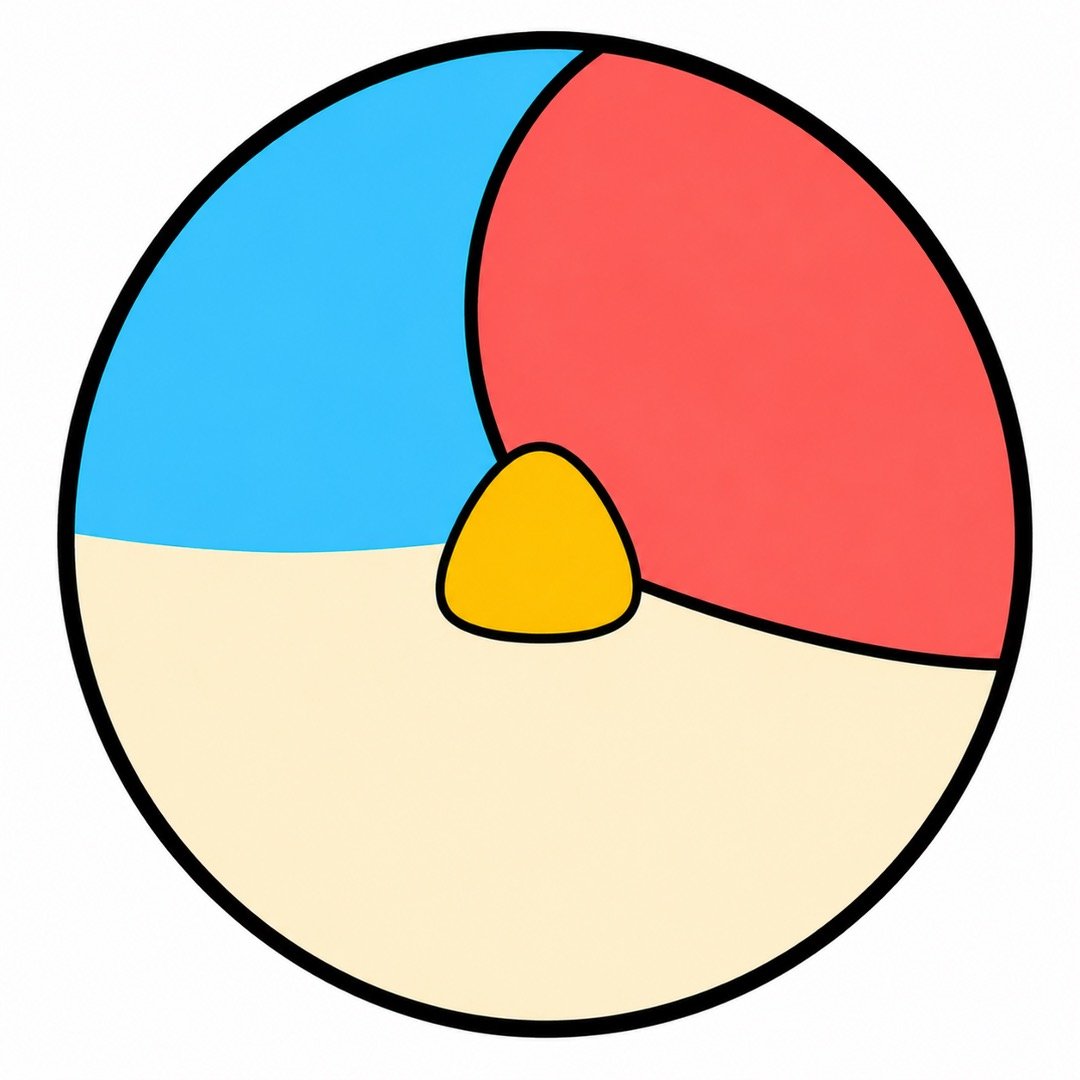
Step 5: Make the Bottom Panel
- Instruction: Start at the bottom point of the center shape. Draw a curved line down to the bottom edge of the circle. Bend it slightly to the right.
- Add color: Color the new bottom panel bright purple.
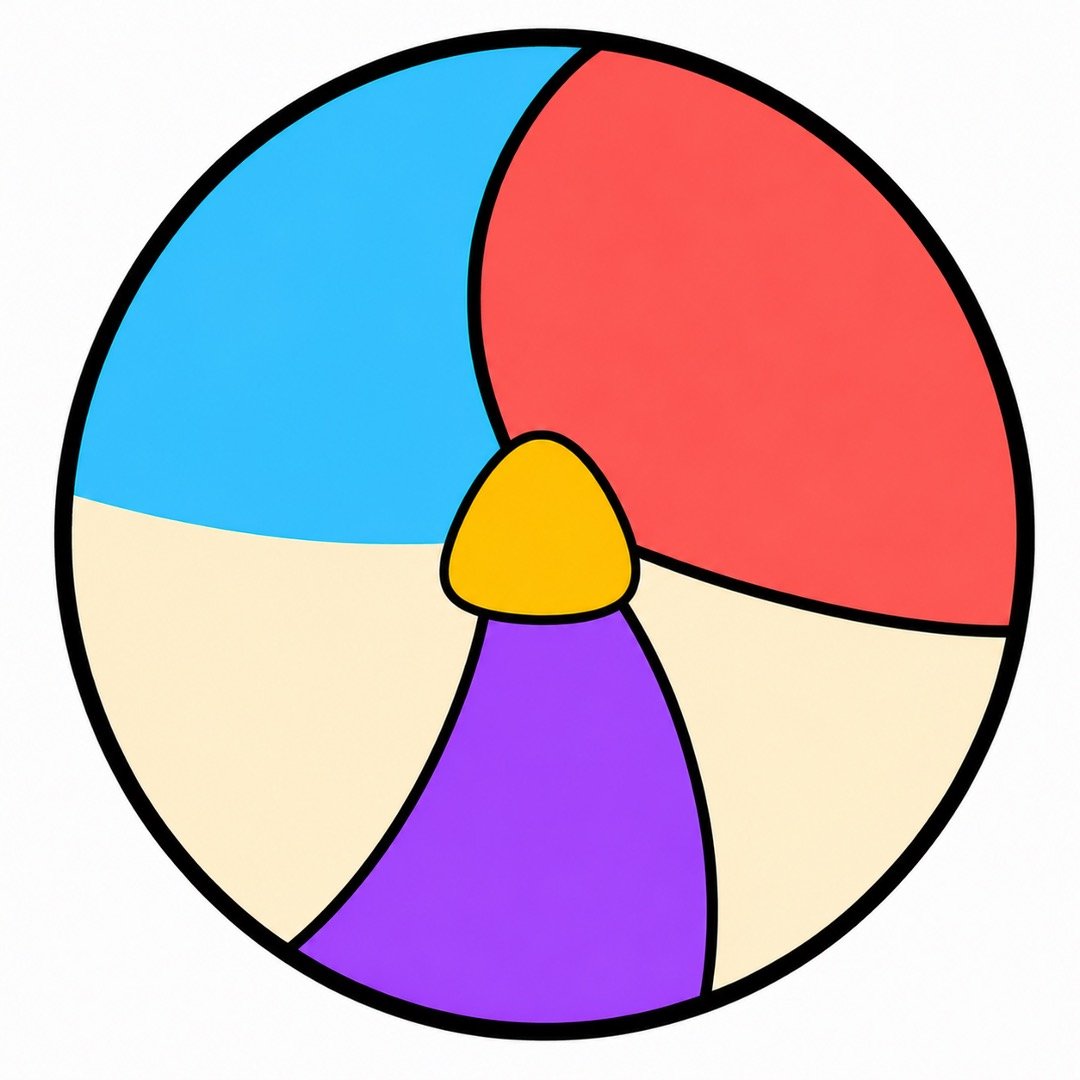
Step 6: Make the Left Panel
- Instruction: Begin at the left point of the center shape. Draw one curved line toward the left edge of the circle. Let it bend gently upward.
- Add color: Color the new left panel bright green.
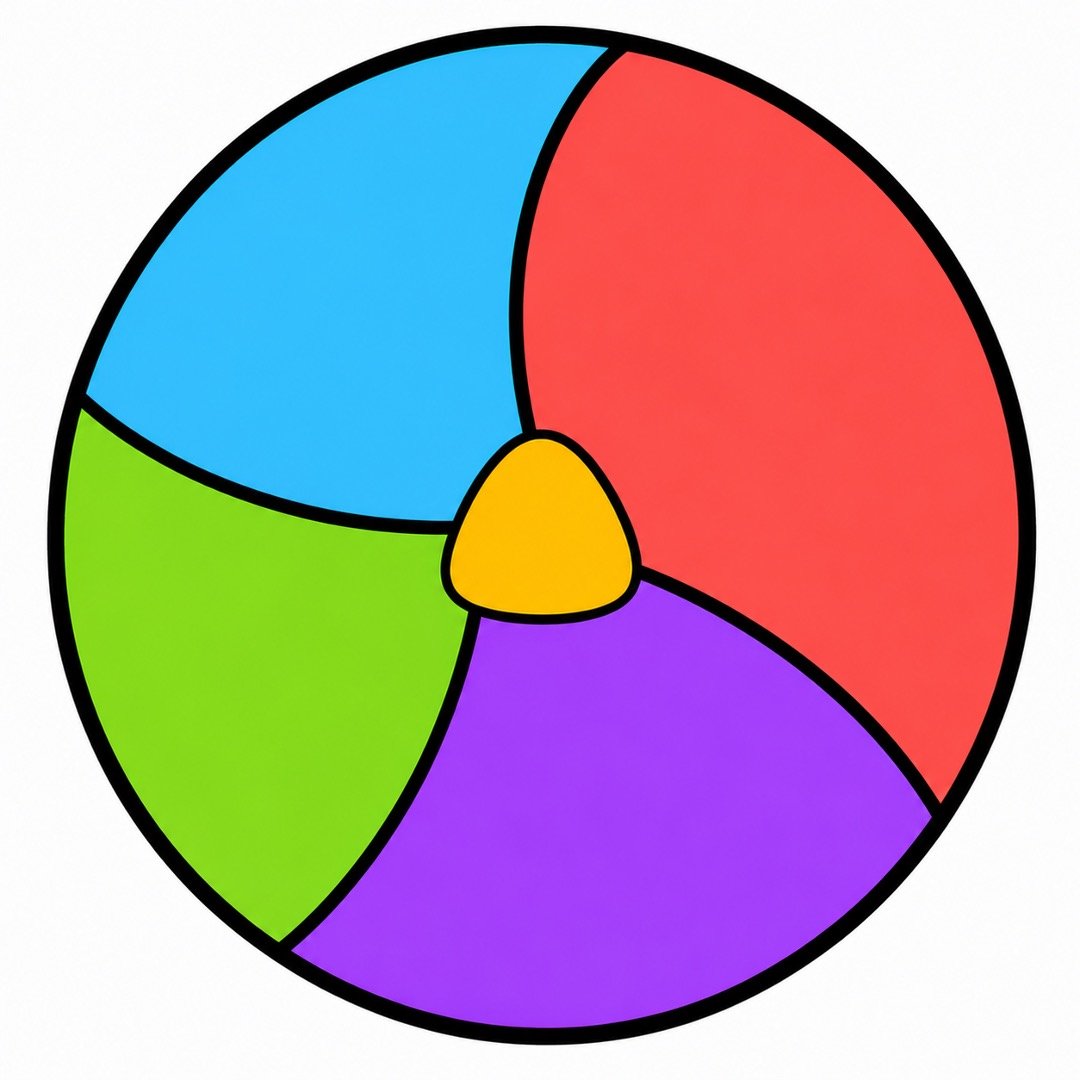
Step 7: Add a Soft Shadow
- Instruction: Draw a wide, flat oval just below the volleyball. Leave a small gap between the oval and the ball.
- Add color: Color the oval light gray.
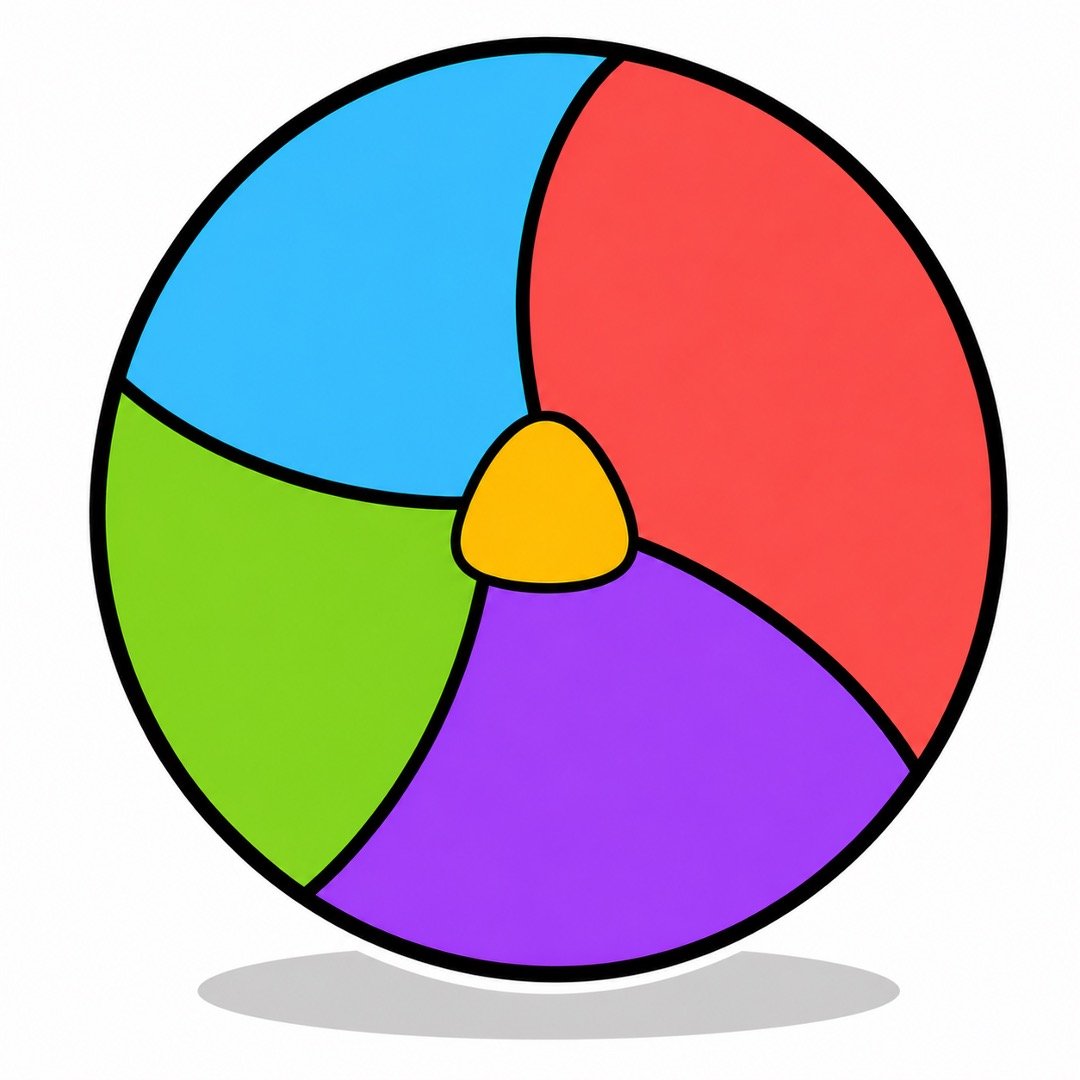
Step 8: Finish the Colorful Volleyball
- Instruction: Color the remaining cream spaces with orange and pink. Add a small white oval near the upper-left side for a shiny spot. Trace your pencil lines with a black marker, and erase any extra pencil marks.
- Add color: Use bright orange and pink in the remaining panels. Keep the small shine oval white.
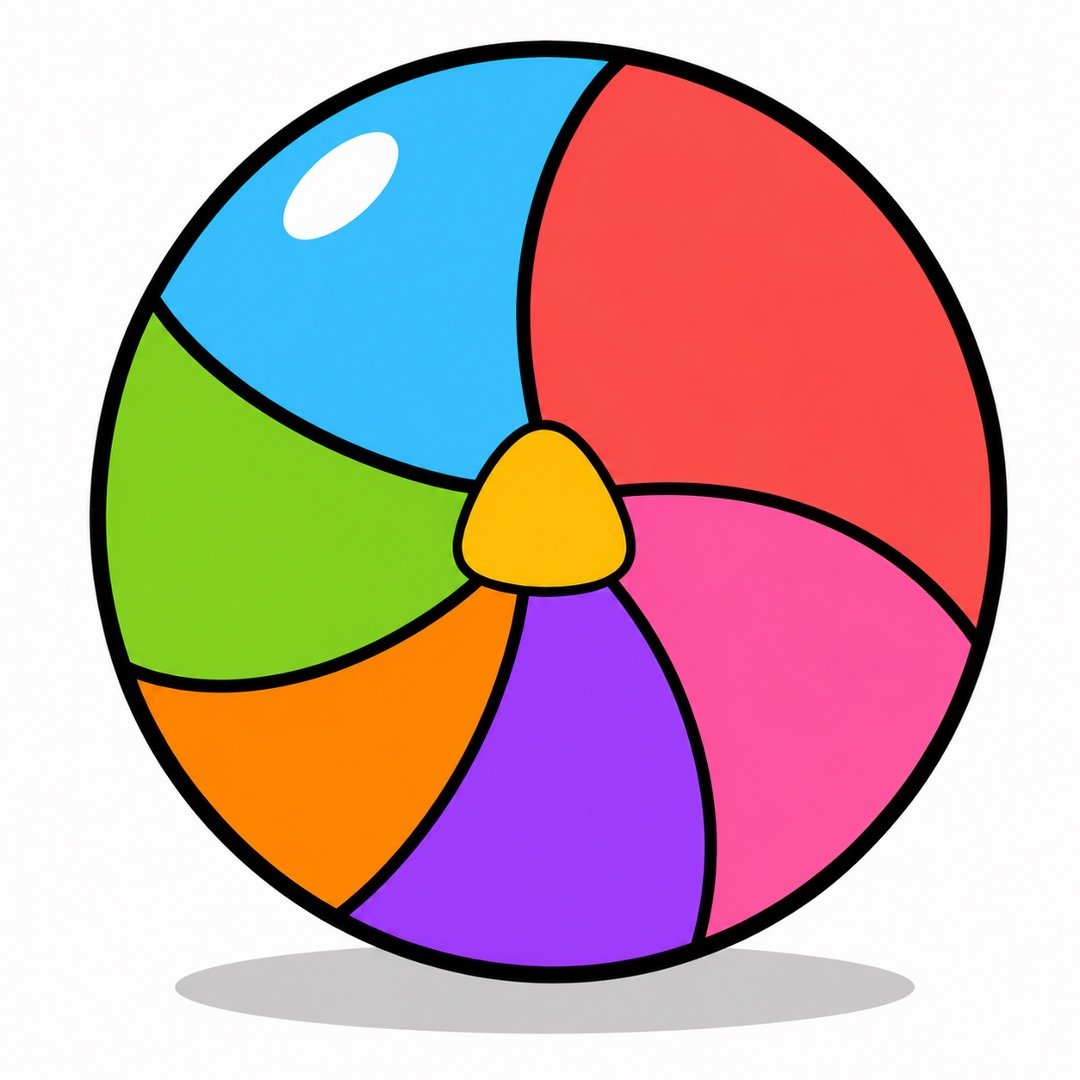
Wonderful work! You turned simple circles, curves, and bright colors into your own cheerful volleyball drawing. Share your finished picture with someone you love, and get ready for the next easy sports drawing tutorial in the series.

About author










Add comment