

Flowers Drawing with Colour: An Easy 8-Step Tutorial for Kids and Adults
Drawing flowers can feel a little scary when you are just starting, but this lesson makes it calm, simple, and fun. In this beginner-friendly tutorial, you will learn how to create a cheerful flowers drawing with colour in eight small steps. We will build the picture slowly, using only circles, ovals, curved lines, straight lines, and simple leaf shapes. You do not need drawing experience, special talent, or a steady hand. Wobbly lines are welcome. They can make your flowers look friendly and unique.
You will draw a small garden with three bright flowers, stems, leaves, and a little patch of grass. Each new step adds just one easy part, so the picture never feels too complicated. You will also add color as you go. This makes the lesson exciting for children, adults, classrooms, homeschool activities, and quiet creative time at home.
All you need is a sheet of paper, a pencil, an eraser, and something to color with. Crayons, markers, or colored pencils will all work well. A black marker or fineliner is helpful for making the final outlines bold, but it is optional.
Flowers are a wonderful subject because there is no single perfect way to draw them. Every petal can be a little different, and every color choice can show your personality. Take your time, enjoy each shape, and remember that practice matters more than perfection. Grab your supplies, find a comfortable spot, and let’s start drawing your colorful flowers together.
MATERIALS LIST
- Plain drawing paper
- Pencil
- Eraser
- Black marker or fineliner for outlines
- Crayons, markers, or colored pencils
FLOWERS DRAWING WITH COLOUR: AN EASY 8-STEP TUTORIAL FOR KIDS AND ADULTS
Step 1: Draw the First Flower Center
- Instruction: Draw one medium-sized circle near the top middle of your paper. It does not need to be perfectly round.
- Add color: Color the circle golden yellow.

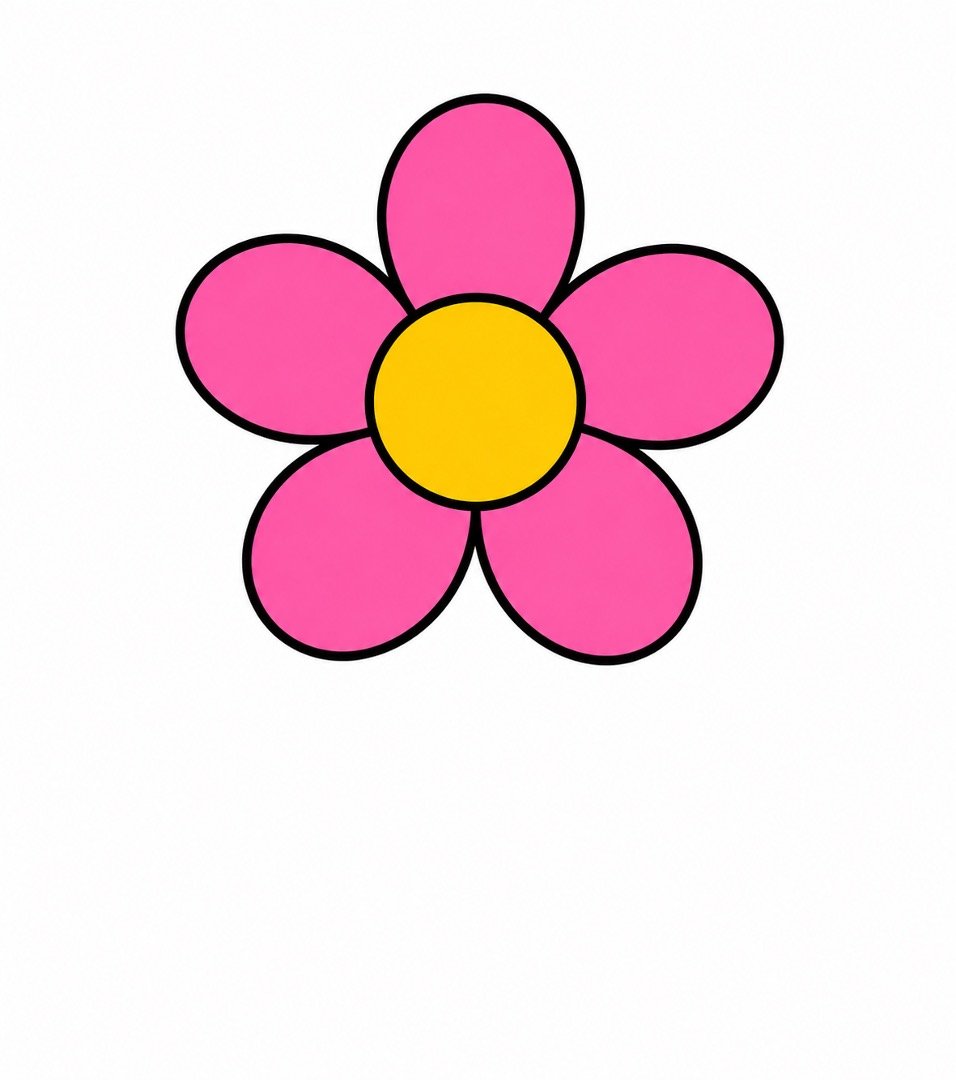
Step 2: Add the First Petals
- Instruction: Draw five large ovals around the yellow circle. Let each oval touch the edge of the circle to make a simple flower.
- Add color: Color all five petals bright pink.
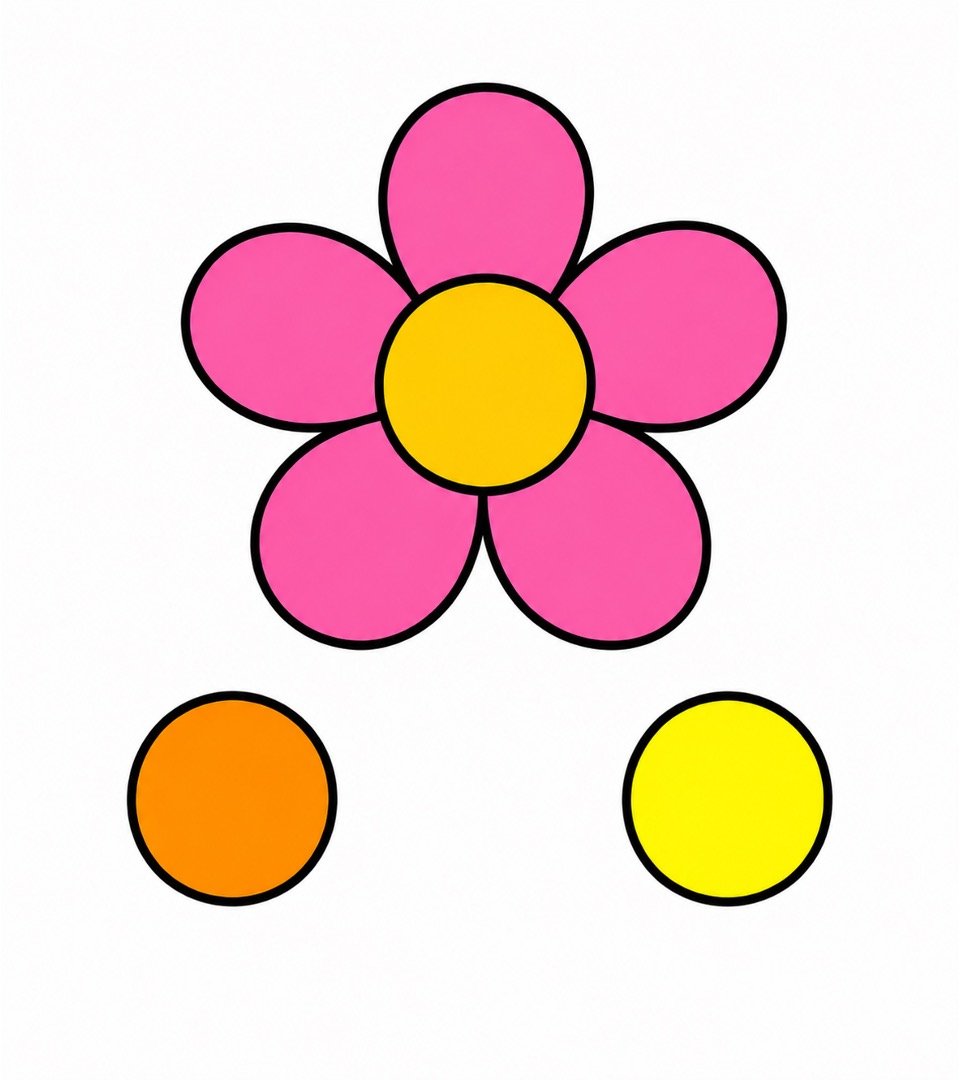
Step 3: Draw Two More Centers
- Instruction: Draw a smaller circle below and to the left of the pink flower. Draw another smaller circle below and to the right.
- Add color: Color the left circle orange and the right circle lemon yellow.
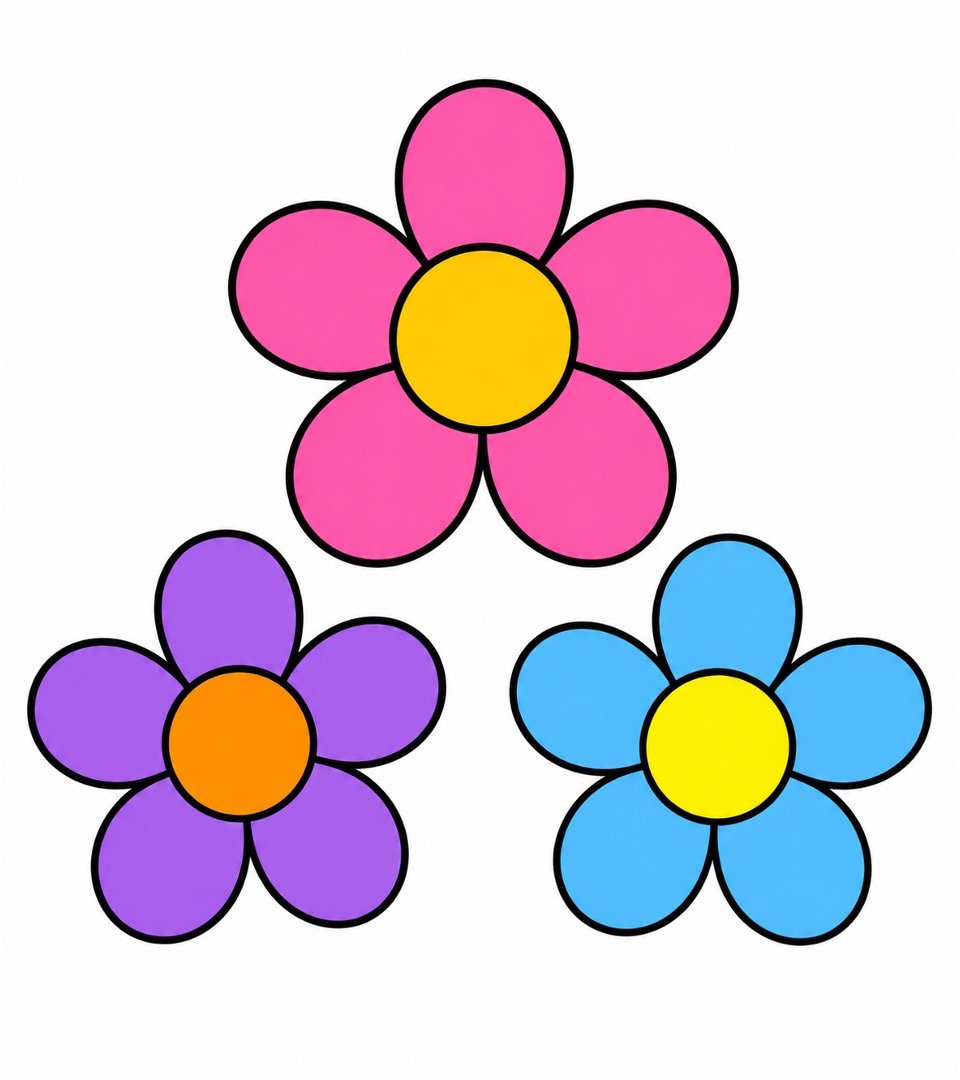
Step 4: Add the Side Petals
- Instruction: Draw five small ovals around the orange circle. Repeat this around the lemon-yellow circle.
- Add color: Color the left flower’s petals purple. Color the right flower’s petals sky blue.
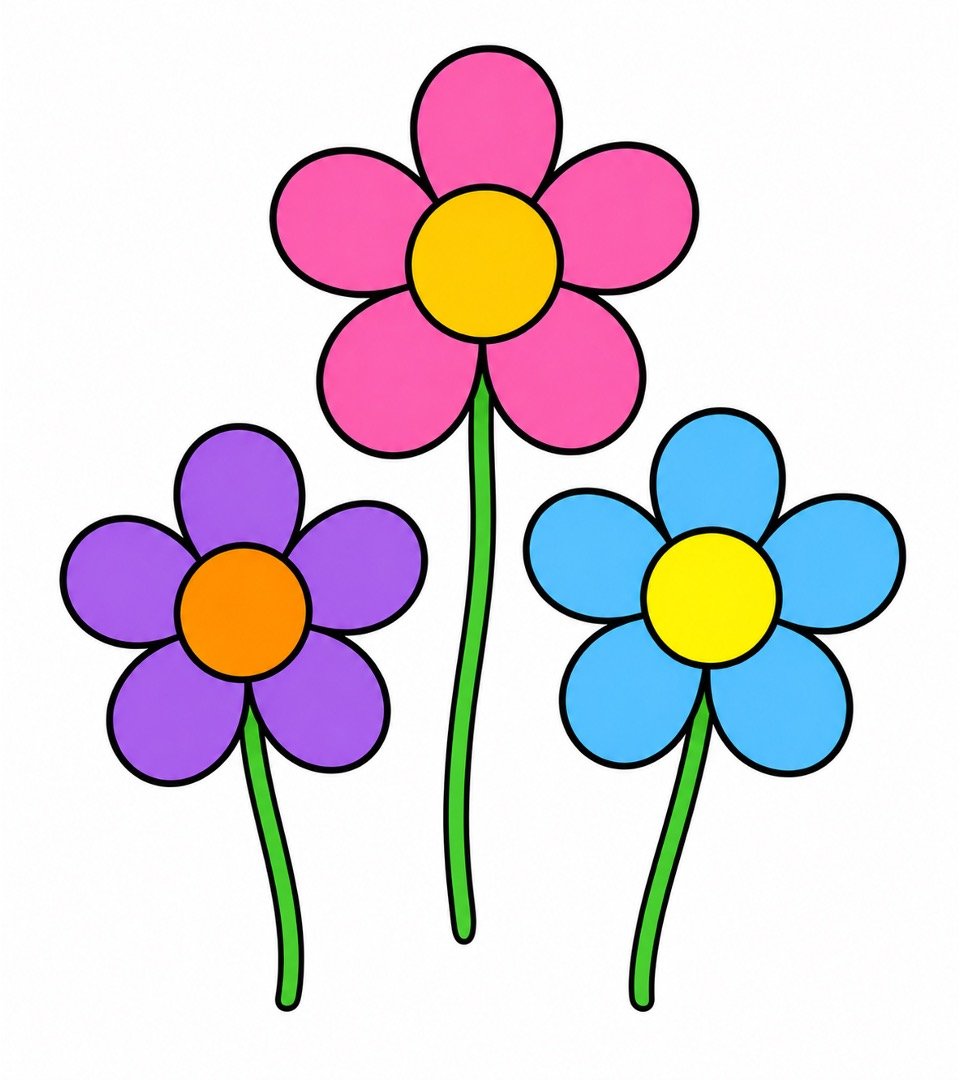
Step 5: Draw the Stems
- Instruction: Draw one long line down from the bottom of each flower. Give each stem a gentle curve so the flowers look playful.
- Add color: Color all three stems medium green.
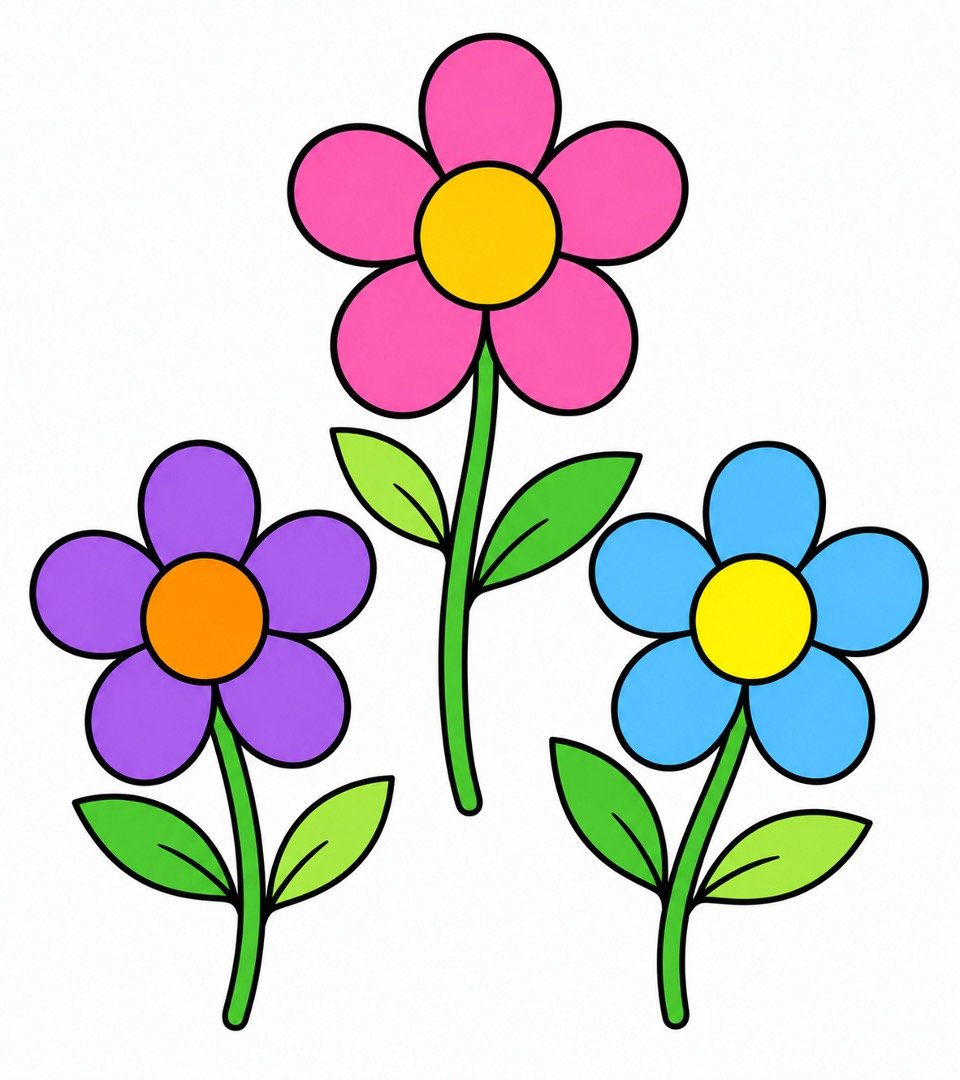
Step 6: Add Simple Leaves
- Instruction: Add two leaves to each stem. Make each leaf with two curved lines that meet at a point.
- Add color: Color the leaves bright green. You can make a few leaves light green for variety.
Step 7: Add a Patch of Grass
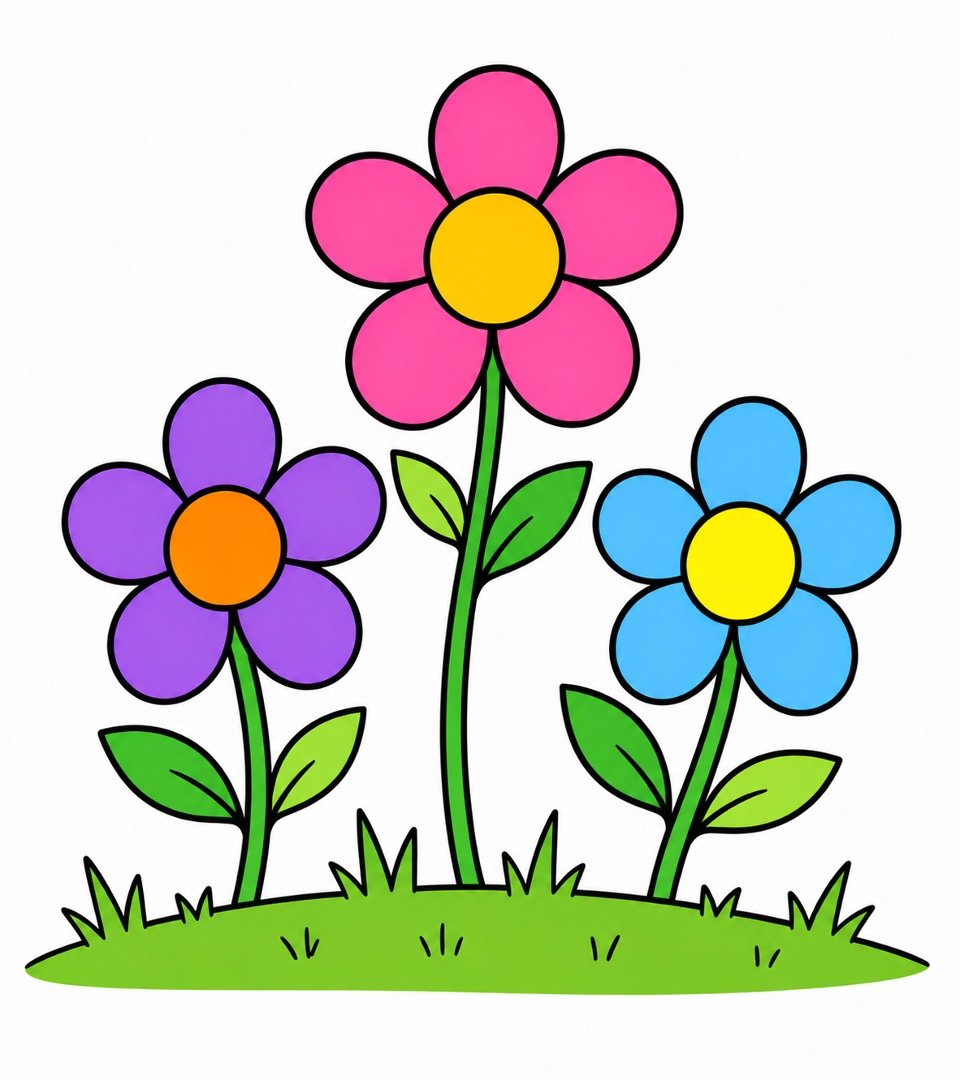
- Instruction: Draw a gentle curved line under the stems. Add a few short straight lines and tiny triangles along it to make simple grass.
- Add color: Color the grass fresh green.
Step 8: Finish the Colorful Drawing
- Instruction: Trace your pencil lines with a black marker, then erase any pencil marks you can still see. Add a few tiny circles inside each flower center for a final cheerful detail.
- Add color: Color the tiny dots orange inside the yellow centers. Add yellow dots inside the orange center, and fill any remaining white spaces in the petals or leaves.
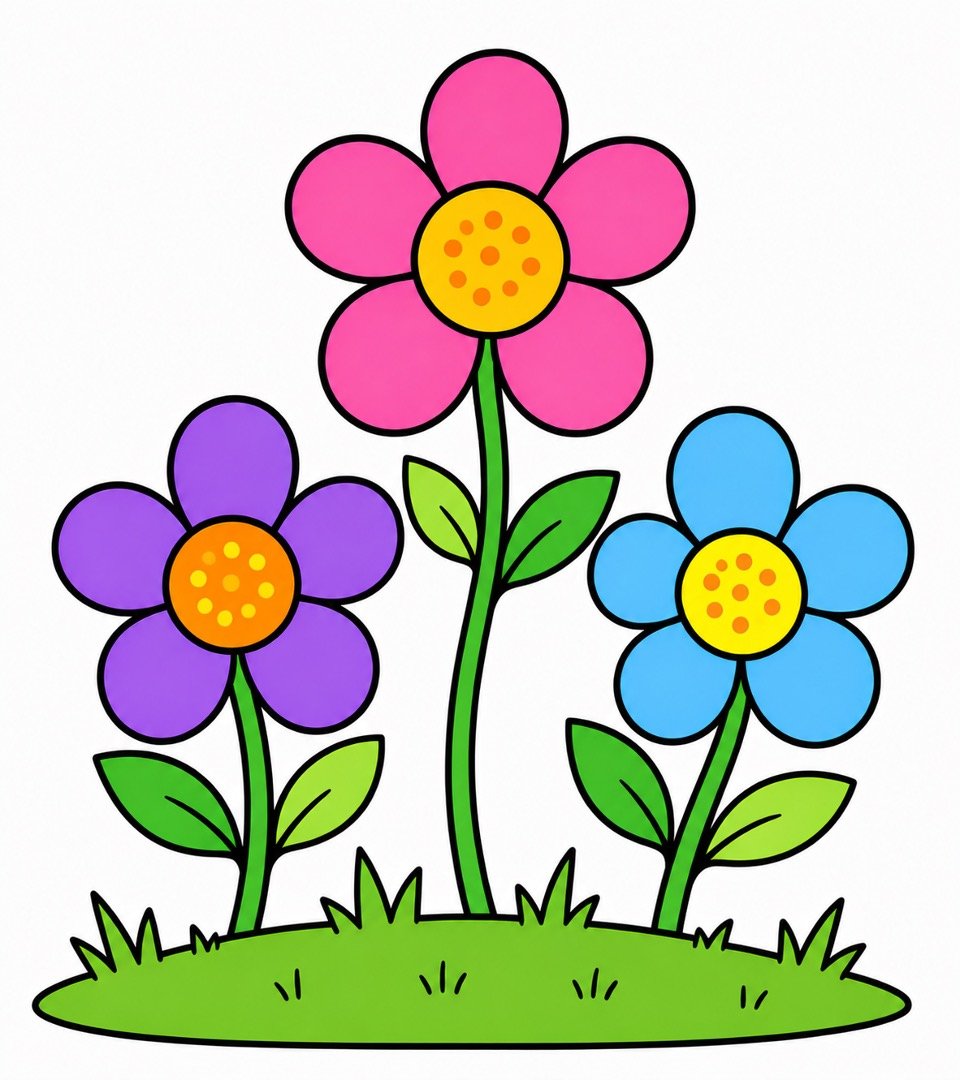
Wonderful work! You created a bright flower garden using only simple shapes and lines. Share your finished drawing with someone you love, and get ready for the next easy tutorial in our colorful drawing series.


About author










Add comment