
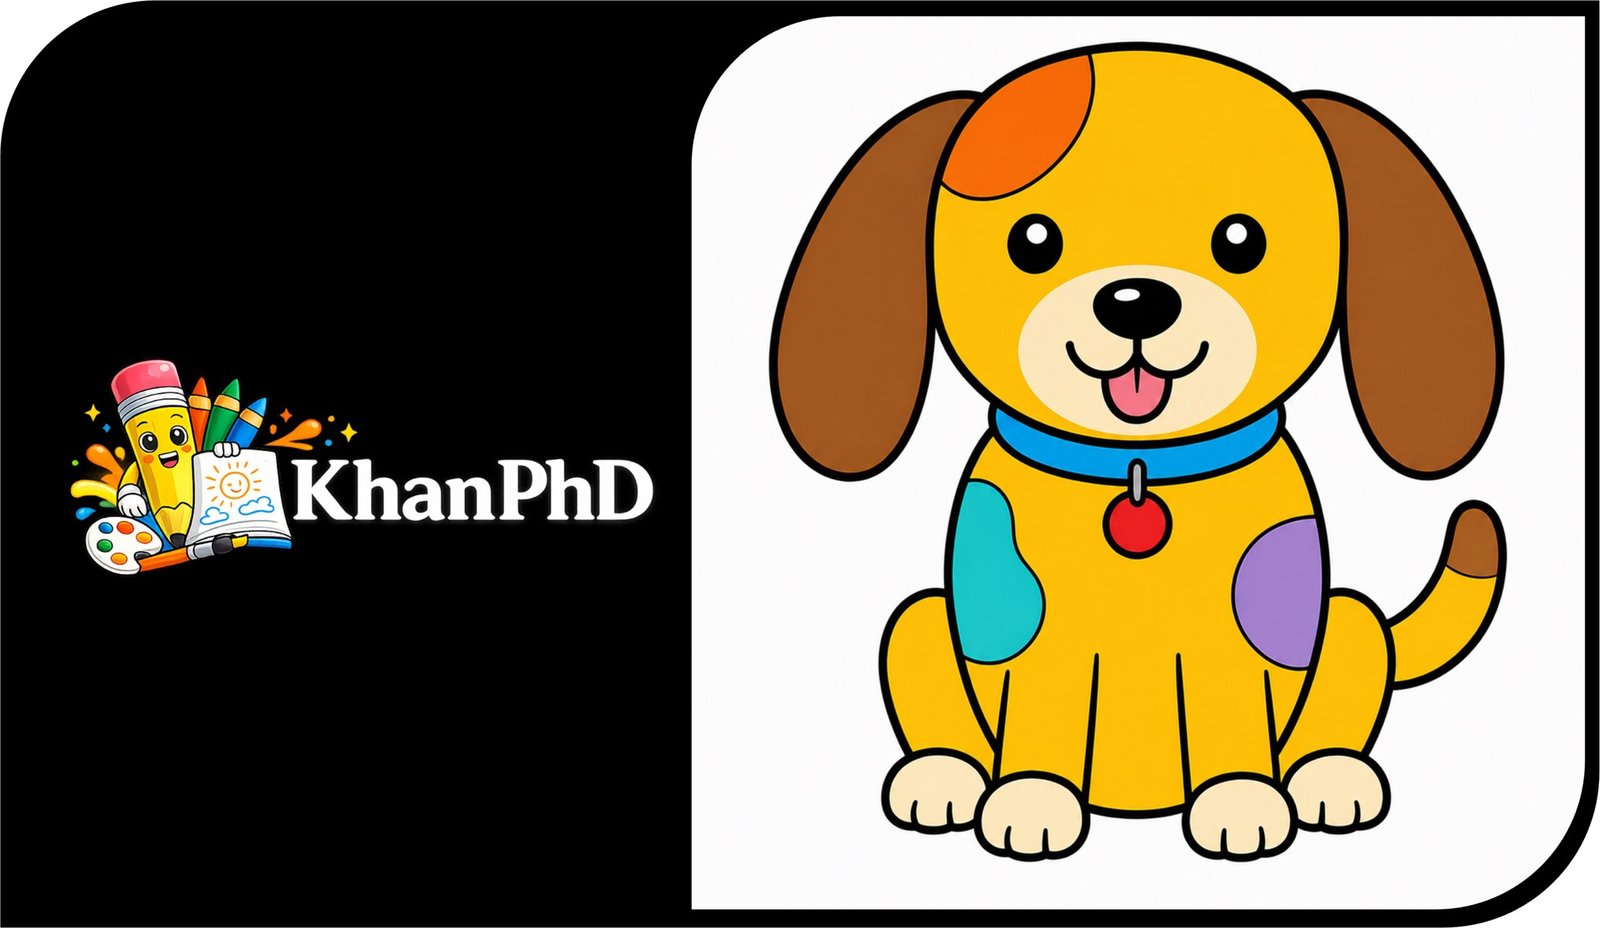
Dog Drawing with Colour: A Simple 8-Step Tutorial for Kids and Adults
Drawing a cheerful puppy can feel much easier than you think. In this beginner-friendly lesson, you will create a colorful dog using only circles, ovals, curves, triangles, and short straight lines. Each small step builds on the one before it, so you never have to guess what to draw next.
You do not need art experience, special talent, or a perfectly steady hand. This tutorial is made for absolute beginners, including children, teens, and adults who may be holding a drawing pencil for the very first time. Wobbly lines are welcome. They often make a puppy look even more playful and lovable.
You will need a sheet of paper, a pencil, an eraser, and a black marker or fineliner for the final outlines. For color, use whatever you already have: crayons, markers, or colored pencils. We will use bright, happy shades to give the dog warm golden fur, floppy brown ears, a blue collar, a pink tongue, and fun colorful patches.
Dogs are wonderful drawing subjects because their faces can show so much joy. A few simple shapes can quickly become soft ears, friendly eyes, little paws, and a wagging tail. Your finished dog does not need to match the example exactly. Give it your own colors and personality.
Take a slow breath, grab your supplies, and let’s draw your colorful dog one easy step at a time!
MATERIALS LIST
- White drawing paper
- Pencil
- Eraser
- Black marker or fineliner for the outlines
- Crayons, markers, or colored pencils
EASY DOG DRAWING WITH COLOUR FOR BEGINNERS: STEP-BY-STEP GUIDE
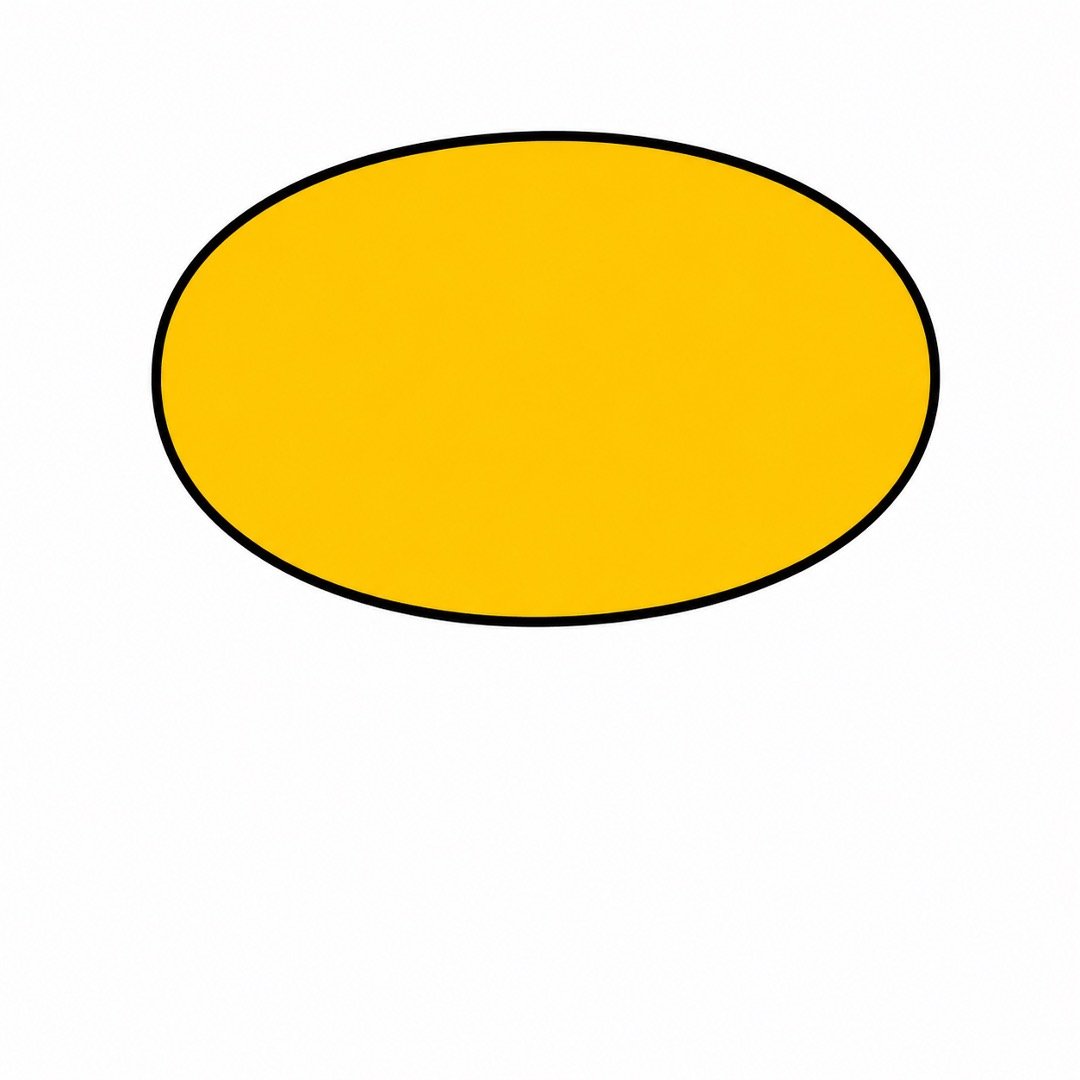
Step 1: Draw the Head
- Instruction: Draw one large oval in the upper half of your paper. Make it a little wider than it is tall. This will be the dog’s head.
- Add color: Lightly color the oval golden yellow.
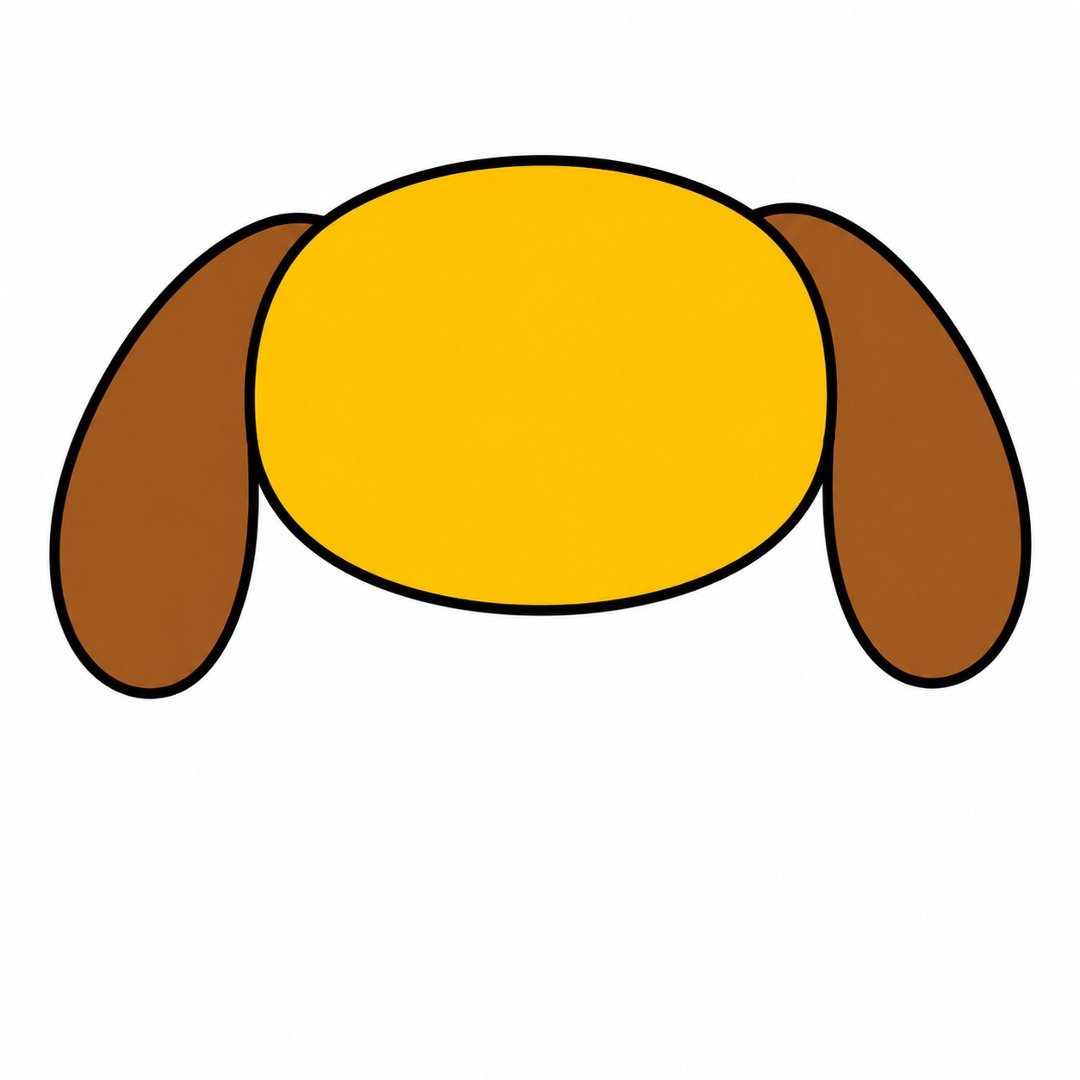
Step 2: Add the Floppy Ears
- Instruction: Draw one long oval on each side of the head. Let both ovals hang downward like floppy ears.
- Add color: Color both ears warm brown.
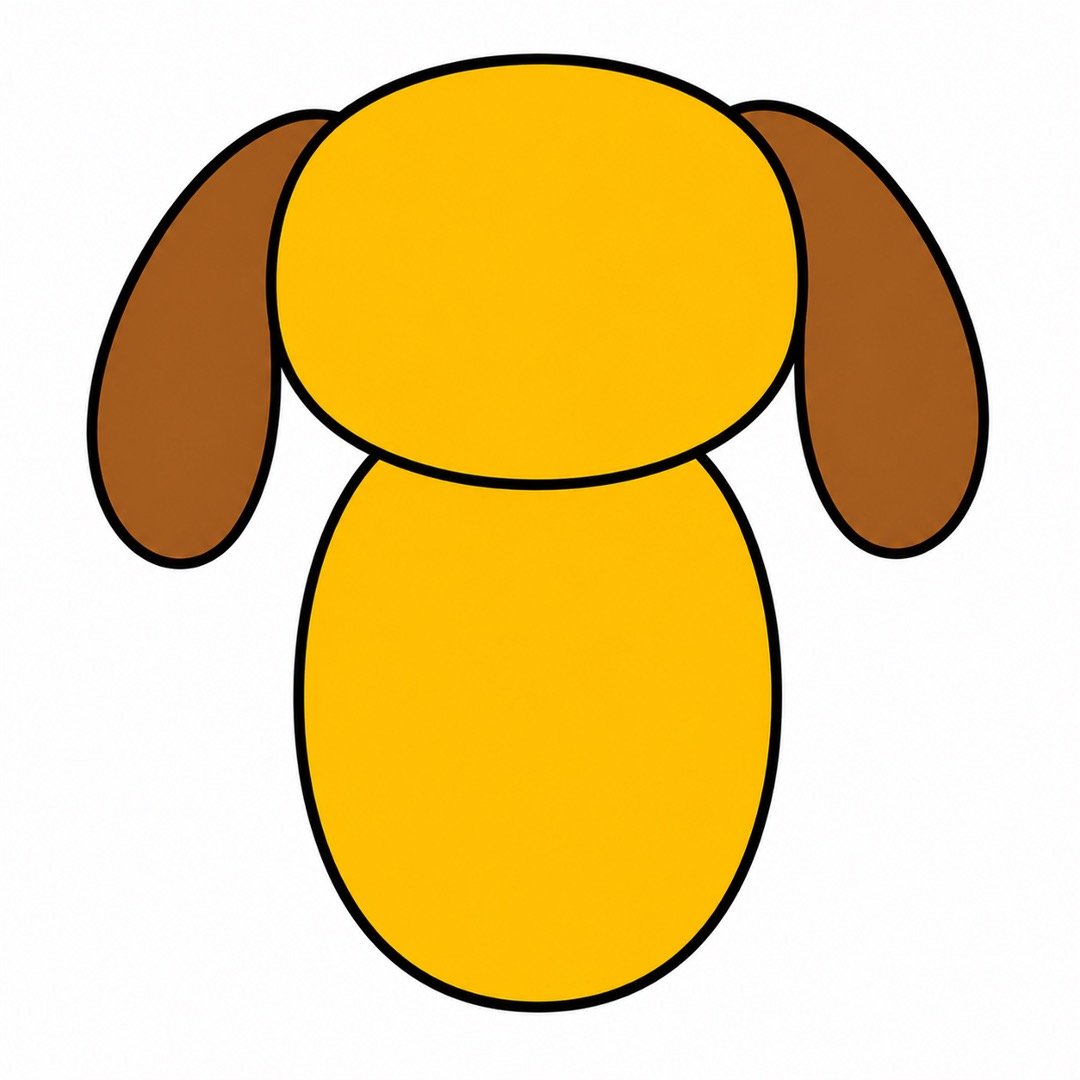
Step 3: Draw the Body
- Instruction: Draw a second oval below the head. Make this oval slightly longer from top to bottom. Let the top of it hide a little behind the head.
- Add color: Color the body golden yellow to match the head.
Step 4: Add the Legs and Paws
- Instruction: Draw four short straight lines coming down from the body. Join each pair of lines with a small curve to make four simple legs and rounded paws.
- Add color: Color the legs golden yellow and the ends of the paws light cream.
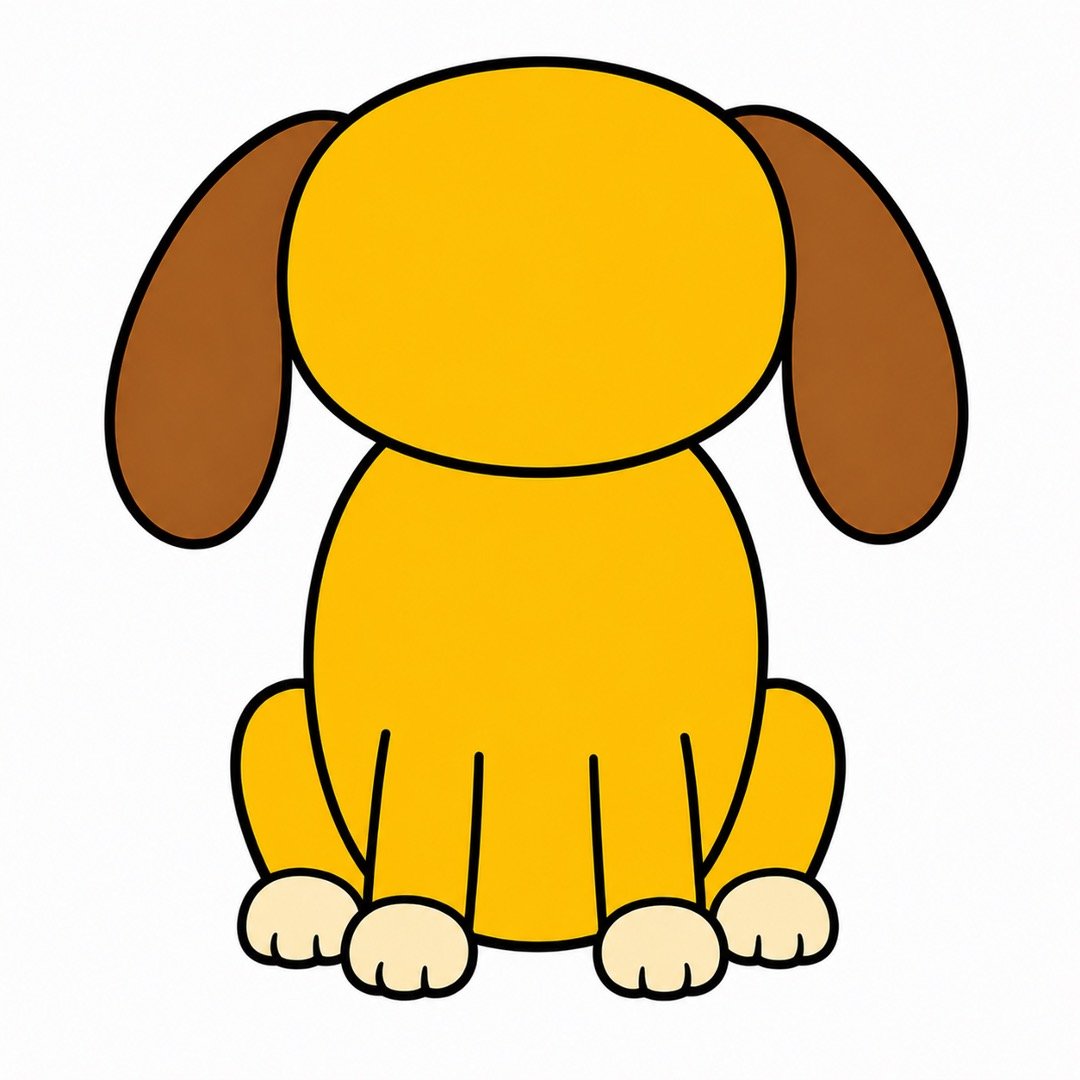
Step 5: Make the Friendly Face
- Instruction: Draw two small circles for the eyes. Add a cream oval in the lower part of the face, a small black oval for the nose, a short curved smile, and a tiny tongue below the smile.
- Add color: Color the eyes and nose black, the face oval light cream, and the tongue bright pink.
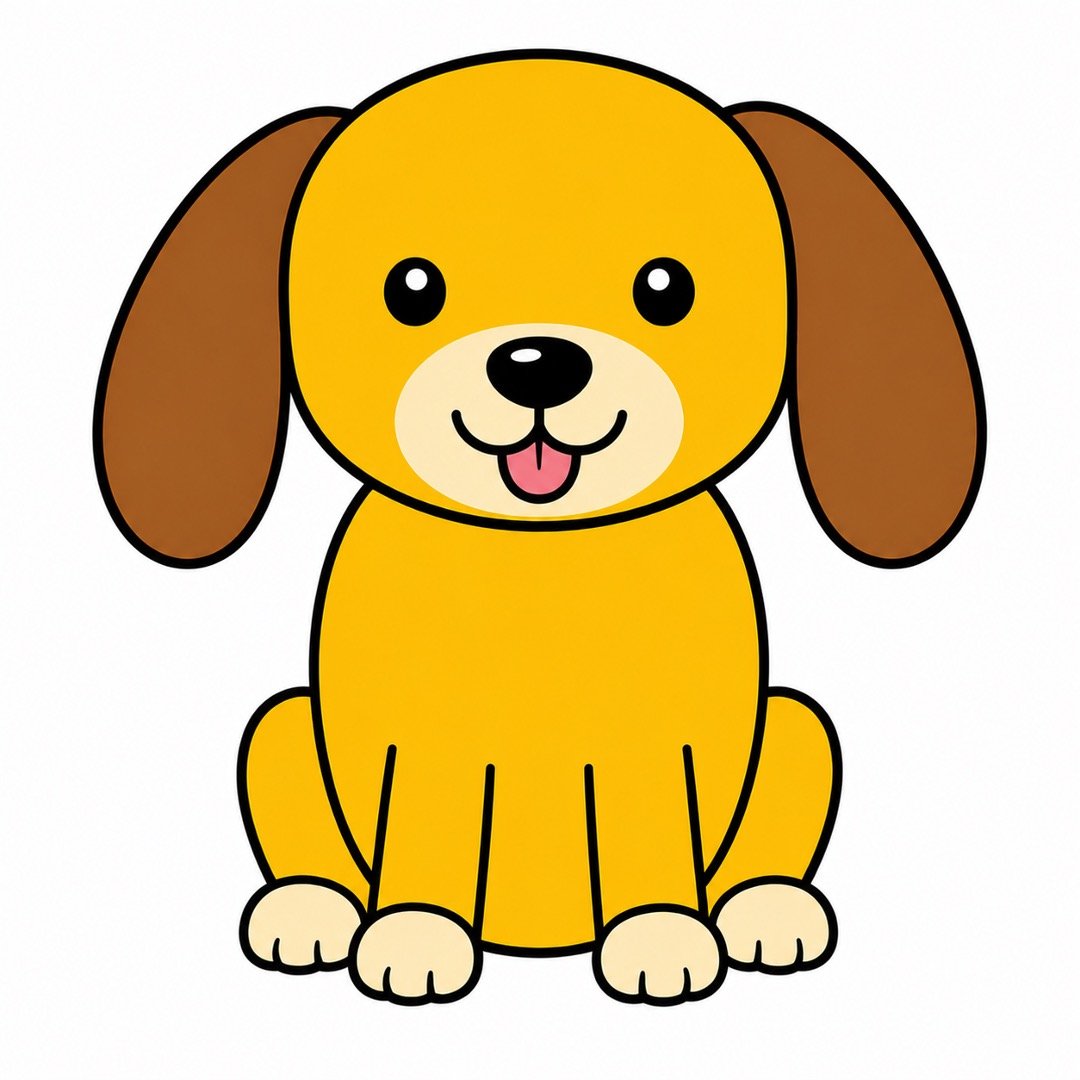
Step 6: Draw the Wagging Tail
- Instruction: Draw two curved lines coming from one side of the body. Join the lines with a rounded curve at the end to make a simple wagging tail.
- Add color: Color the tail golden yellow and make its rounded tip warm brown.
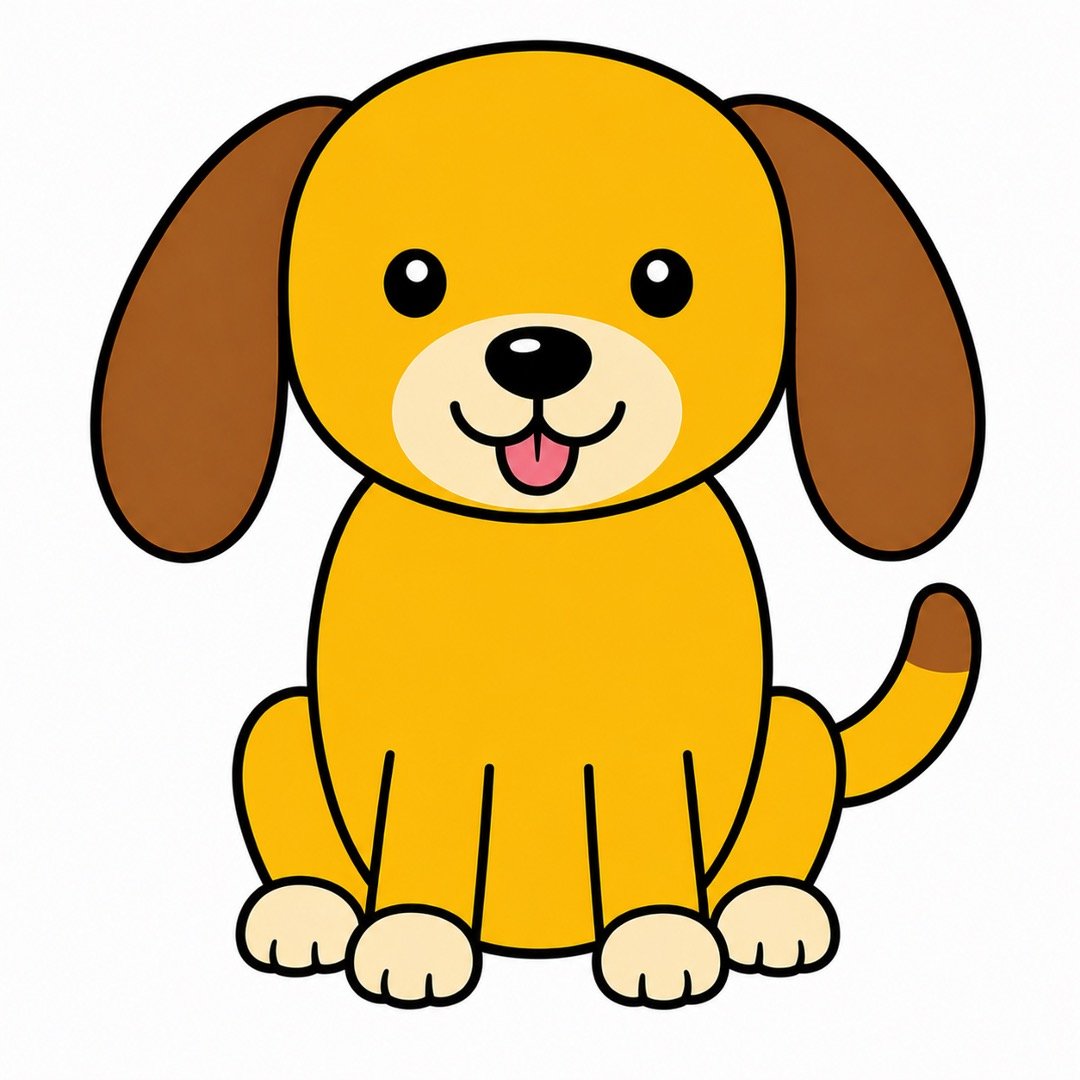
Step 7: Add the Collar
- Instruction: Draw two short curved lines across the neck to make a collar. Add a small circle hanging below it for the dog’s tag.
- Add color: Color the collar bright blue and the round tag cheerful red.
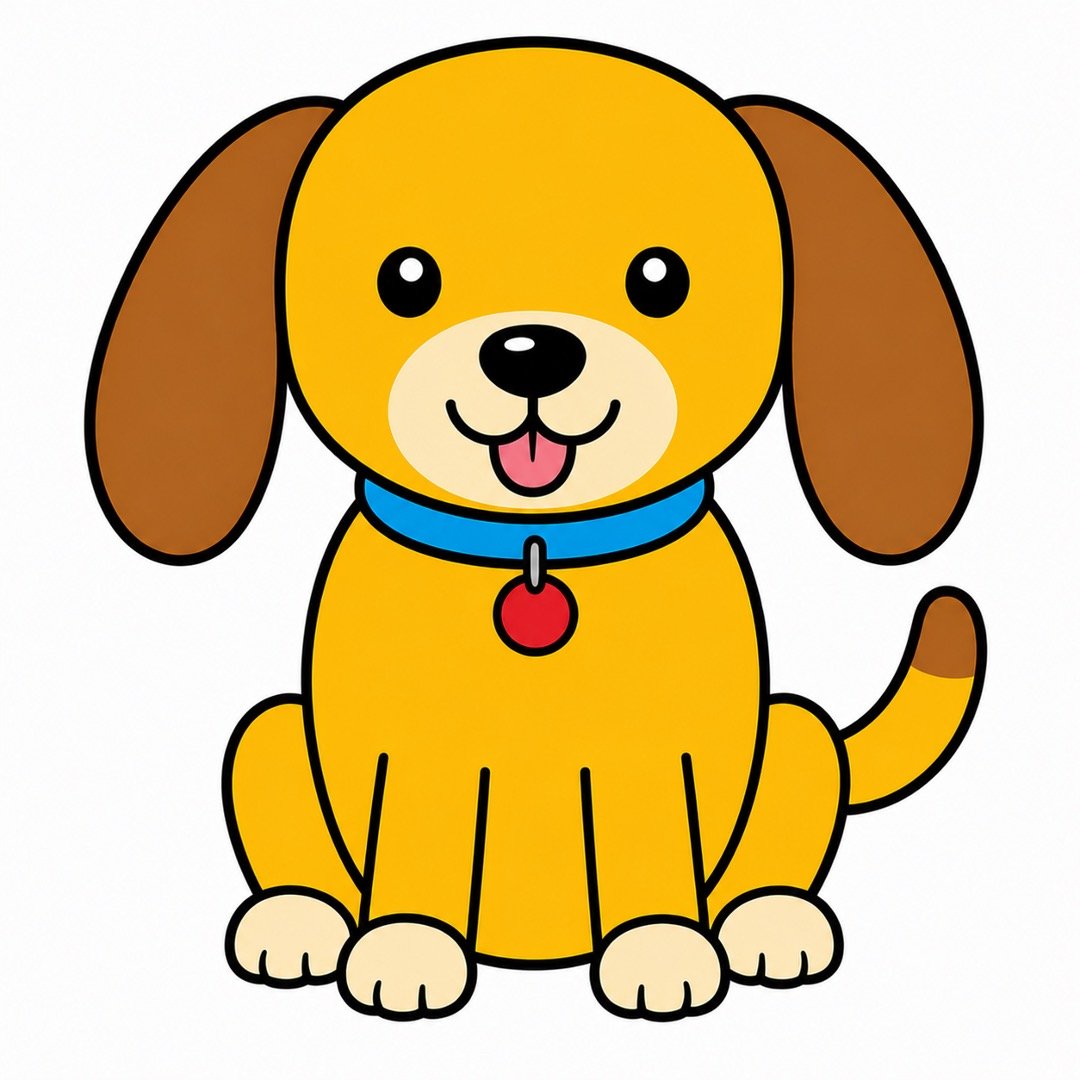
Step 8: Add Colorful Patches and Final Details
- Instruction: Draw a few small ovals or curved shapes on the dog’s head and body for patches. Add two short lines to each paw for the toes. Trace the finished drawing with a black marker, then erase any extra pencil lines.
- Add color: Color one patch orange, one patch turquoise, and one patch purple. Keep the head and body golden yellow, the ears and tail tip brown, the muzzle and paws cream, the collar blue, the tag red, and the tongue pink.
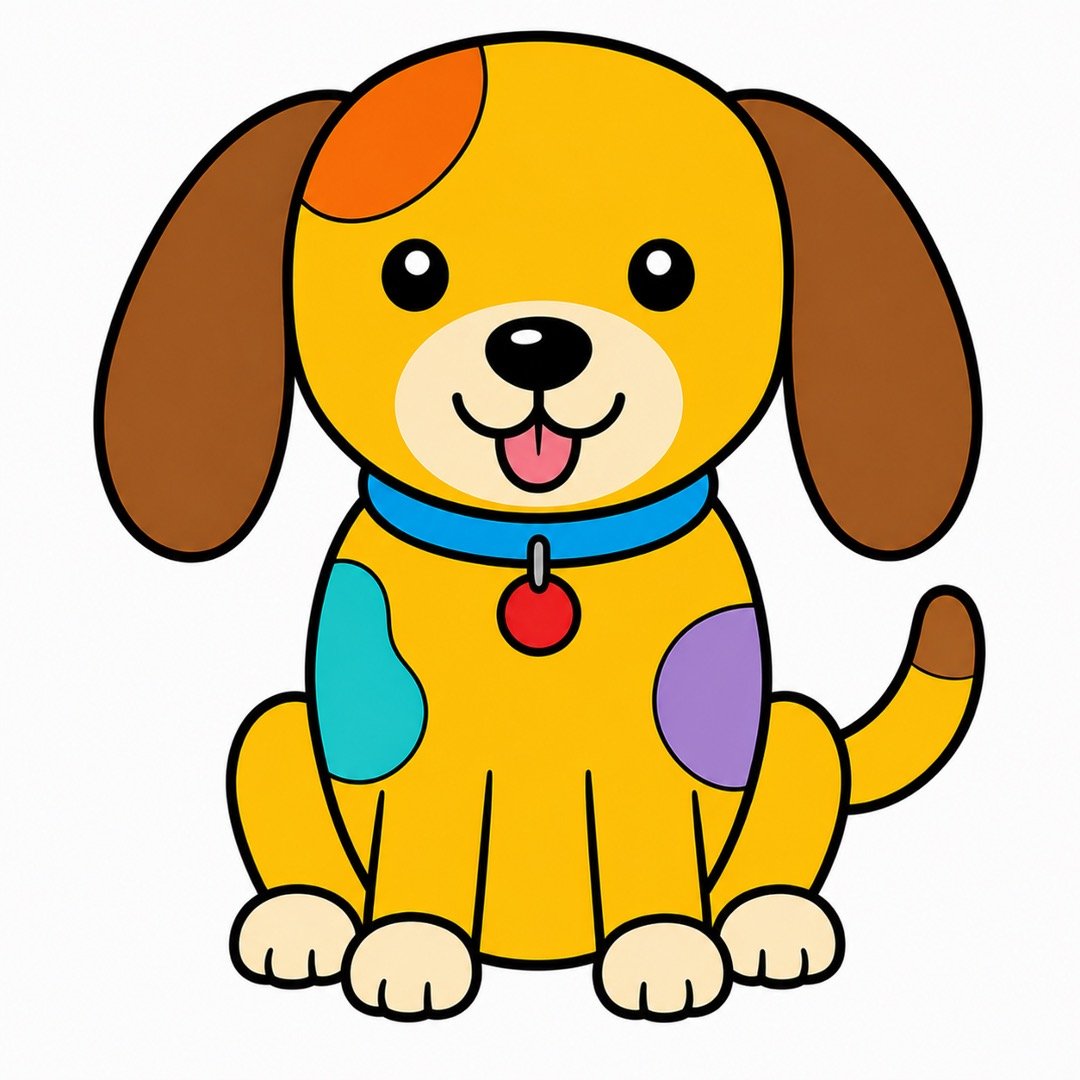
Wonderful work! You turned a few simple shapes and lines into a bright, friendly dog. Share your finished drawing with someone you love, and get ready for the next easy tutorial in our colorful animal drawing series.


About author










Add comment