
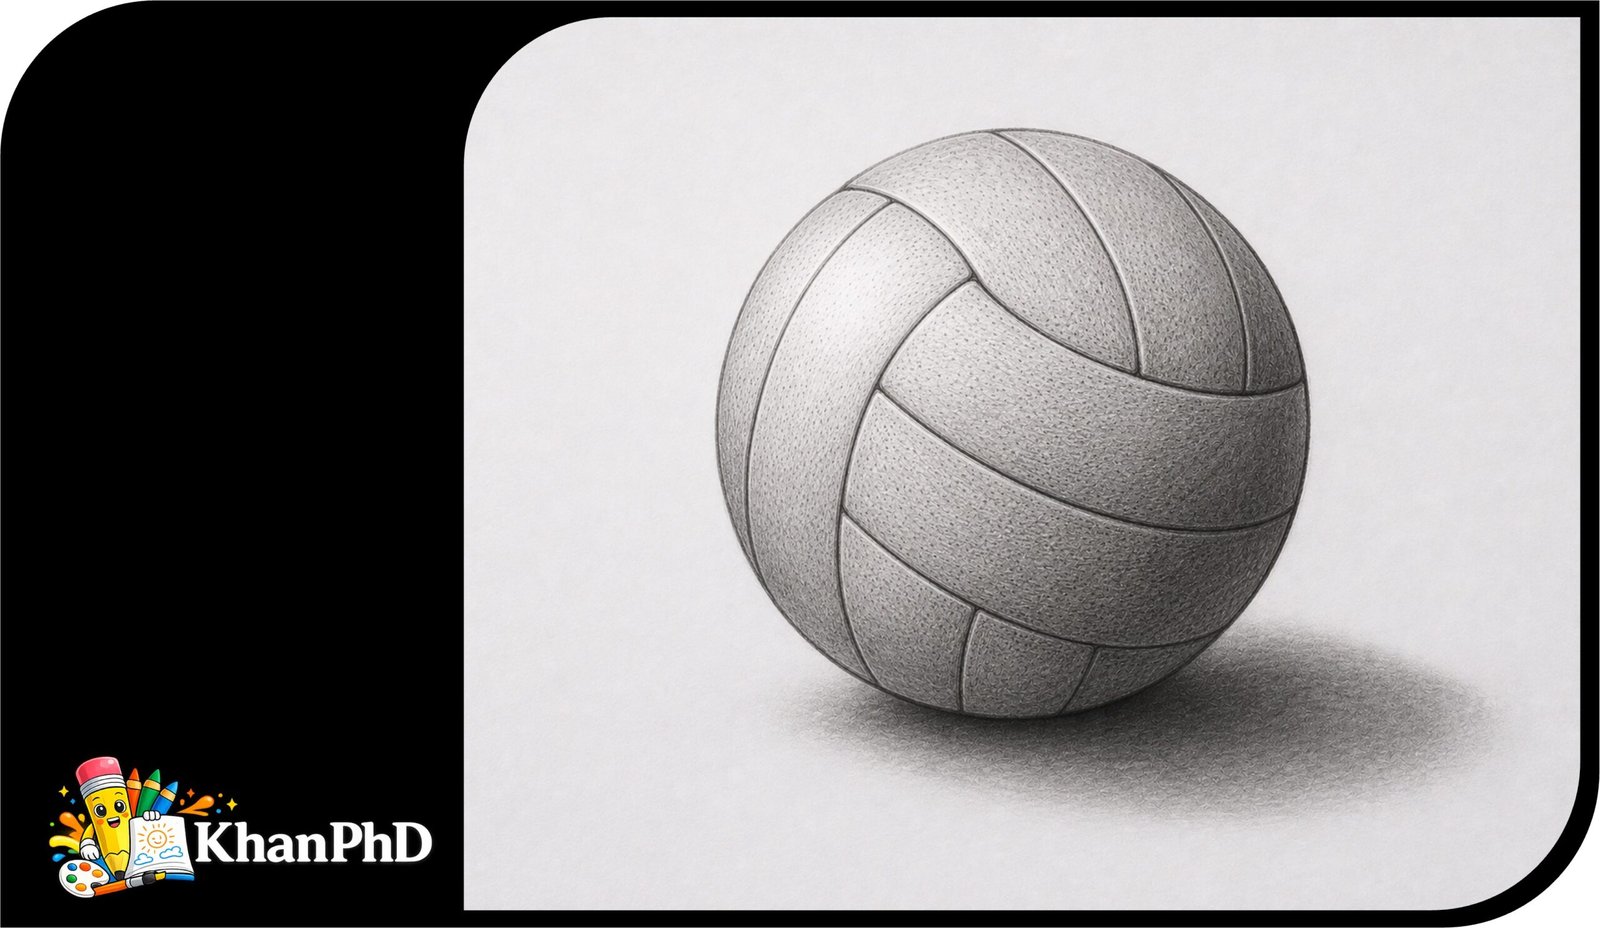
Draw a Realistic Volleyball in 6 Easy Steps
A realistic volleyball drawing is a great first project because the subject begins with one simple circle, yet the finished result can look surprisingly three-dimensional. The curved panel seams, soft shading, and small surface details give you several easy ways to make the ball feel solid and believable. Best of all, you do not need any drawing experience. Even if this is the first time you have used a pencil for art, you can follow each step slowly and erase whenever needed.
The six-step method is simple: rough shapes → refine → details → shading → texture → final polish.
You will need:
- An HB pencil for light sketching
- A 2B pencil for most shading
- An optional 4B pencil for the deepest dark areas
- A clean white eraser or kneaded eraser, which can be pinched into a small point
- Smooth, unlined drawing paper
- A cotton swab, folded tissue, or soft blending tool
A round lid or small plate is optional if drawing a circle freehand feels uncomfortable. You may also use a volleyball photo as a reference for the curved panel pattern. A reference is simply an image you look at while drawing.
Set aside about 30–45 minutes. There is no need to rush or make every line perfect. The goal is to build the ball in small, manageable stages, starting lightly and adding darker marks only after the shape looks right. By the end, you will have a realistic volleyball with rounded form, clear seams, soft texture, and a convincing shadow.
1. SIX-STEP TUTORIAL FOR REALISTIC VOLLEYBALL DRAWING
Step 1: Sketch the Basic Circle
Goal: Create a light foundation that establishes the volleyball’s size, position, and basic proportions.
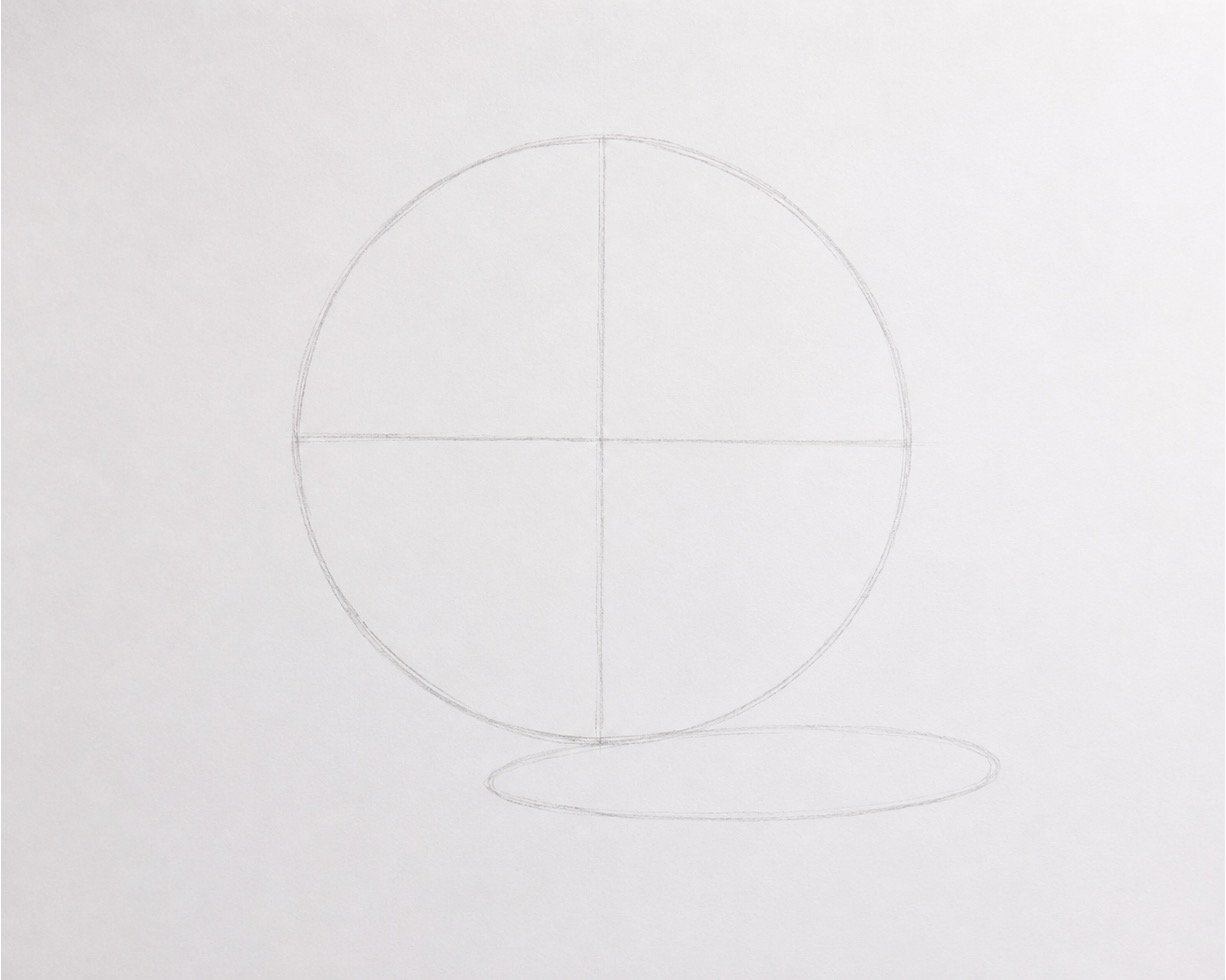
Instructions: Use an HB pencil and draw a large circle with very light pressure. Move your whole hand instead of trying to make the circle with one small wrist movement. Draw a faint vertical line and horizontal line through the center to help position the panel pattern later. Add a small, flat oval beneath the ball to mark where its shadow will sit.
Beginner tip: A common mistake is pressing too hard while drawing the first circle. Keep the lines pale so they are easy to correct or erase.
Step 2: Refine the Outline and Contour
Goal: Turn the rough circle into a cleaner, more confident outer shape.
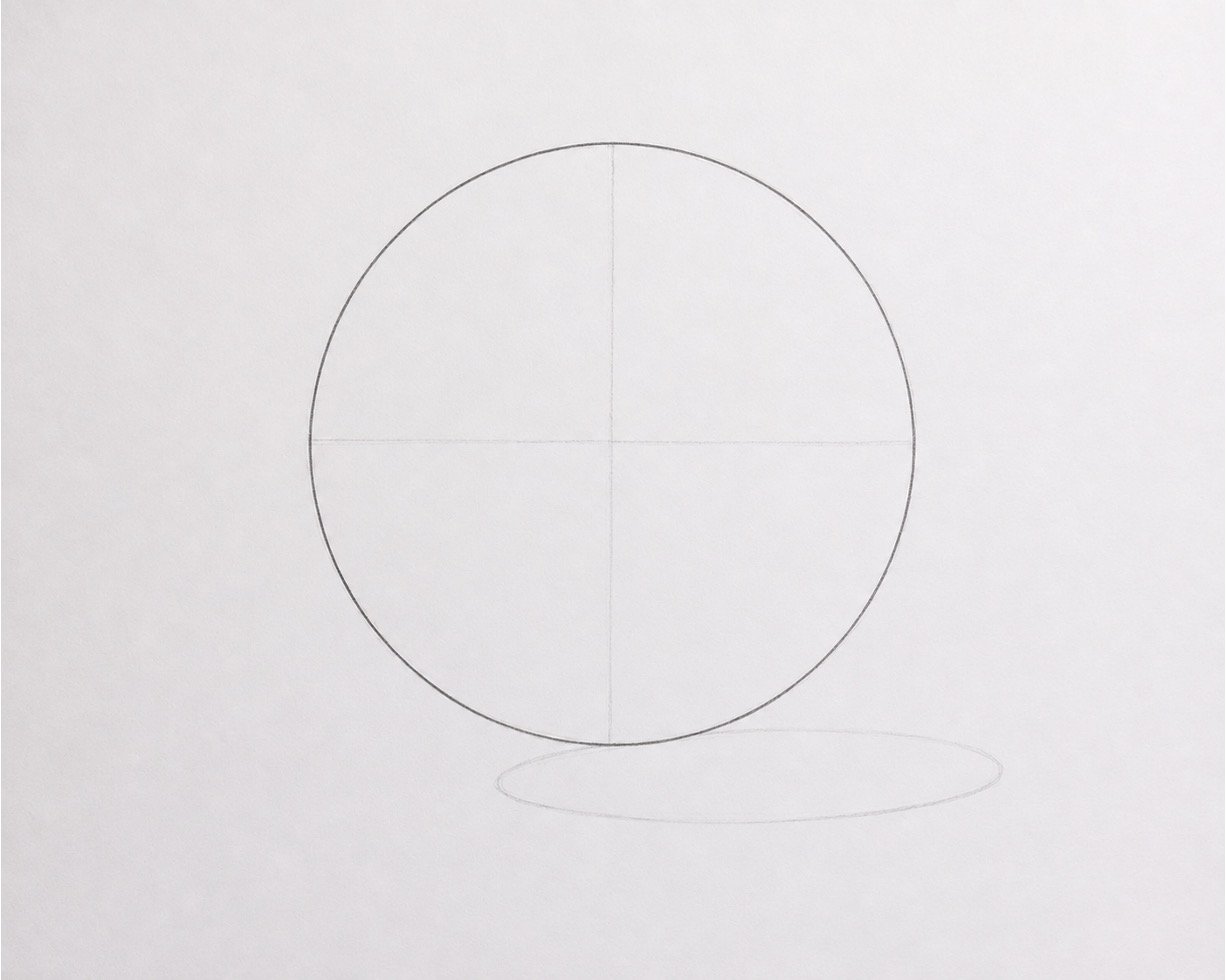
Instructions: Look around the circle and choose the smoothest parts of your first sketch. Draw one cleaner line over those areas using the HB pencil. The outer edge is called the contour, which simply means the visible boundary of an object. Erase extra circle marks, but leave the center guidelines faintly visible.
Beginner tip: Do not repeatedly trace around the entire circle with dark, scratchy lines. Use a few longer strokes and rotate the paper when that makes the curve easier to draw.
Step 3: Draw the Curved Panel Seams
Goal: Add the recognizable curved sections that make the circle look like a volleyball.
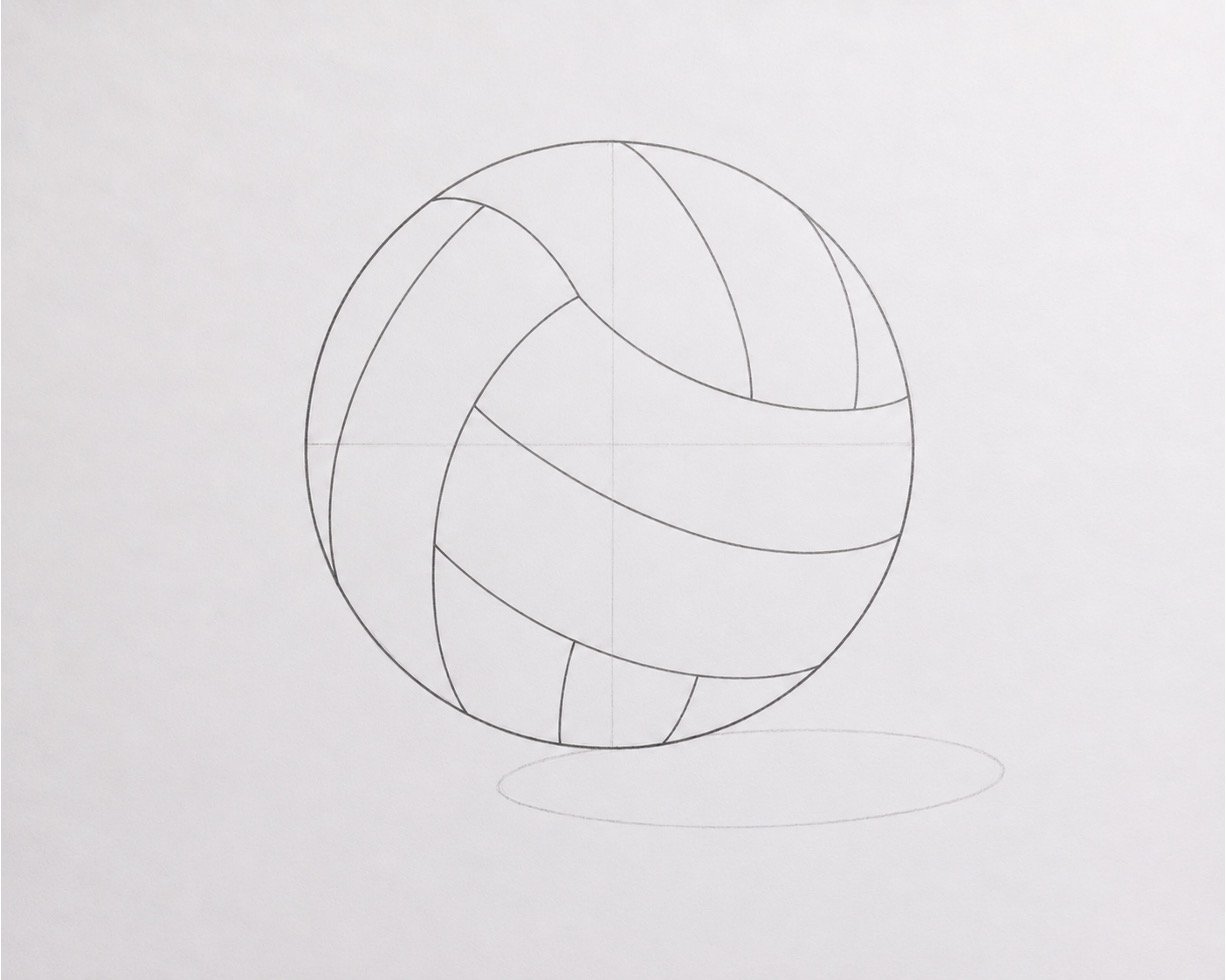
Instructions: Study a volleyball or reference photo and find the largest curved seam running through the middle. Sketch that seam lightly with the HB pencil, allowing it to bend with the round shape of the ball. Add the other main seam bands one at a time, then connect them with shorter curved lines. Keep every seam gently curved so it appears to wrap around the ball instead of lying flat on the page.
Beginner tip: A common mistake is trying to memorize or count every panel. Focus on copying the largest seam shapes first, then add smaller connections only after the main pattern looks balanced.
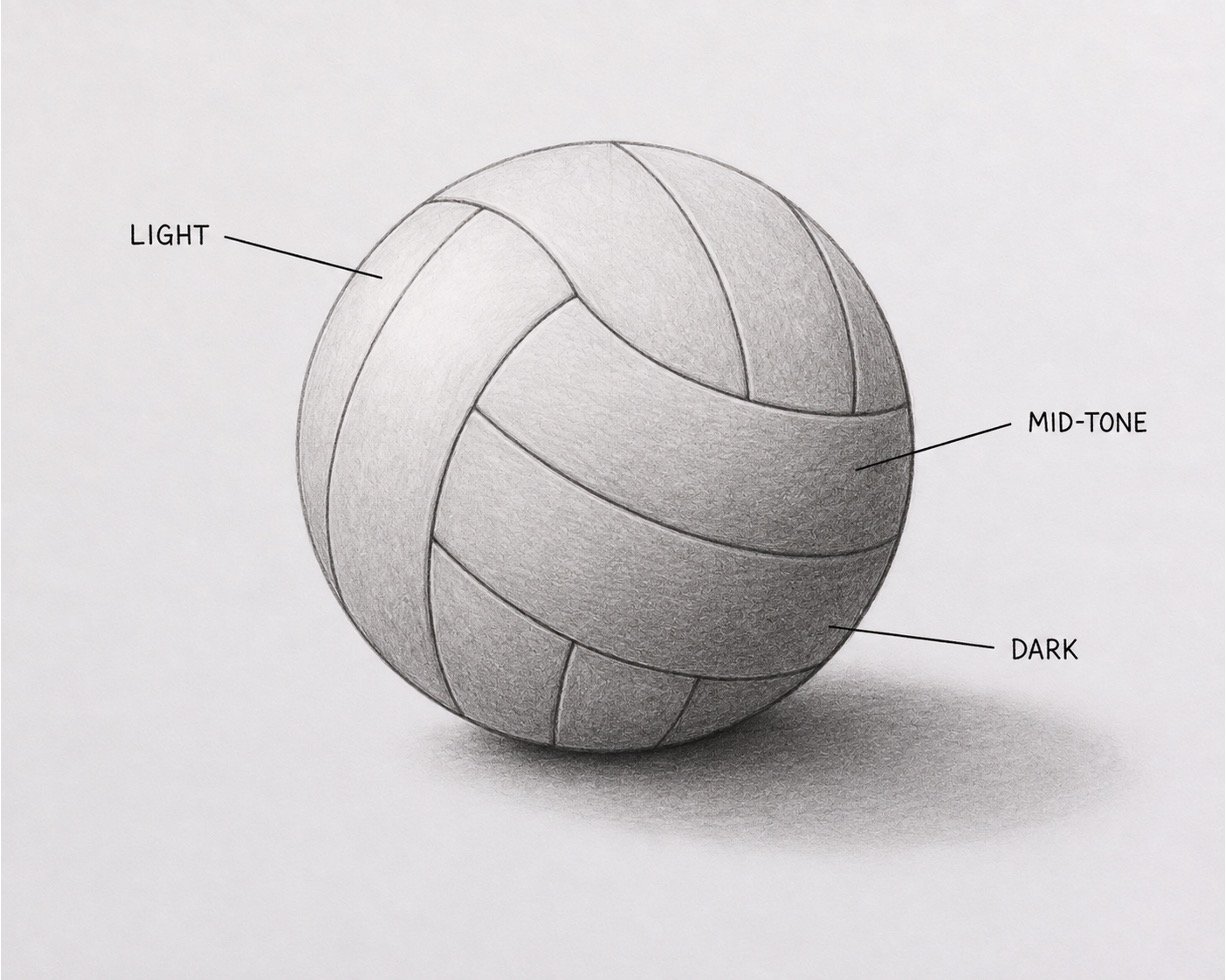
Step 4: Add Light, Mid-Tone, and Dark Shading
Goal: Use light and shadow to make the volleyball appear round rather than flat.
Instructions: Imagine that a lamp is shining from the upper left, making that side of the ball brightest. Shade the lower-right side lightly with a 2B pencil, using soft strokes that follow the curve of the ball. In drawing, value means how light or dark an area is; use a light value, a mid-tone or medium value, and a dark value. Darken the oval beneath the ball to create a cast shadow, which is the shadow an object makes on the surface below it.
Beginner tip: Avoid shading the ball in separate stripes. Build the darkness gradually so the light area flows smoothly into the mid-tone and then into the dark side.
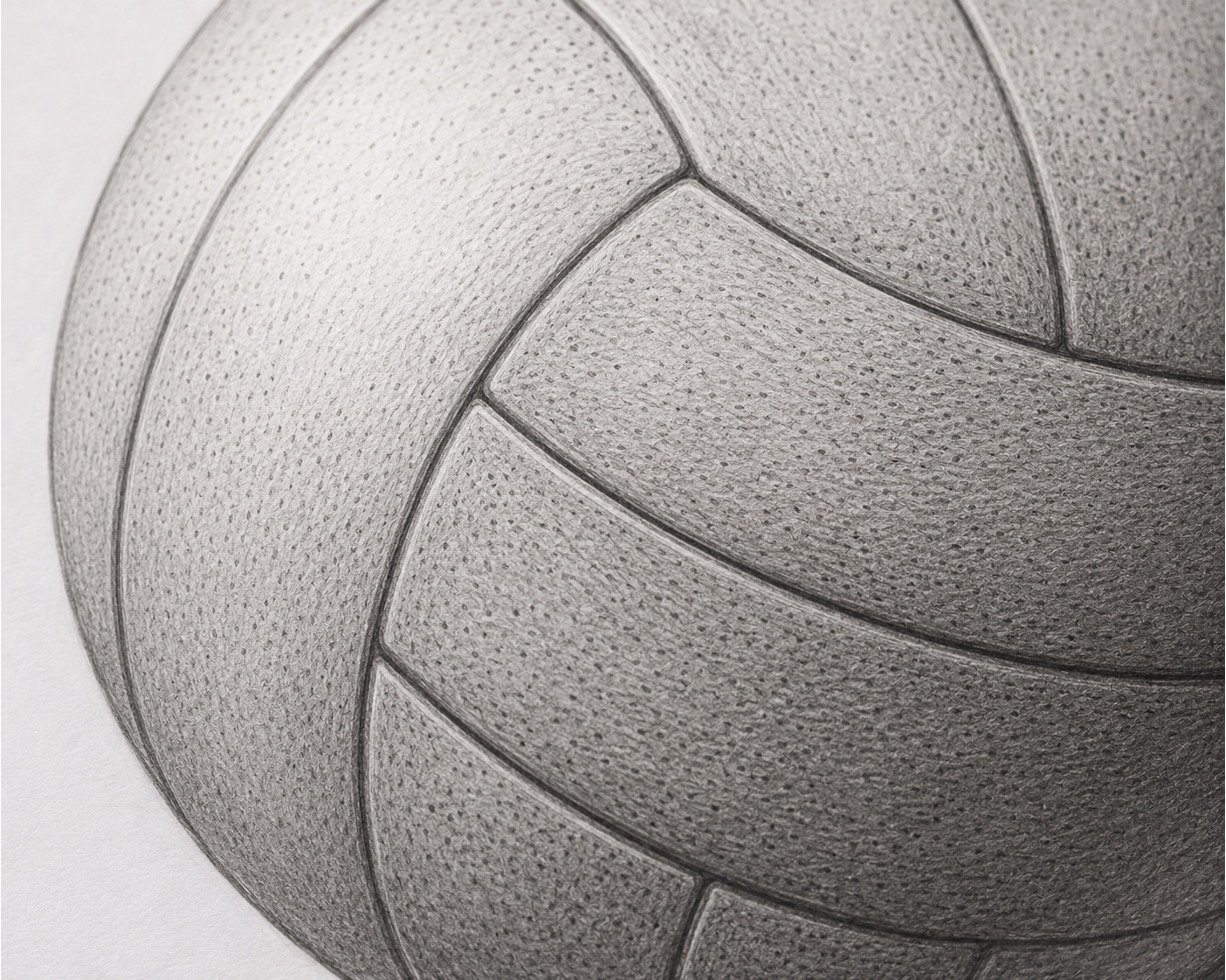
Step 5: Add Surface Texture and Seam Details
Goal: Suggest the volleyball’s pebbled covering and strengthen the panel construction.
Instructions: Use a sharp HB or 2B pencil to place tiny dots, short dashes, and broken marks across a few panels. Keep the marks subtle and leave small spaces between them so the surface does not become too busy. Darken the panel seams slightly, especially on the shadowed side of the ball. Add fewer texture marks in the brightest area so it continues to look shiny and well lit.
Beginner tip: Covering every part of the ball with identical dots can make it look dirty or flat. Vary the spacing and darkness, and stop often to view the drawing from a short distance.
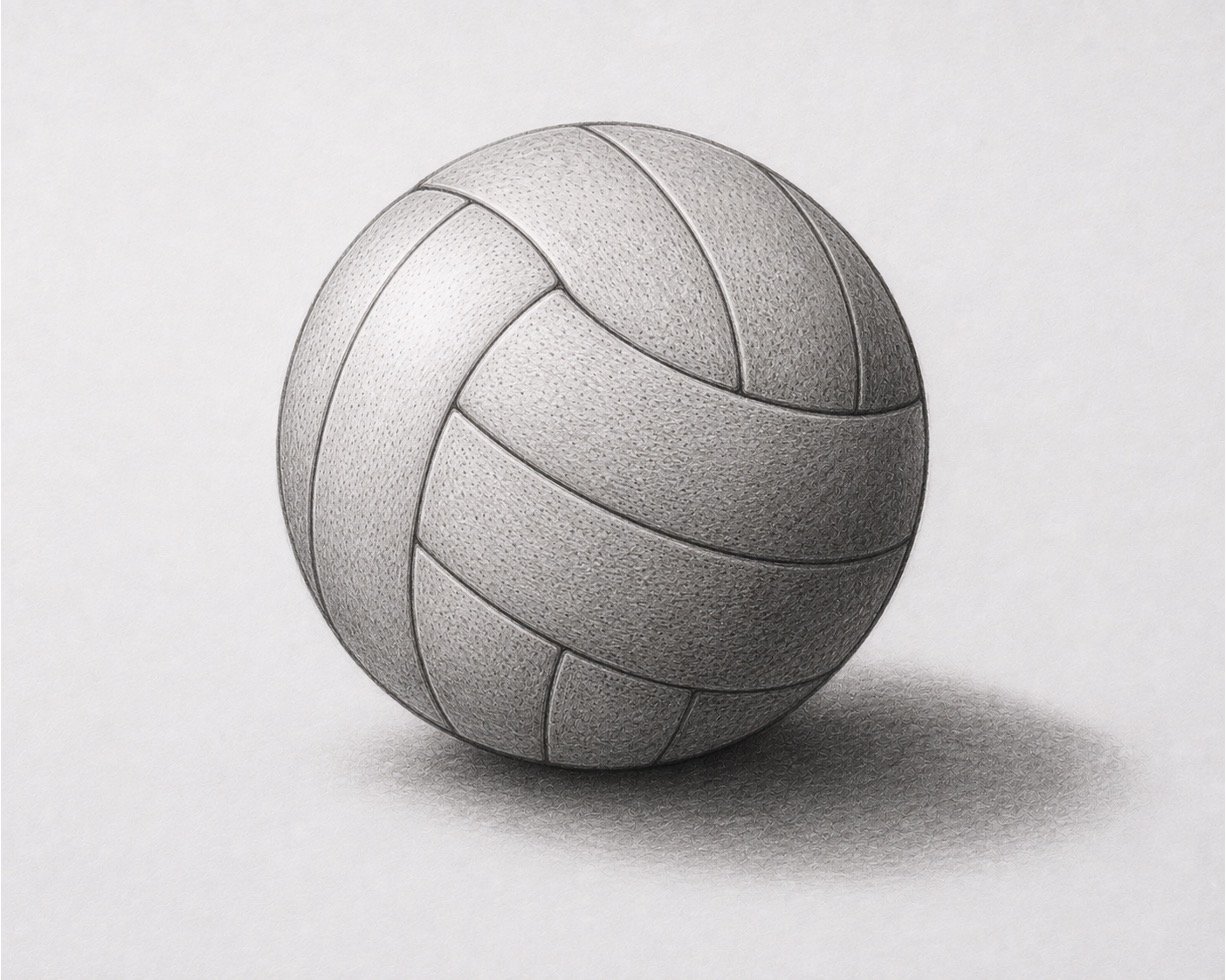
Step 6: Blend, Highlight, and Polish
Goal: Smooth the shading, restore bright areas, and make the finished drawing look clean and realistic.
Instructions: Gently rub the mid-tone areas with a cotton swab, folded tissue, or blending tool. Blending means smoothing pencil marks so the change between light and dark looks softer. Pinch a kneaded eraser into a small point and lift graphite from the upper-left area to create a highlight, the brightest spot where light appears to hit the ball. Use a 4B pencil, or firmer pressure with a 2B pencil, to deepen the darkest seams, lower edge, and center of the cast shadow.
Beginner tip: Too much blending can erase the panel pattern and make the ball look blurry. Blend the broad shaded areas lightly, then redraw any seams that have become unclear.

About author










Add comment