
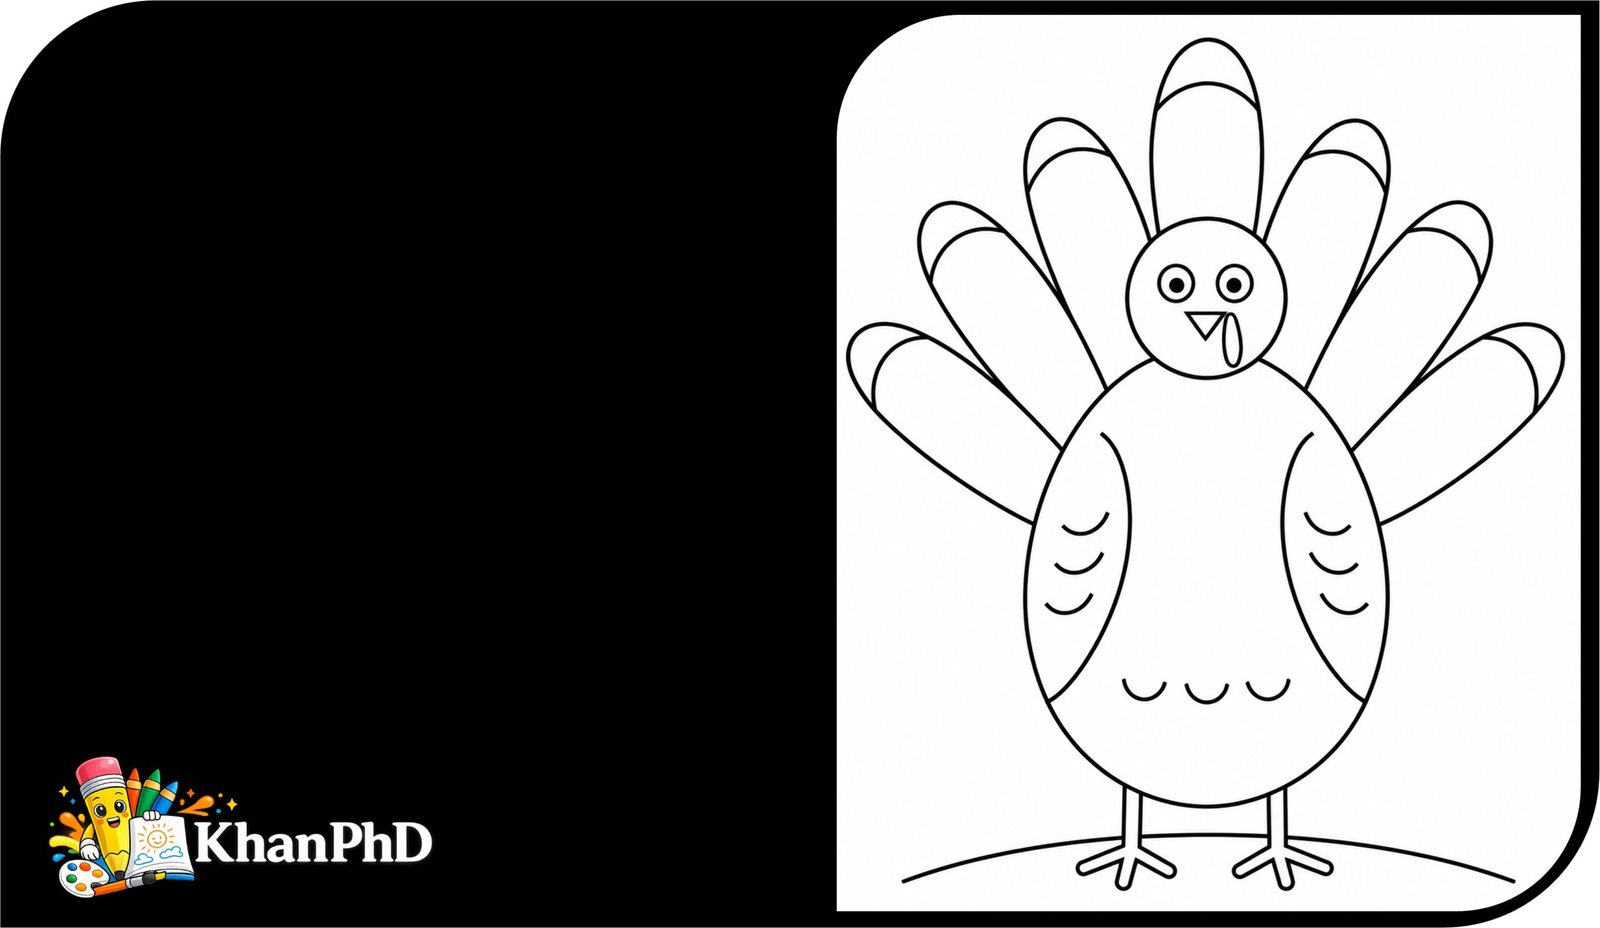
Easy Turkey Drawing for Beginners
Drawing a turkey may look tricky at first, especially when you notice all those tail feathers. The good news is that this easy lesson turns the whole bird into a few simple shapes. You do not need special skills, a steady hand, or any drawing experience. You only need to follow one small step at a time.
We will begin with a large oval for the body. Then we will add a circle for the head, a tiny triangle for the beak, and long oval shapes for the tail. Simple curves and straight lines will become the wings, legs, feet, and feather details. Each new step keeps everything you drew before, so your turkey will slowly grow on the page without any confusing jumps.
By the end, you will have a cheerful cartoon turkey with a round body, a friendly face, a wide fan of feathers, and sturdy little feet. Your lines do not need to look exactly like the examples. A slightly lopsided oval or an uneven feather can make your turkey feel even more fun and personal. Draw lightly at first so you can erase easily, and take your time. There is no need to rush.
This tutorial is also easy to repeat. Once you finish one turkey, try drawing another one larger, smaller, or with different feather patterns. Every attempt helps your hand feel more comfortable.
Ready to begin? Let us gather a few simple materials.
MATERIALS NEEDED
- A sheet of plain paper
- A pencil
- An eraser
- A black pen or marker, optional
- Colored pencils, crayons, or markers, optional
STEP-BY-STEP GUIDE EASY TURKEY DRAWING
Step 1: Draw the Body
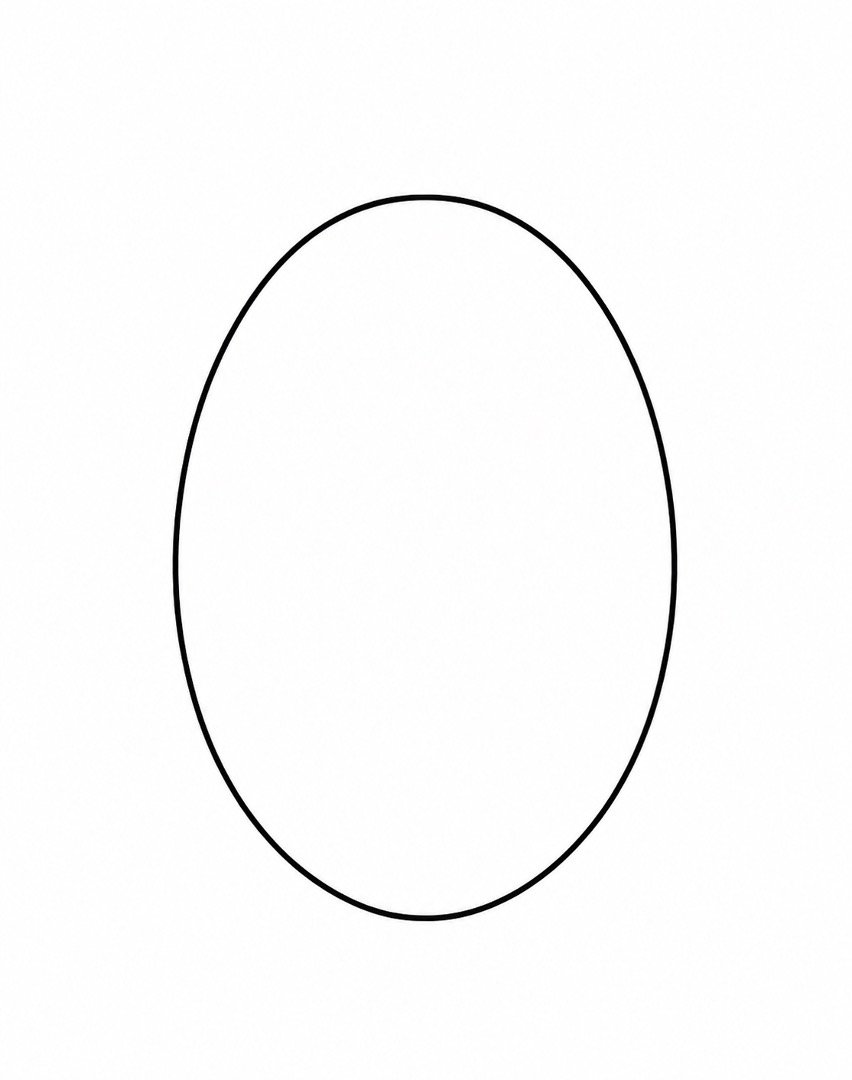
Near the middle of your paper, draw one large upright oval. Make it about one-third of the height of your page. Leave plenty of open space above it and on both sides for the head and tail.
Step 2: Add the Head
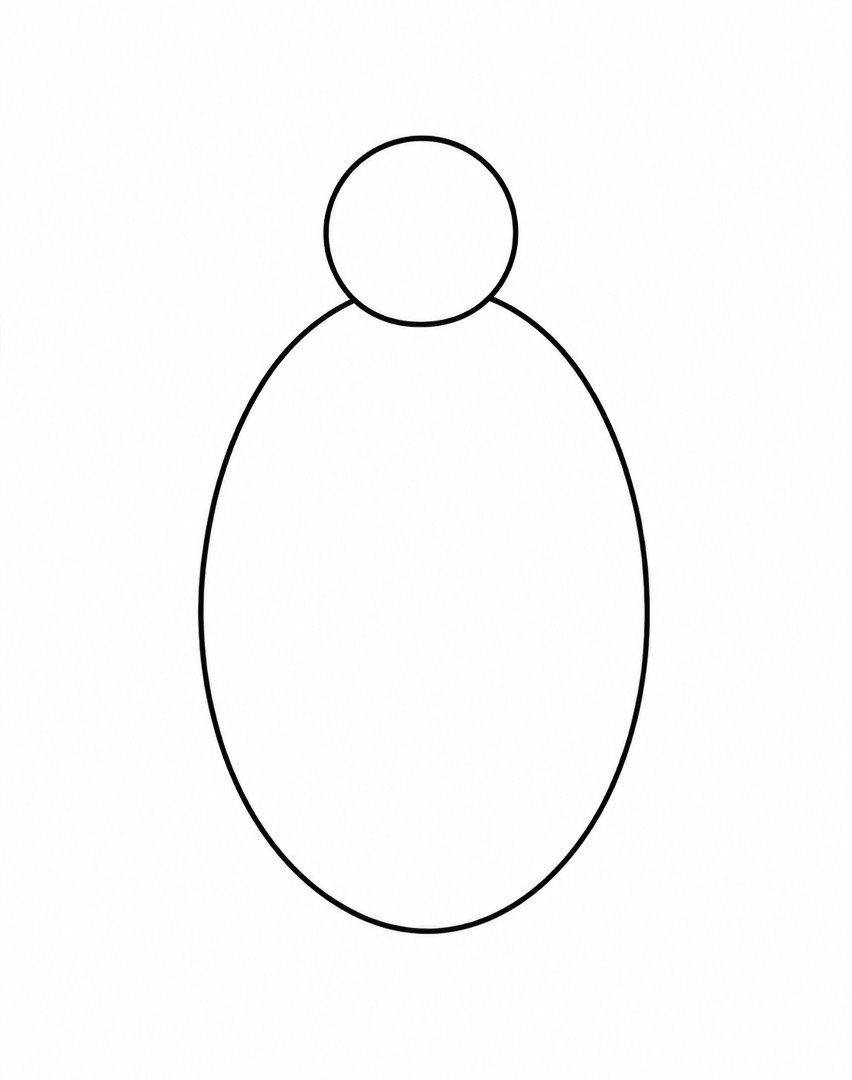
Draw a small circle centered on top of the body oval. Make the circle about one-third as wide as the body. Let the bottom of the circle overlap the top of the oval slightly.
Step 3: Make the Face
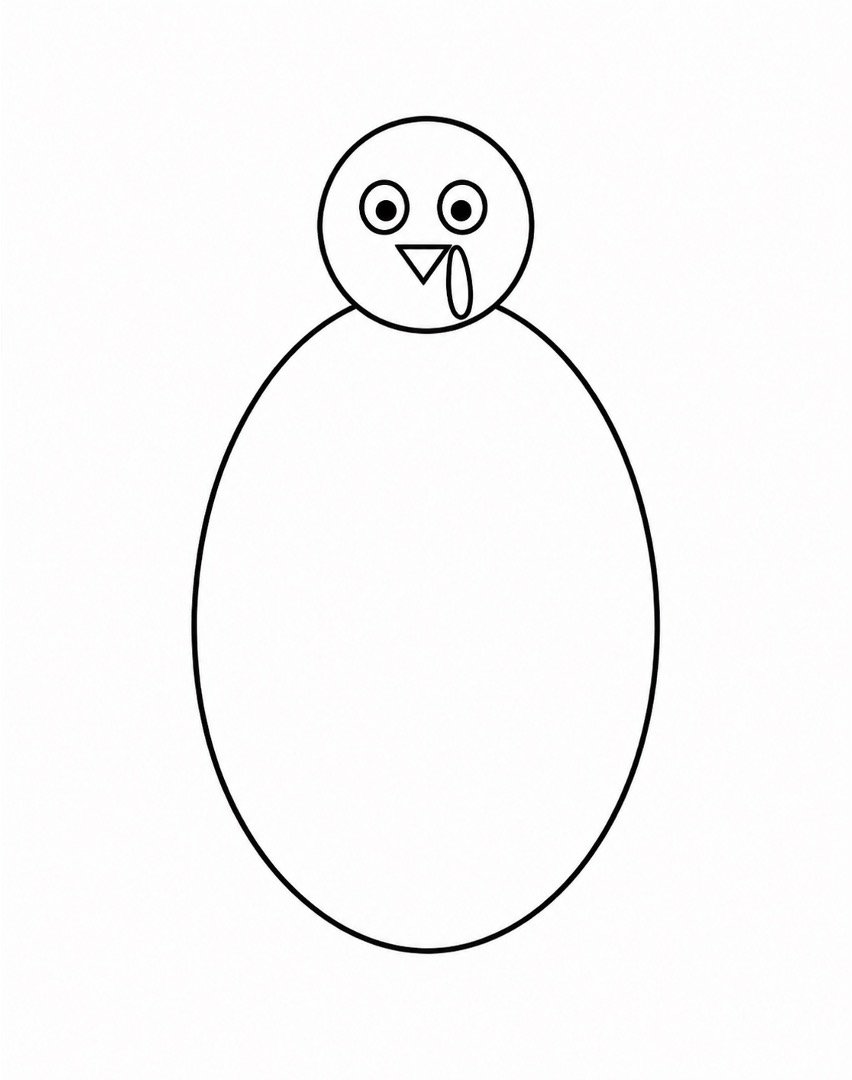
Draw two tiny circles across the upper half of the head. Add a smaller circle inside each eye for the pupils. Below the eyes, draw a small triangle pointing downward for the beak. Add a small hanging oval beside the beak for the soft flap under a turkey’s face.
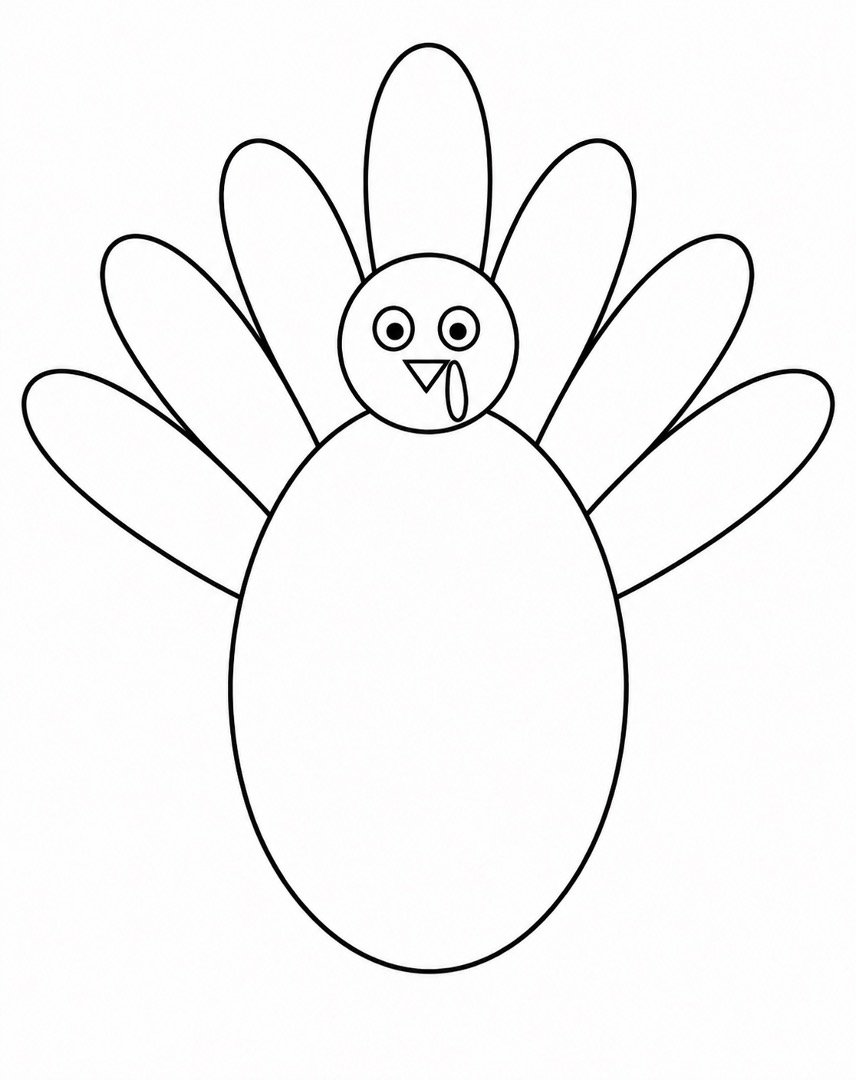
Step 4: Draw the Tail Feathers
Behind the body, draw one long upright oval rising above the head. Add three long ovals on each side, tilting them outward to make a fan. Make each feather about as long as the body. Stop the lower feather lines when they reach the body so the tail looks like it is behind the turkey.
Step 5: Add the Wings
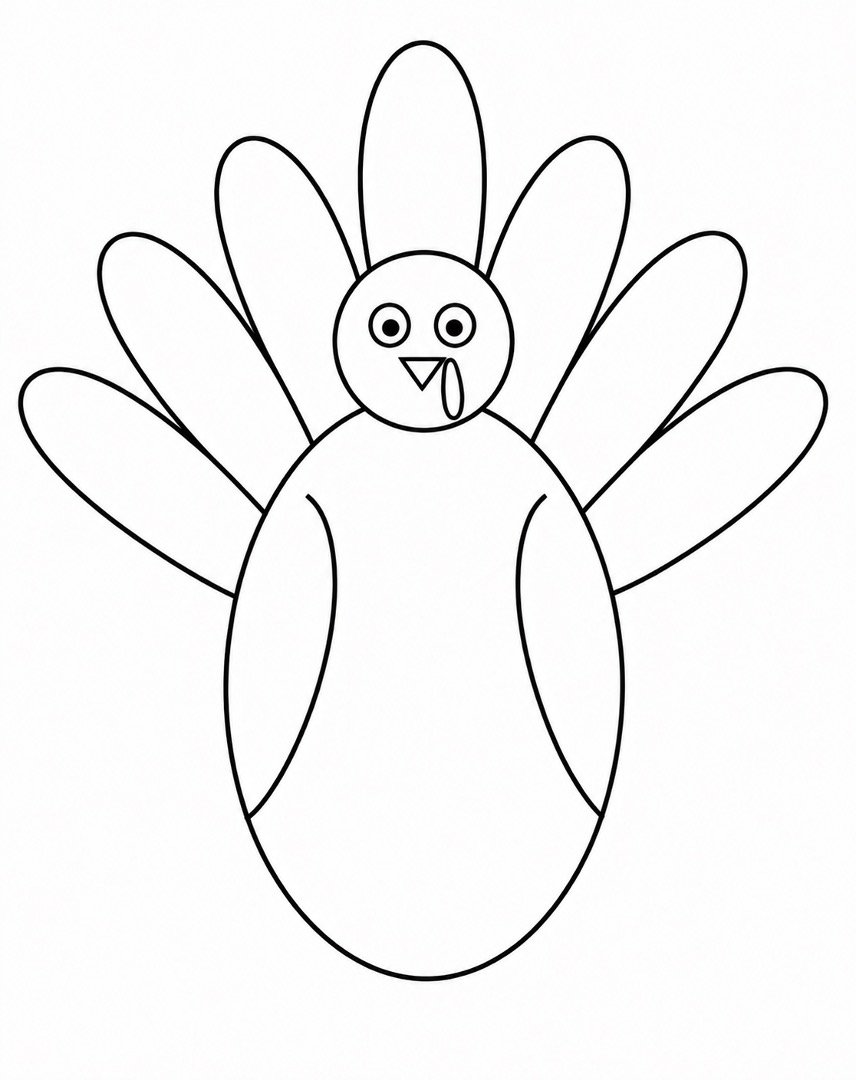
Inside the left side of the body, draw a long curve from just below the head toward the lower half of the oval. Add another curve that joins the first one, making a narrow oval-like wing. Repeat the same shapes on the right side.
Step 6: Draw the Legs and Feet
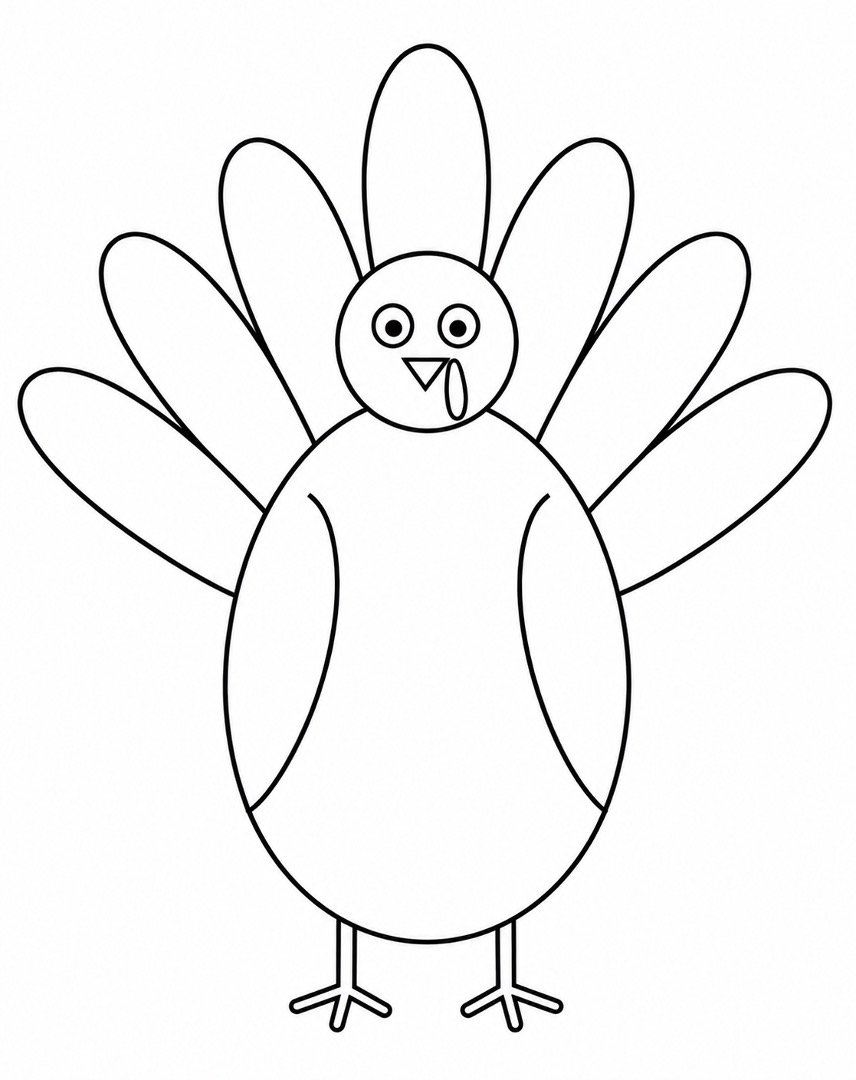
From the bottom of the body, draw two short straight lines pointing downward. Leave a small space between the legs. At the bottom of each leg, add three short straight lines spreading outward like simple toes. Keep the legs about one-quarter as tall as the body.
Step 7: Add Feather Patterns
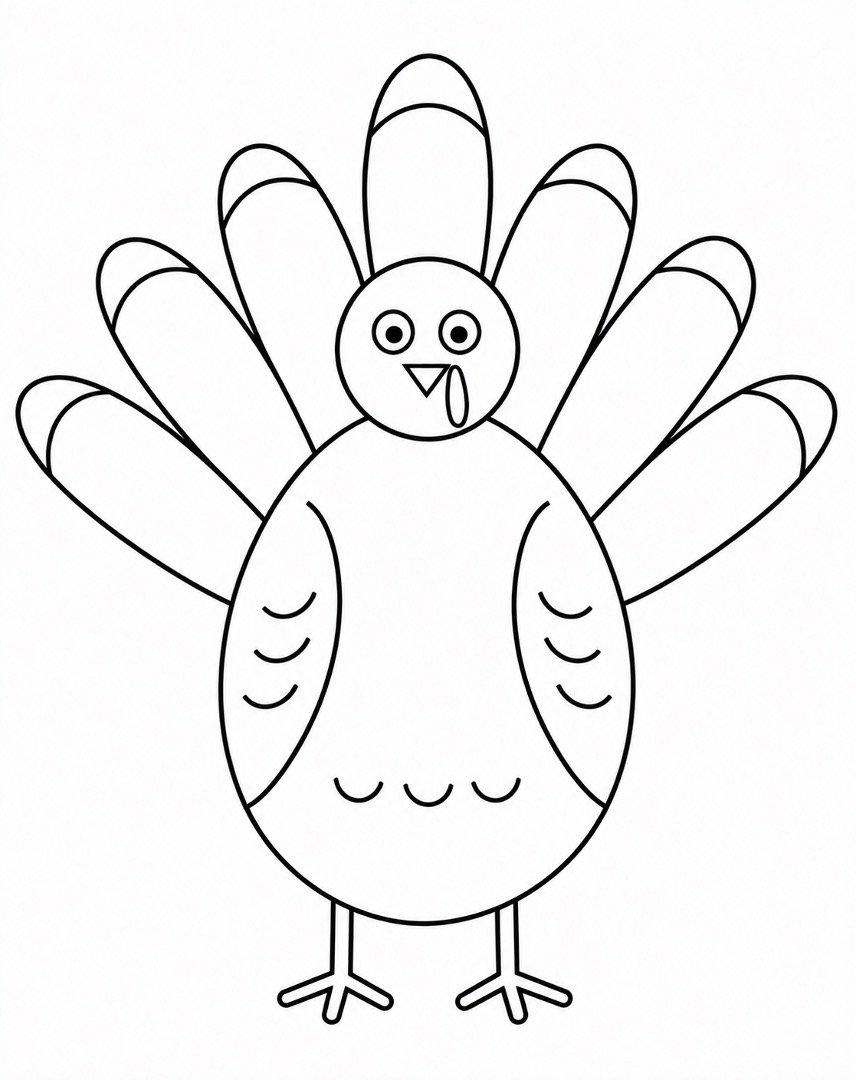
Inside each tail feather, draw one smaller curved line that follows the rounded top. Add two or three short curves inside each wing. Finish this step with three small curved feather marks across the lower part of the body.
Step 8: Clean Up and Add the Ground
Draw one gentle curved line beneath the feet to show the ground. Erase any tail lines that accidentally pass through the body or head. Trace the finished drawing with a black pen or marker if you would like a darker outline. Erase any remaining light pencil marks after the ink is dry.
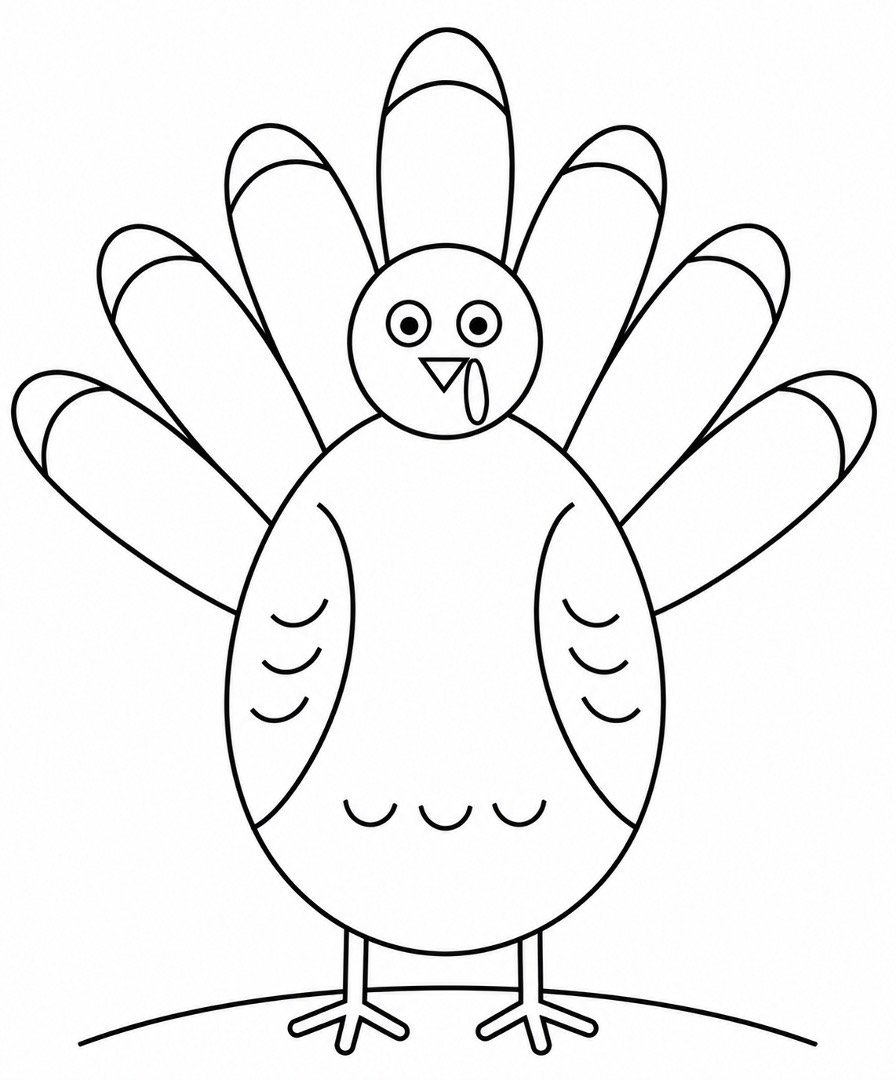
FINAL RESULT
Your completed turkey has a round oval body, a small friendly head, two simple wings, sturdy feet, and a large fan of seven feathers. The basic circles, ovals, curves, straight lines, and triangles come together to create a cheerful cartoon bird.
You can leave your turkey as clean black-and-white line art, or add color. Try a brown body, an orange beak and feet, and a red face flap. The tail feathers can be red, orange, yellow, green, or any colors you enjoy.
For gentle shading, press lightly with your pencil along one side of the body and beneath the wings. You can also add dots, stripes, circles, or extra curved lines inside the tail feathers. Keep the decorations simple so the main shapes remain easy to see.
Great job finishing your turkey! Remember that your drawing does not need to look perfect to be successful. Share your turkey with a friend or family member, leave a comment with any questions, or continue practicing with another easy animal drawing tutorial.
About author










Add comment