
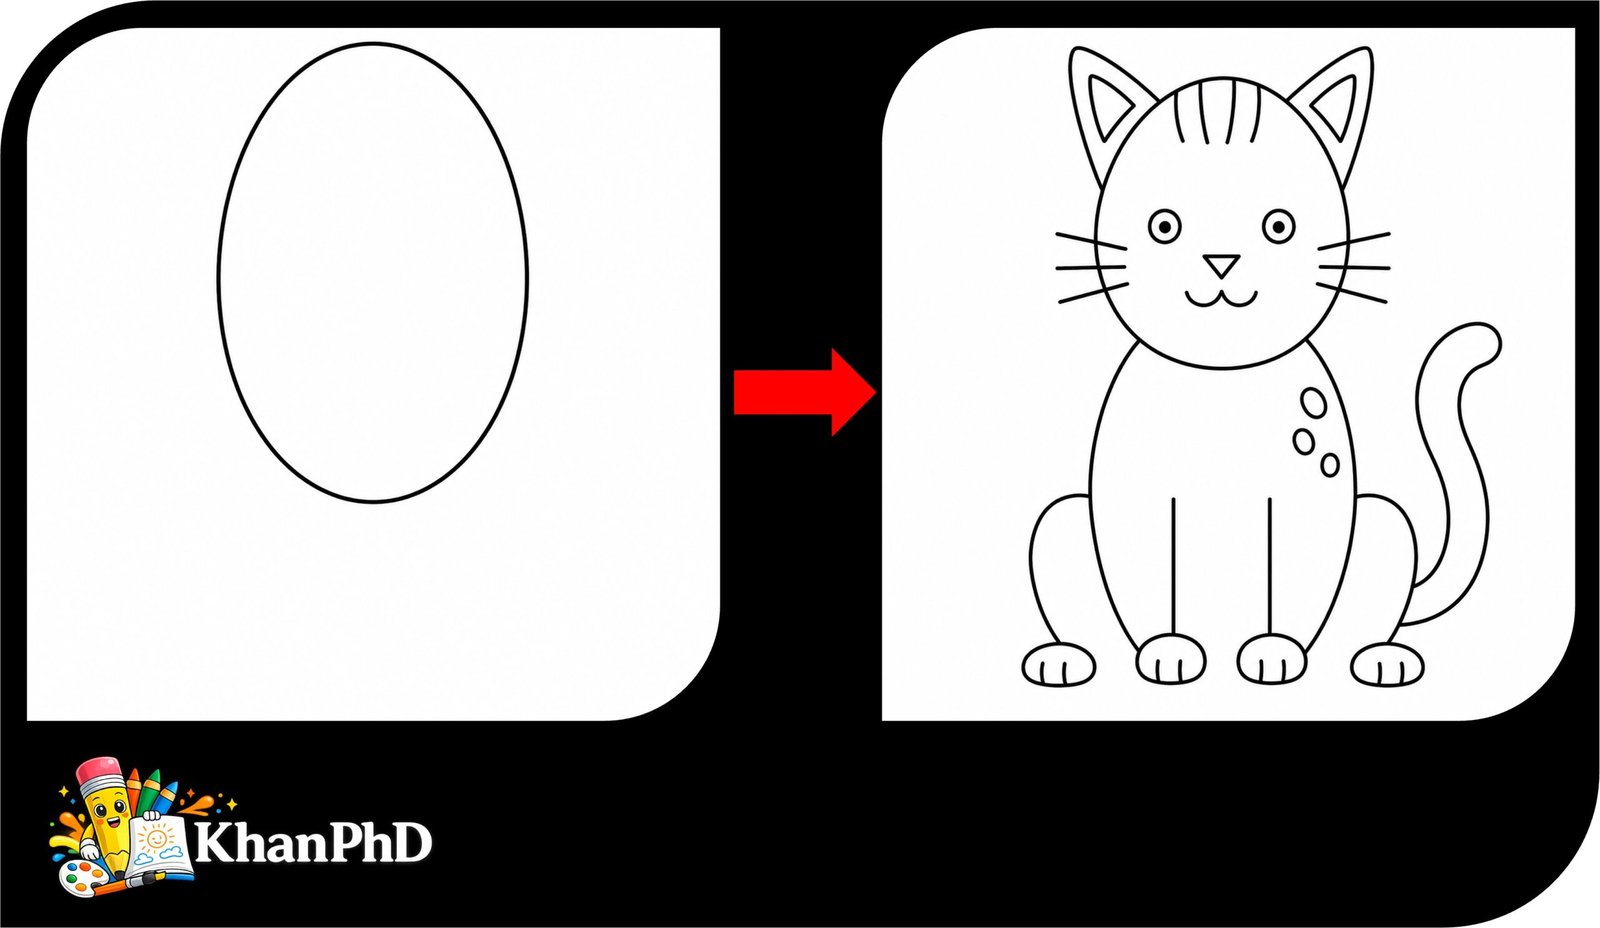
Cat Drawing Kids Will Love: An Easy 8-Step Beginner Tutorial
Drawing a cat can look tricky at first, but you do not need special talent or experience to make one. In this tutorial, we will build a friendly cartoon cat one small shape at a time. You will use only circles, ovals, straight lines, curves, and triangles. These are simple shapes you may already know from school or everyday life.
Do not worry about making every line perfect. Real drawings often look more charming when the shapes are a little different from one another. Draw lightly with your pencil so you can erase and adjust anything that feels too big, too small, or slightly out of place. Take your time, pause after each step, and compare your page with the instructions before moving on.
By the end of the eight steps, your cat will have a round head, pointed ears, a soft oval body, four simple paws, a curled tail, and a sweet face. You can leave the drawing as a clean outline or add your own colors and patterns. Try orange stripes, gray spots, black paws, or any colors you like. There is no wrong way to make your cat special.
This lesson is made for complete beginners, so every step is short and clear. Even if this is your very first drawing, you can follow along and finish with something you are proud of. Let us gather a few simple materials and begin.
MATERIALS NEEDED
- A sheet of plain paper
- A pencil
- An eraser
- A black pen or marker, optional
- Colored pencils or crayons, optional
Step-By-Step Guide To Draw Cat For Kids
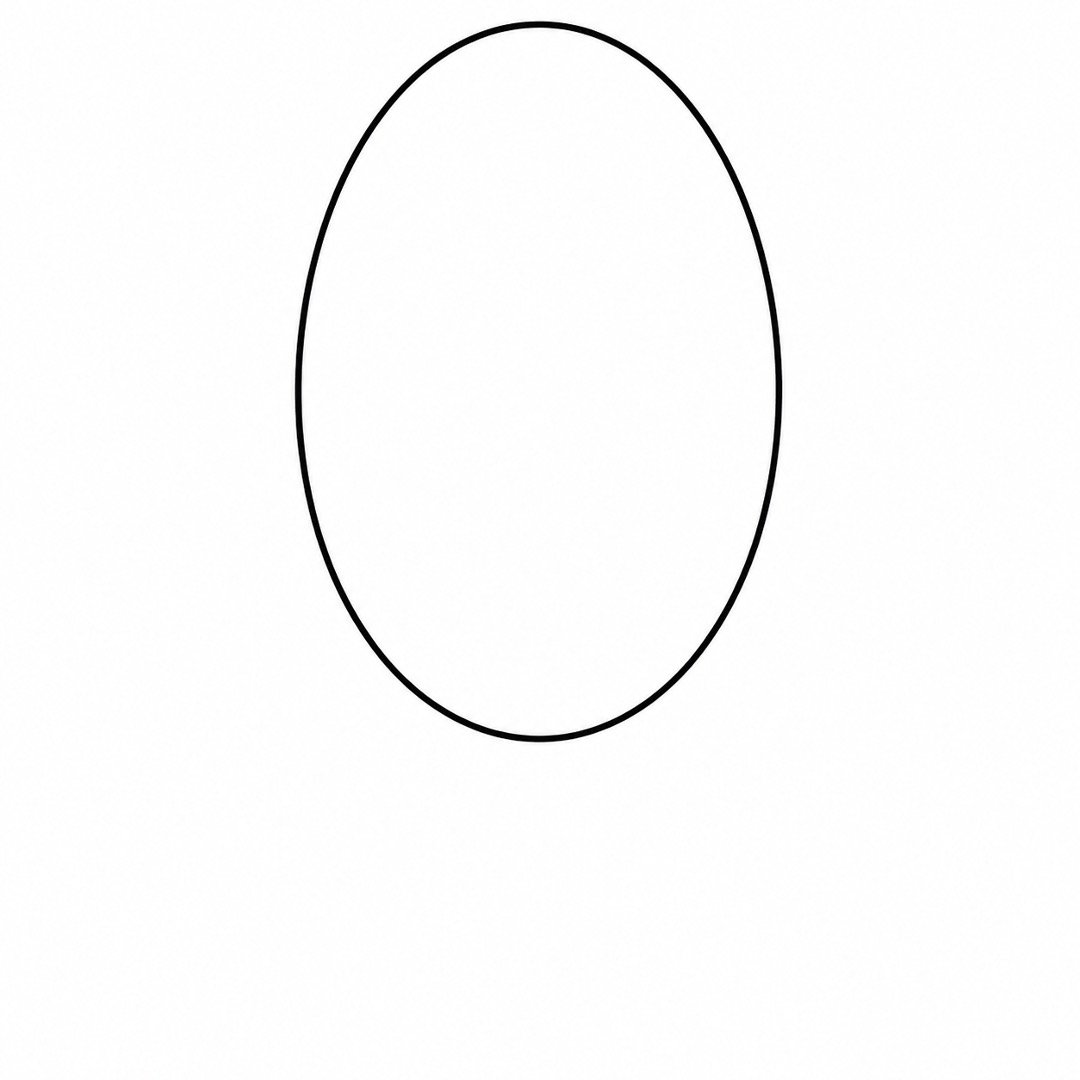
Step 1: Draw the Head
Near the upper middle of your paper, draw one large vertical oval. Make it about the size of your palm, with the bottom slightly wider than the top. Leave plenty of empty space underneath for the cat’s body.
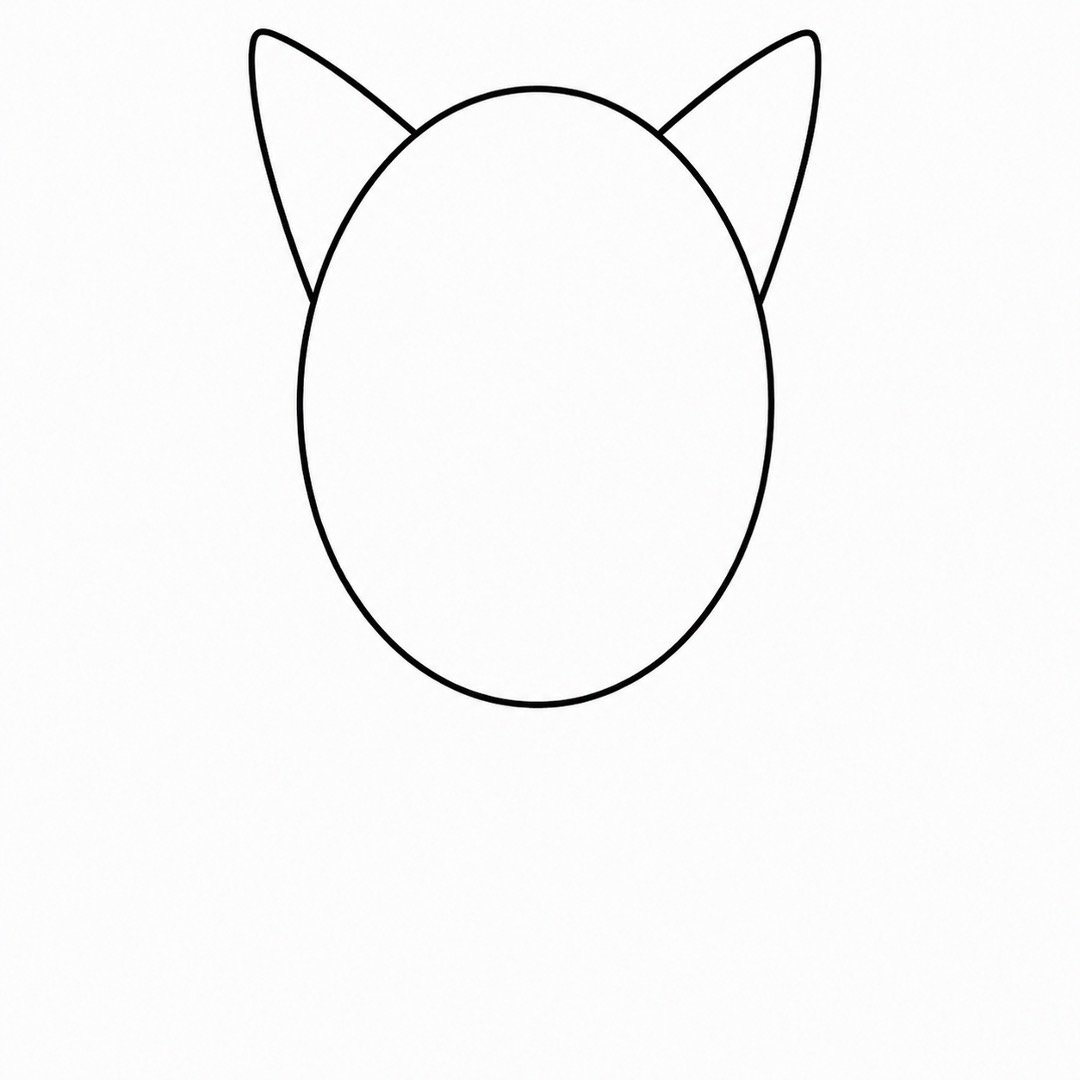
Step 2: Add Two Triangle Ears
Draw one small triangle on the upper-left side of the head. Add a matching triangle on the upper-right side. Let the bottom of each triangle touch the oval, and erase any short head lines that cross inside the ears.
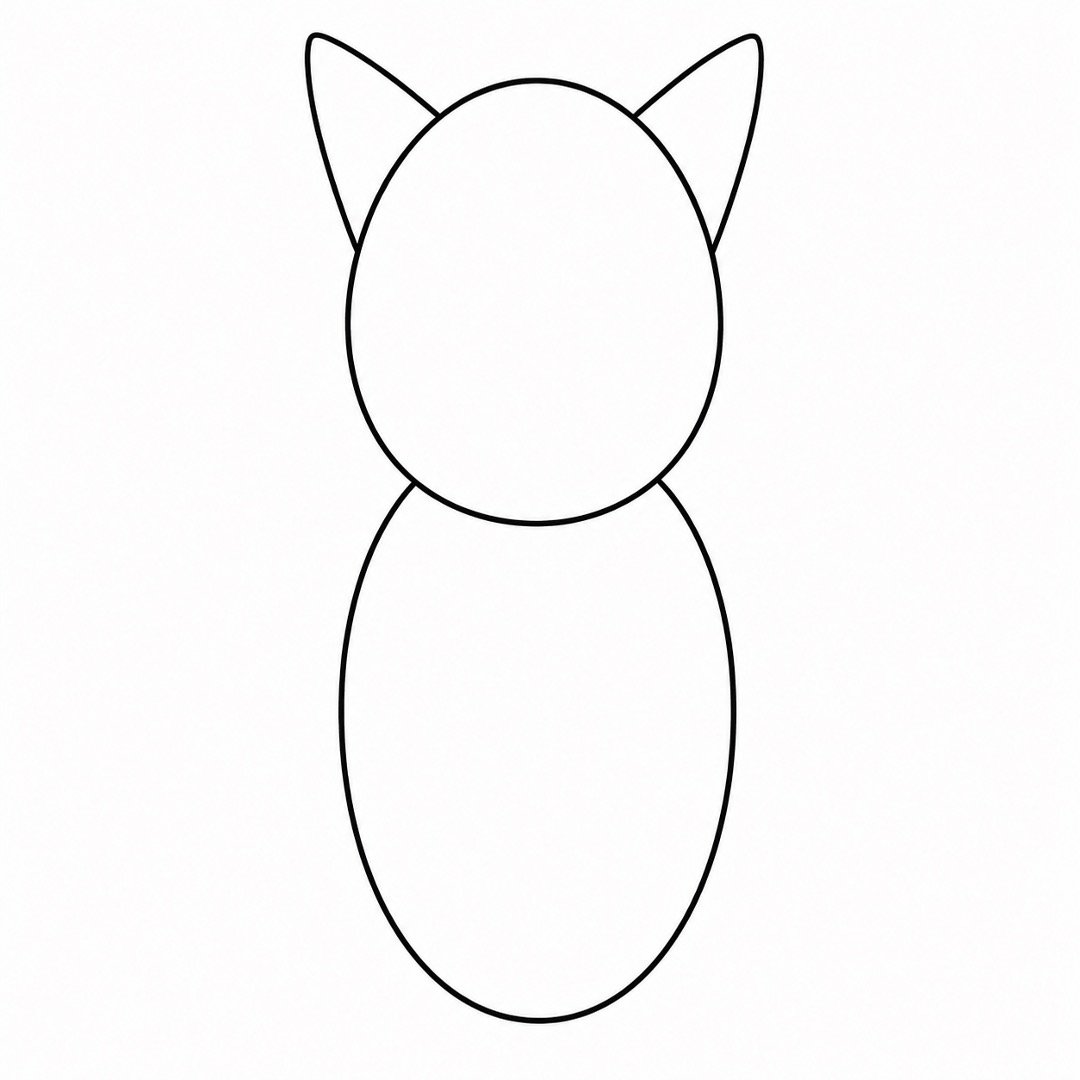
Step 3: Draw the Oval Body
Under the head, draw a second vertical oval for the body. Make it a little longer and slightly narrower than the head. Let its top edge hide behind the lower part of the head so the two shapes look connected.
Step 4: Add the Front Legs and Paws
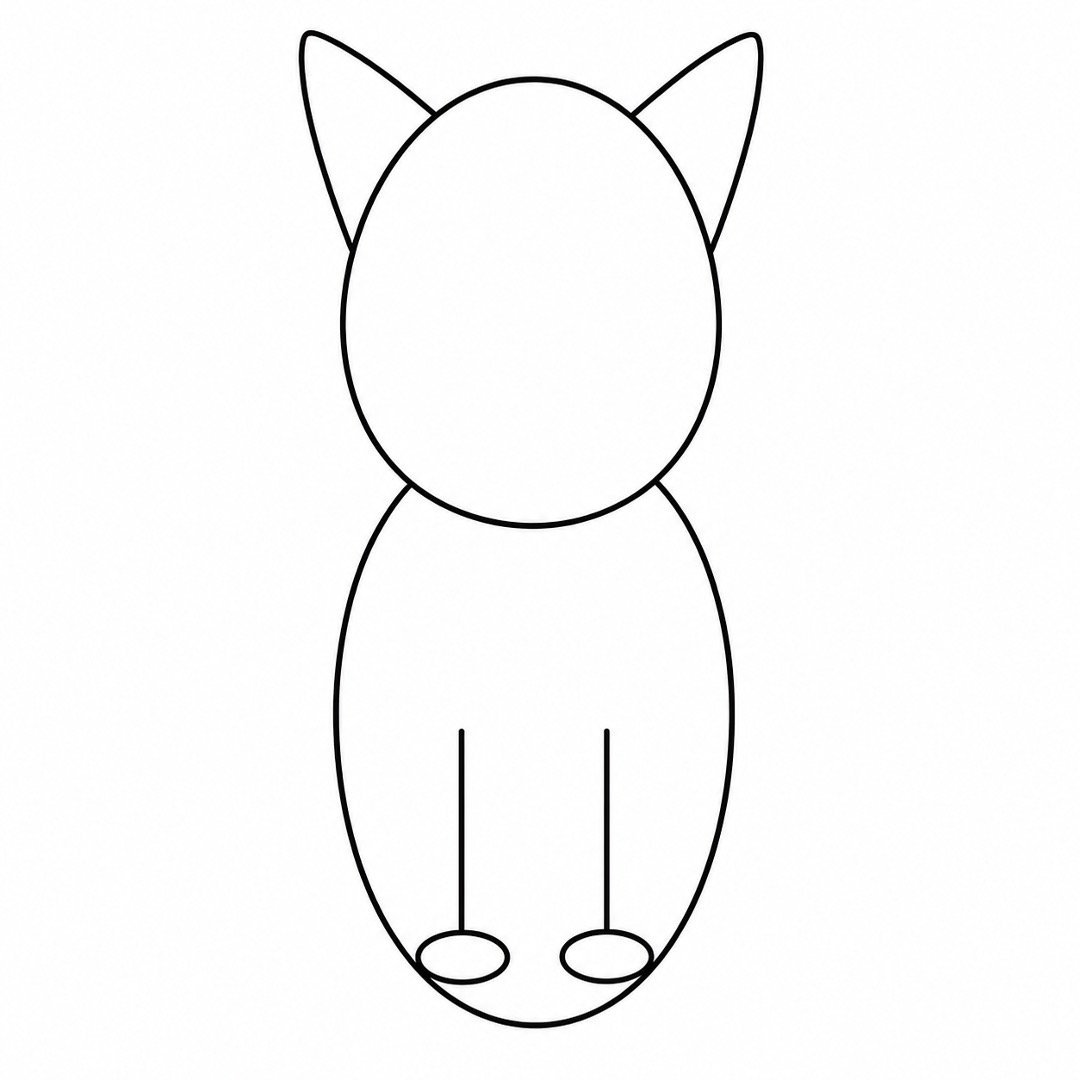
Inside the lower half of the body, draw two straight lines going downward. Keep the lines close together and stop them just above the bottom of the body. Add one small horizontal oval under each line to make two front paws.
Step 5: Draw the Back Legs and Side Paws
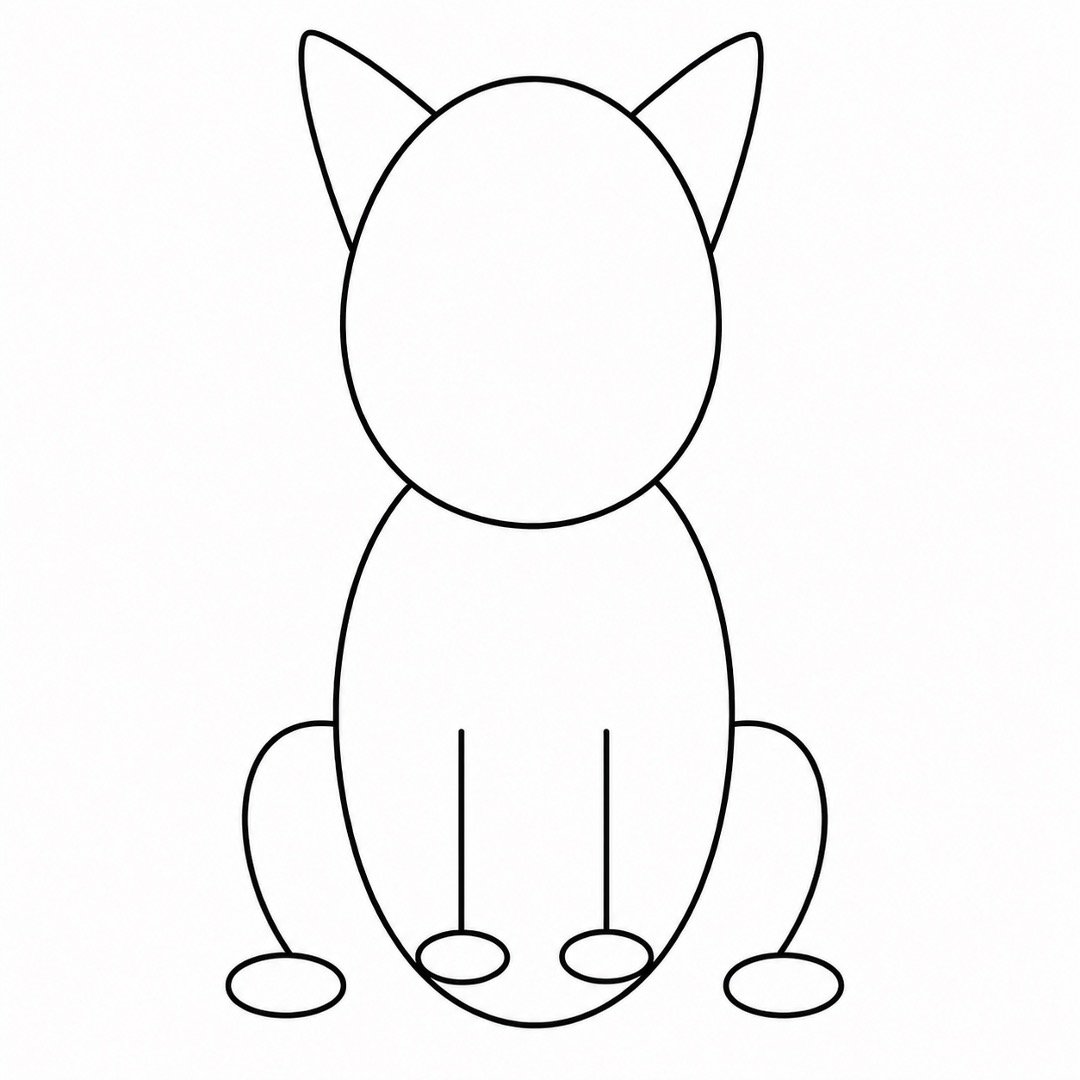
Draw one gentle curve from the lower-left side of the body toward the left front paw. Repeat this on the lower-right side. Add a small horizontal oval at the end of each curve to make the two back paws.
Step 6: Make the Cat’s Face
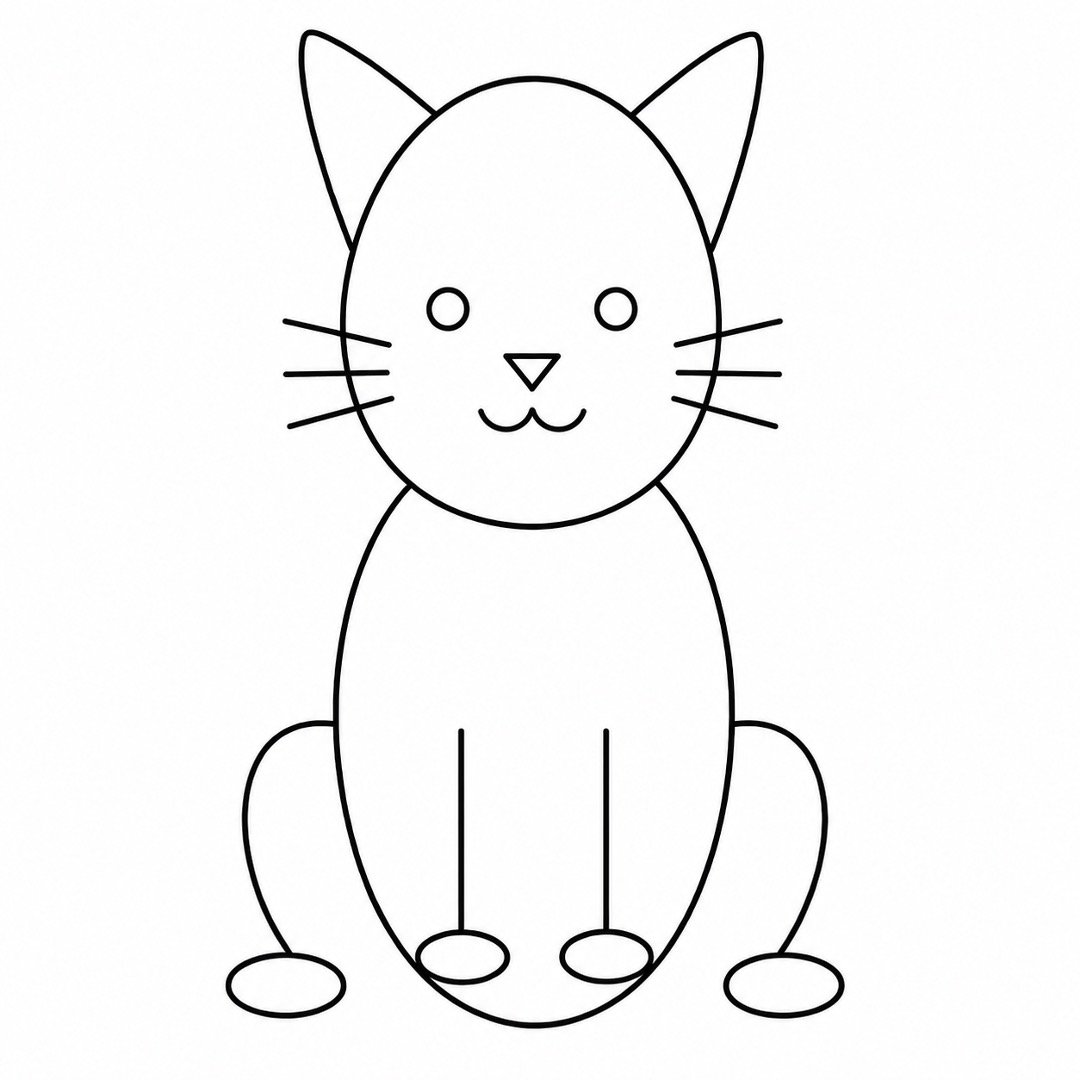
Draw two small circles across the middle of the head for the eyes. Place a tiny upside-down triangle between and slightly below them for the nose. Add two short curves under the nose for the mouth, then draw three straight whisker lines on each cheek.
Step 7: Add a Curled Tail
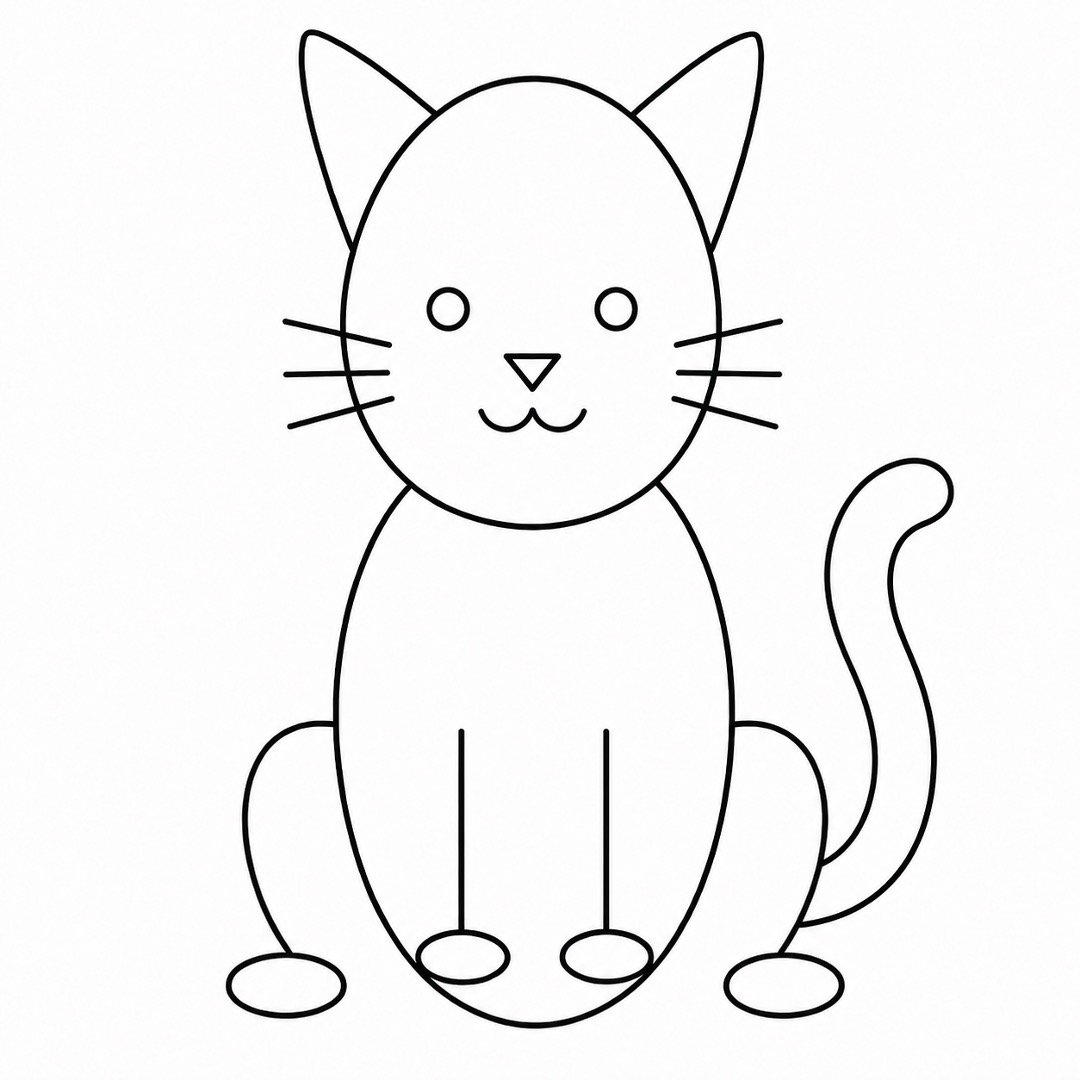
Start a long curve at the lower-right side of the body. Sweep the curve outward and then upward beside the cat. Draw a second curve next to the first one and join both lines with a rounded tip.
Step 8: Add the Final Details
Draw a smaller triangle inside each ear. Add a small circle inside each eye for the pupils, then place two short curves on each paw for toes. Finish with a few curved stripes or small oval spots, and erase any extra lines where the shapes overlap.
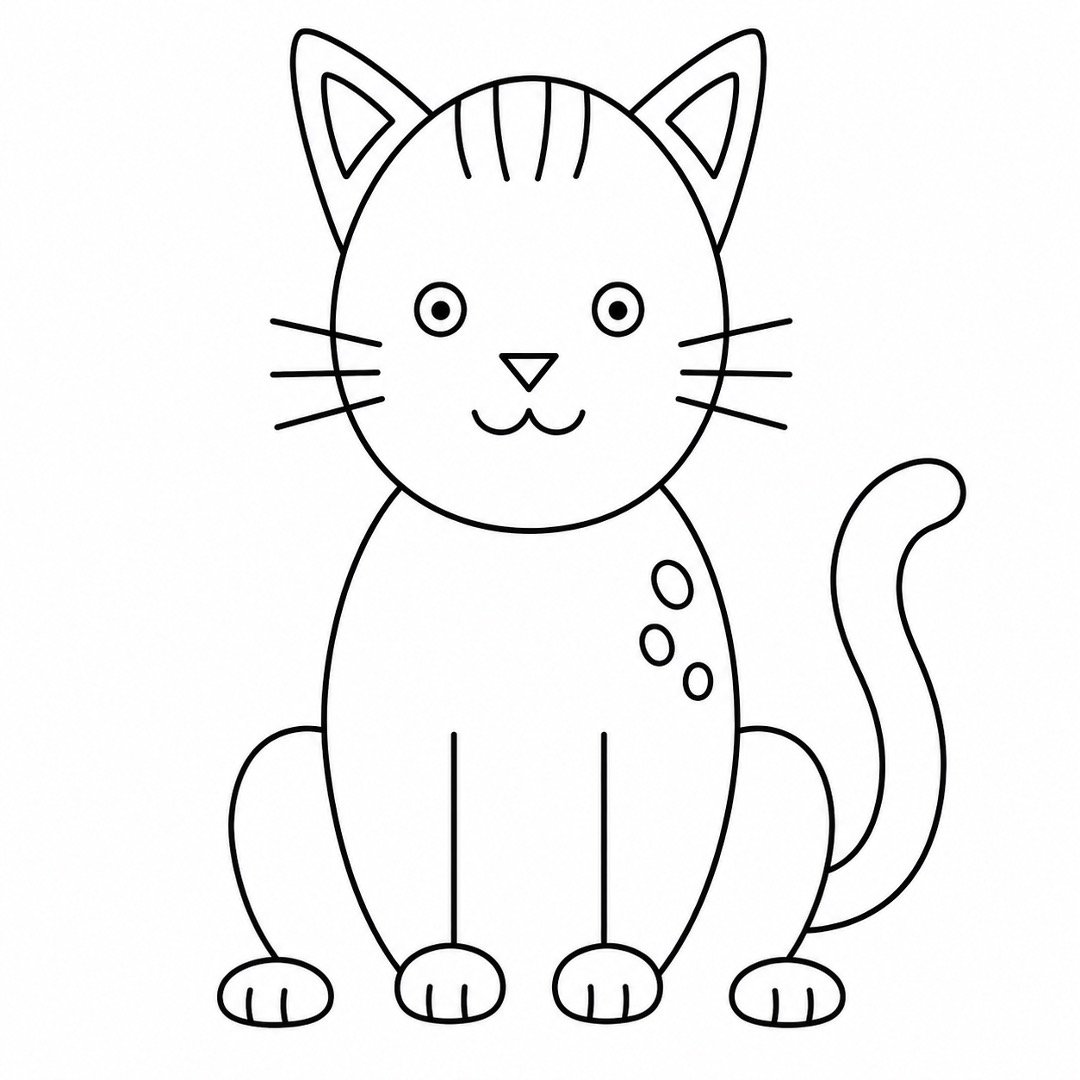
FINAL RESULT
Your finished drawing is a cute sitting cat made from simple shapes. It has a large rounded head, two pointed ears, an oval body, four small paws, a curled tail, and a friendly face with whiskers.
You can trace your final pencil lines with a black pen or marker. Wait for the ink to dry before gently erasing the pencil marks.
For extra detail, add light pencil shading under the chin, beside the legs, and along one side of the tail. You can also color your cat orange, gray, brown, black, white, or any fun color you choose. Add stripes, spots, a collar, a name tag, or a small ball beside the paws to make the drawing your own.
CALL TO ACTION
Great job finishing your cat! Every drawing you complete helps your hand feel more comfortable and confident. Share your cat with a friend, leave a comment with your questions, or try another simple animal tutorial next.
About author










Add comment