
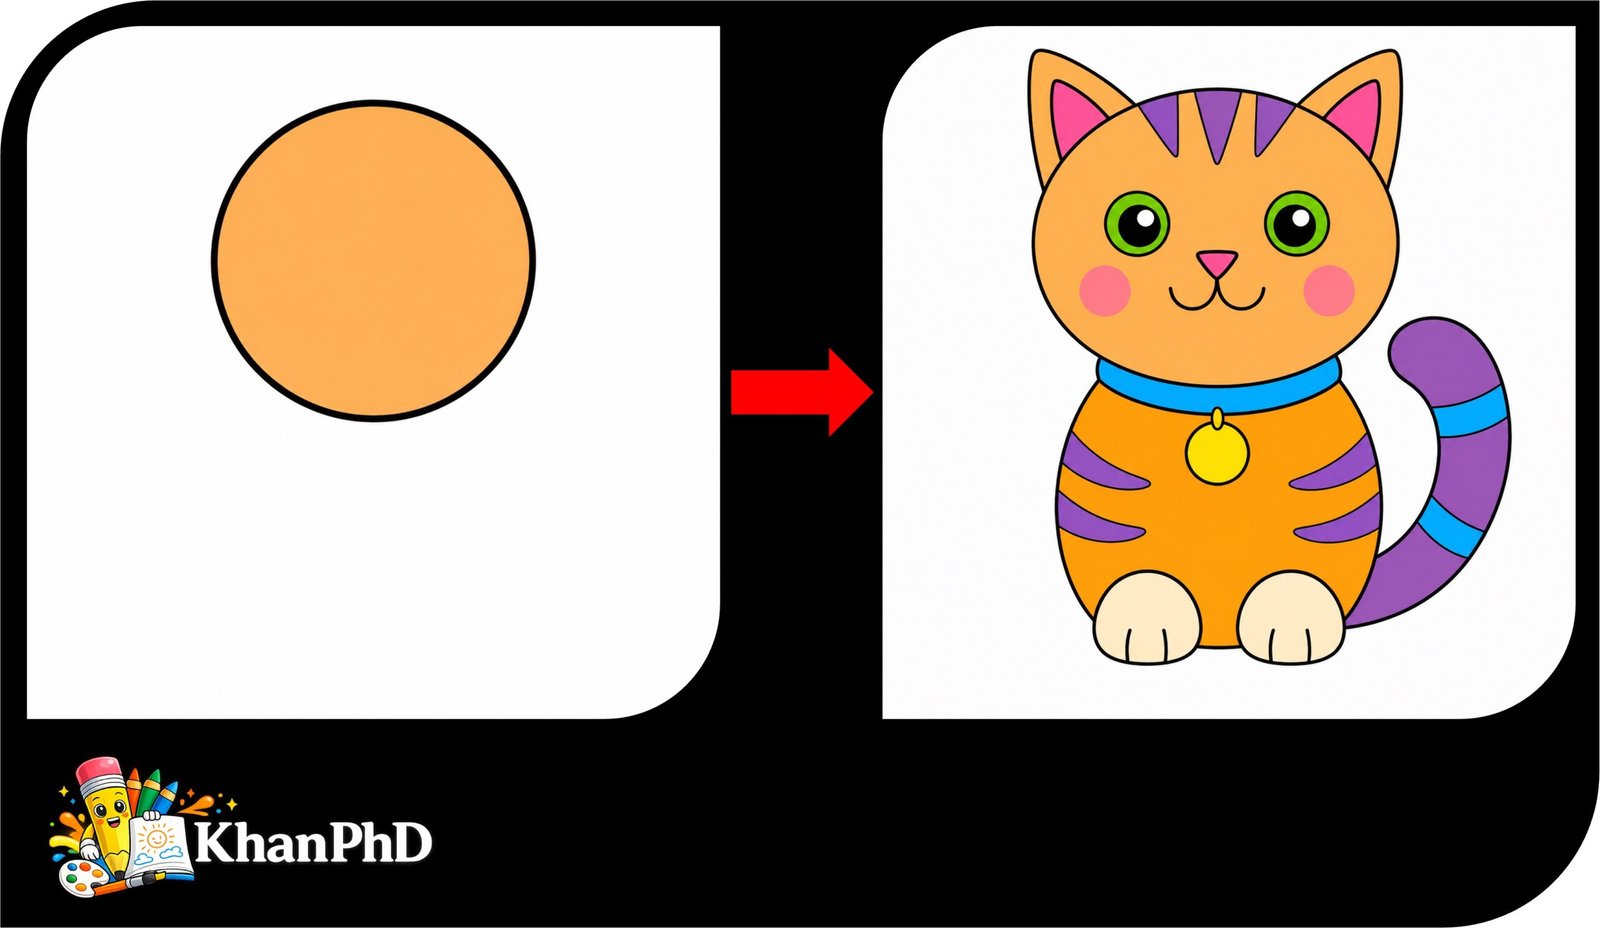
Cat Drawing with Colour: 8 Simple Steps for Kids and Beginners
Drawing a cat can feel tricky when you are just starting, but this cheerful lesson makes it simple. In this beginner-friendly Cat drawing with colour tutorial, you will build a cute cat one small shape at a time. We will use circles, ovals, triangles, straight lines, and gentle curves. That is all you need.
You do not need any drawing experience. You do not need special talent either. Every step is short, clear, and easy to copy. Kids, adults, teachers, parents, and complete beginners can all enjoy this activity. You can draw slowly, erase whenever you need to, and make your cat look a little different from the example. That is part of the fun.
You will learn how to draw the cat’s head, ears, body, paws, tail, face, and simple decorations. Then you will add bright colors to make your picture feel happy and full of personality. You only need plain paper, a pencil, an eraser, a black marker or fineliner, and any coloring tools you already have. Crayons, markers, and colored pencils all work well.
Cats are fun to draw because a few basic shapes can quickly become a friendly animal with a sweet face. You can choose your favorite colors, add stripes or spots, and even give your cat a colorful collar.
Take a deep breath and remember: your drawing does not have to be perfect. Grab your supplies, find a comfortable place to sit, and let’s draw a colorful cat together.
1. MATERIALS LIST
- Plain drawing paper
- Pencil
- Eraser
- Black marker or fineliner for outlines
- Crayons, markers, or colored pencils
2. STEP-BY-STEP TUTORIAL
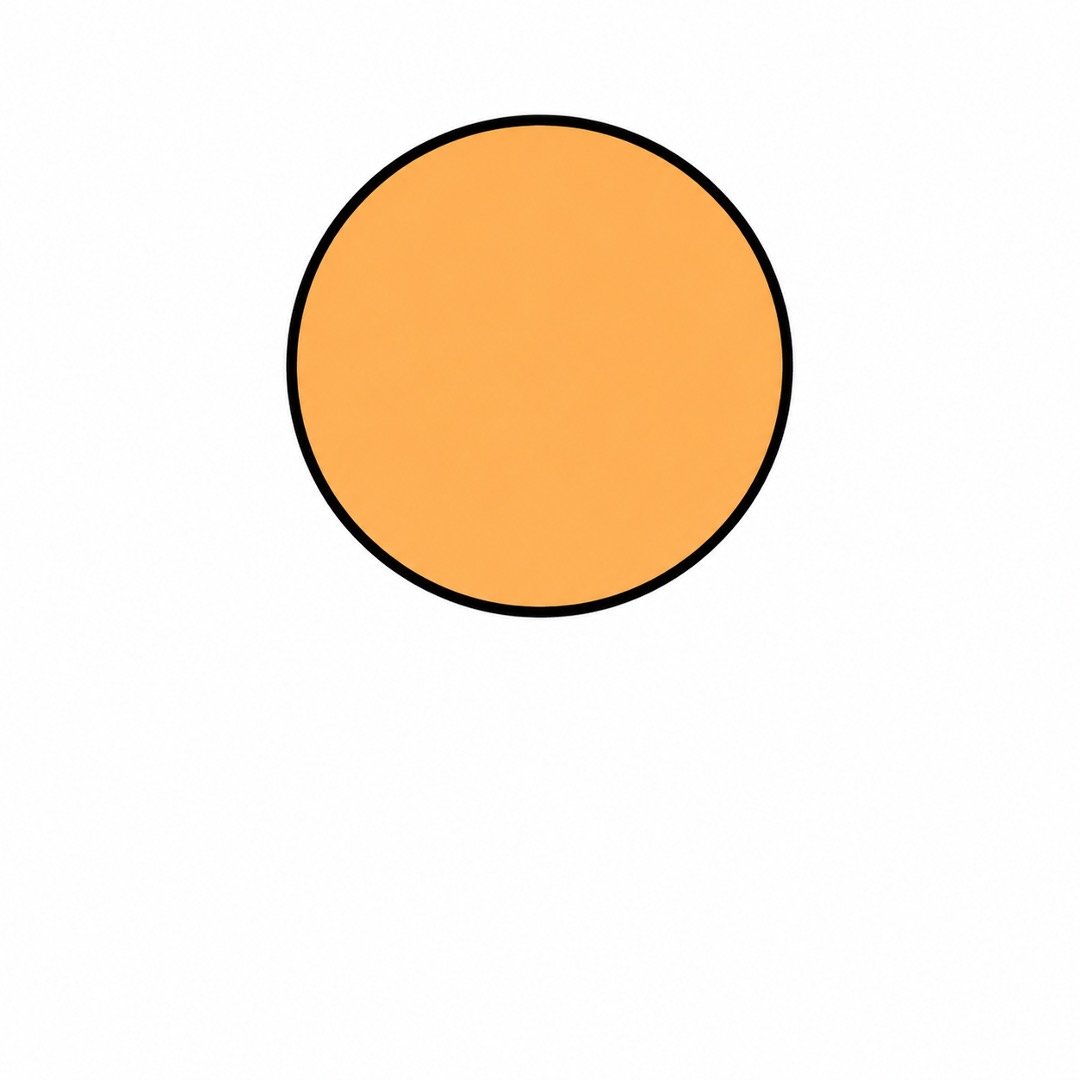
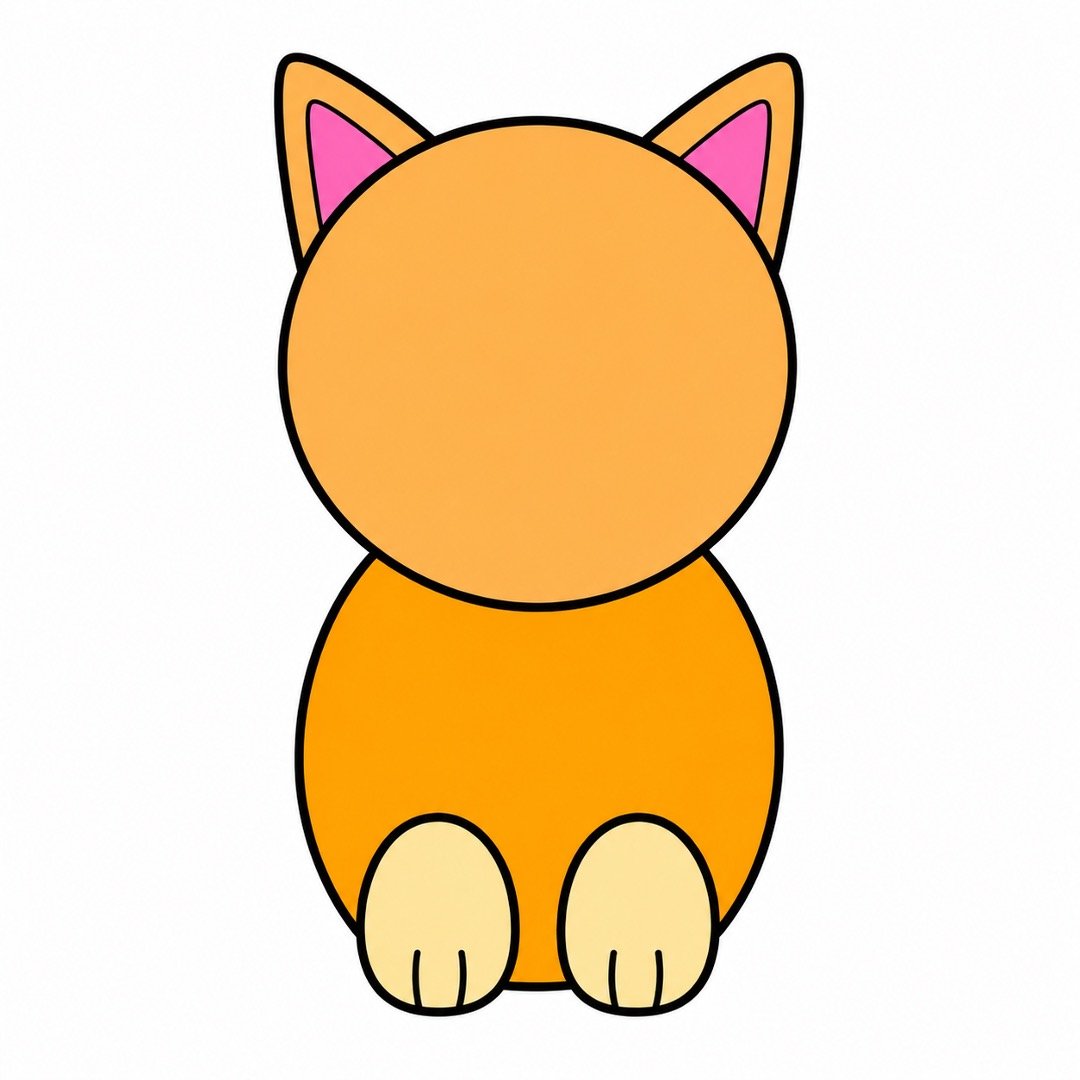
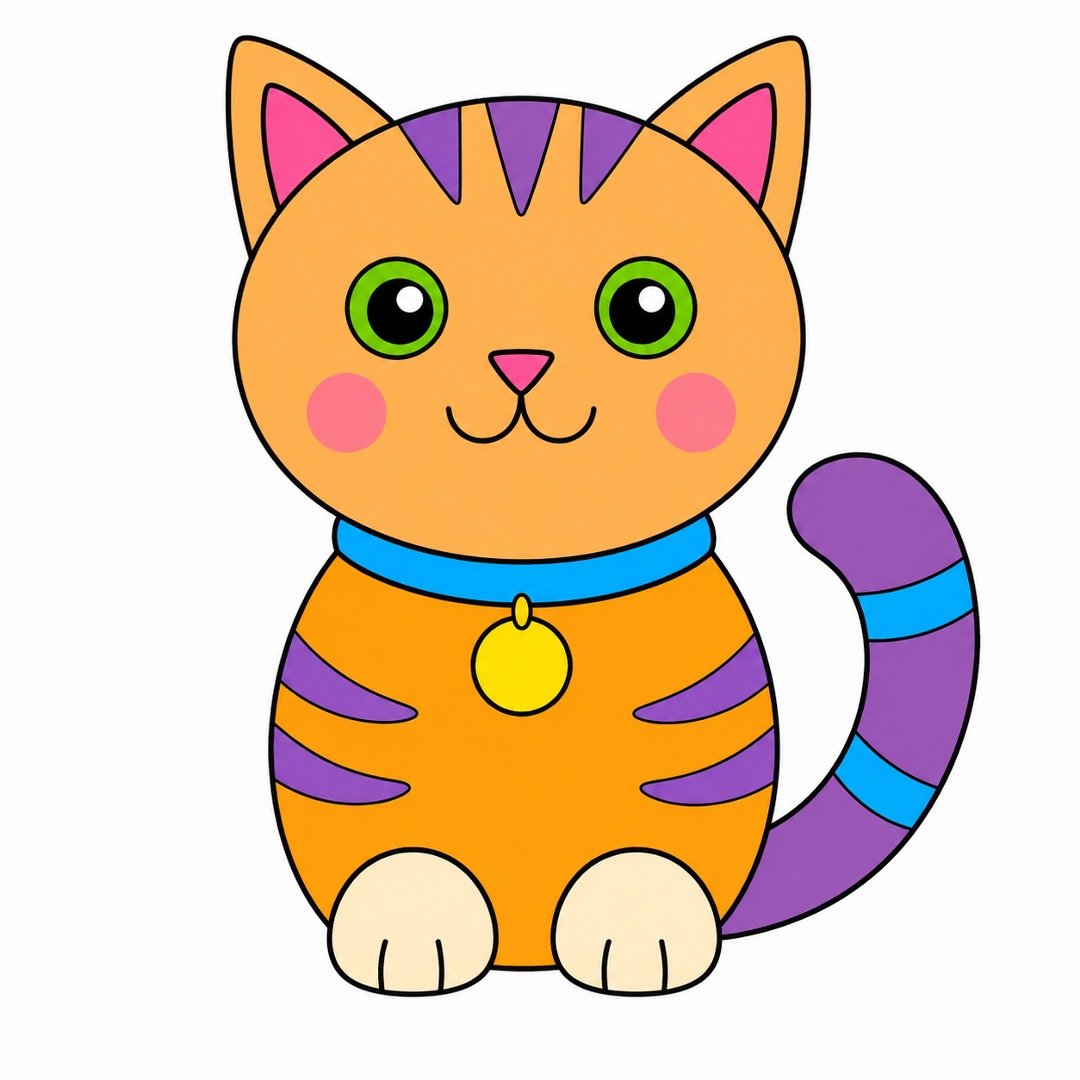
Step 1: Draw the Head
- Instruction: Draw one large circle near the top of your paper. It does not need to be perfectly round.
- Add color: Color the circle light orange. Leave a little white space near the edges so you can still see your pencil line.
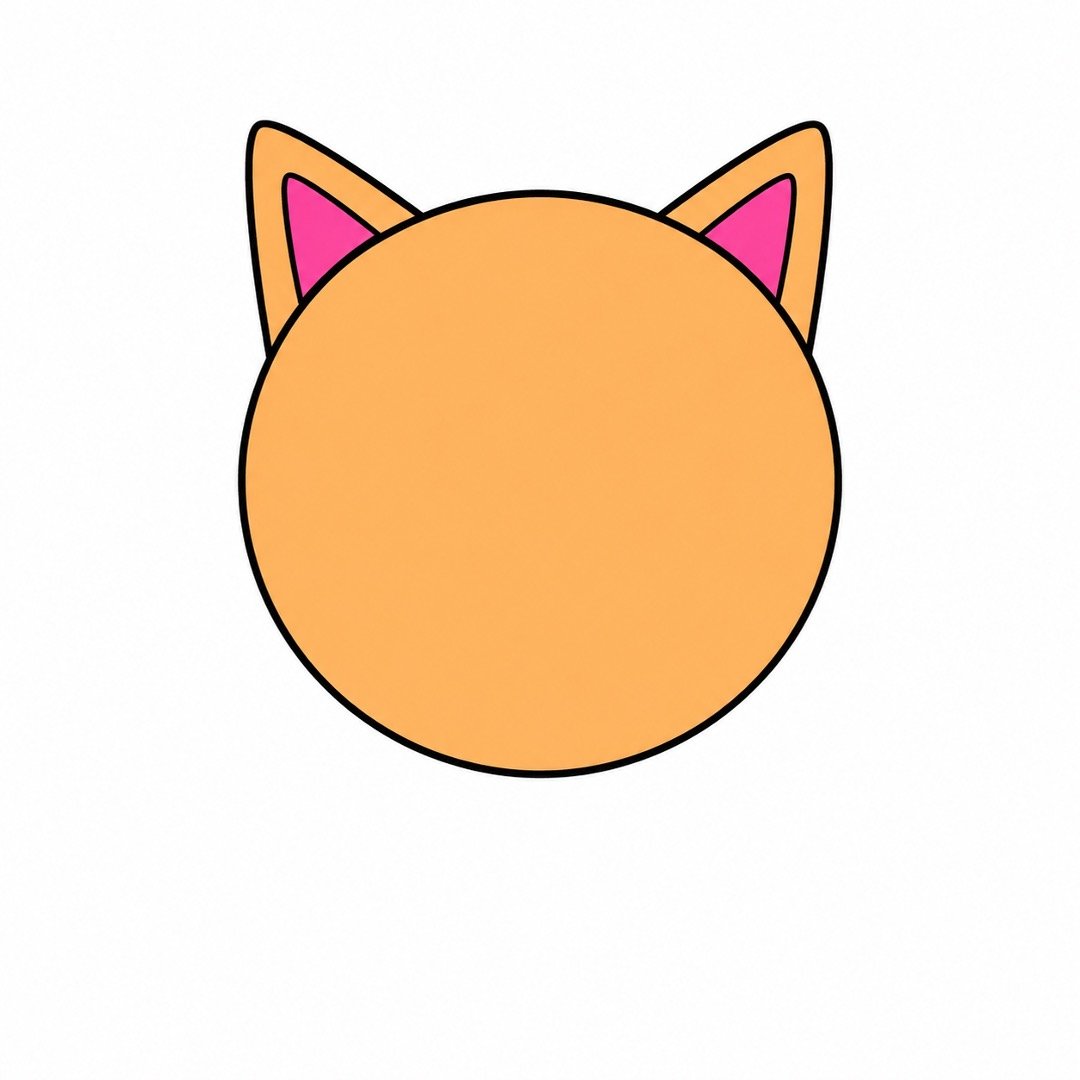
Step 2: Add Two Ears
- Instruction: Draw one small triangle on the top-left side of the head. Draw another small triangle on the top-right side.
- Add color: Keep the outside of both ears light orange. Add a smaller pink triangle inside each ear.
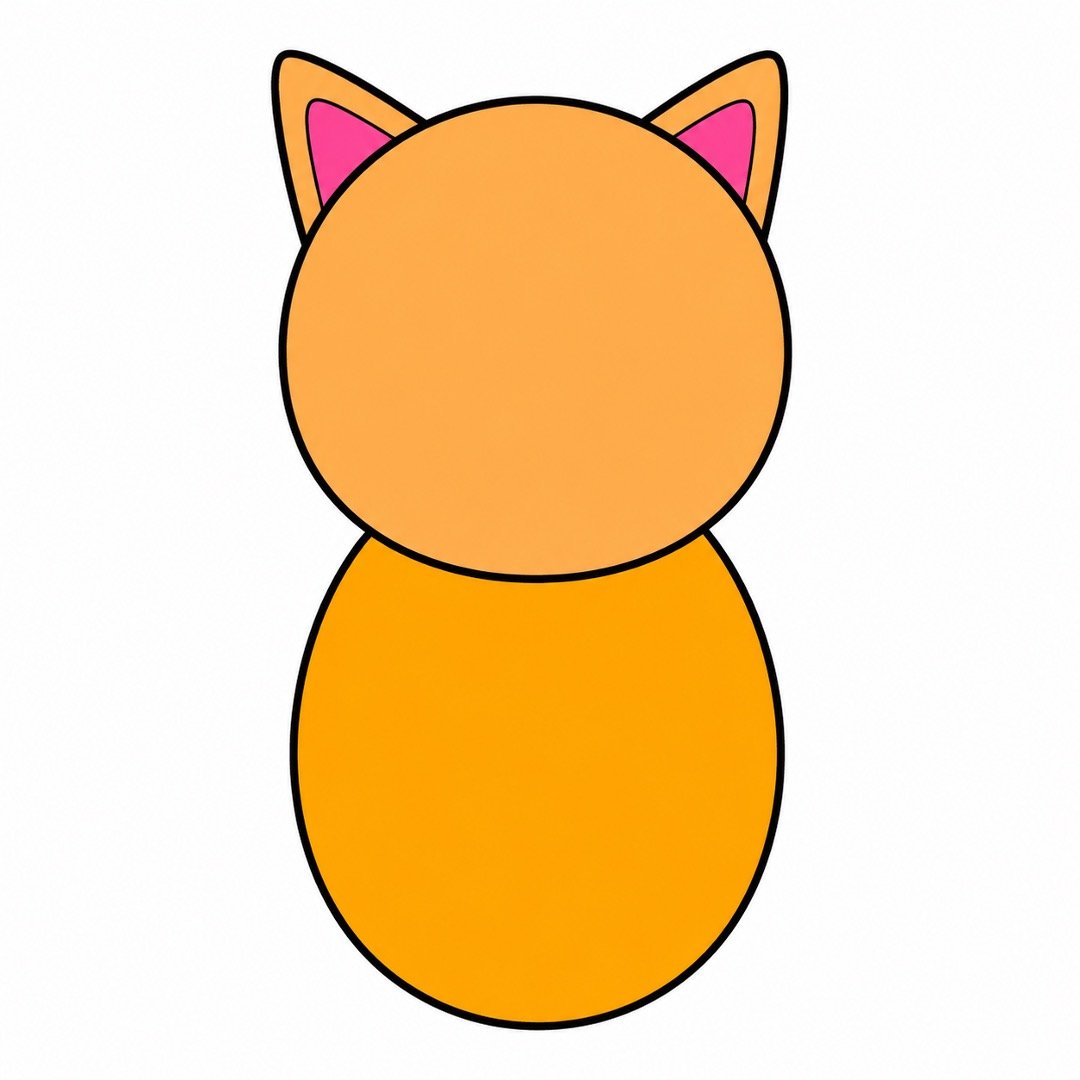
Step 3: Draw the Body
- Instruction: Draw one large oval under the head. Let the top of the oval hide slightly behind the head.
- Add color: Color the body warm golden orange. You can make it a little darker than the head.
Step 4: Add the Front Paws
- Instruction: Draw two small upright ovals at the bottom of the body. Place them next to each other to make the front paws.
- Add color: Color both paws pale cream. Add two short black lines at the bottom of each oval for the toes.
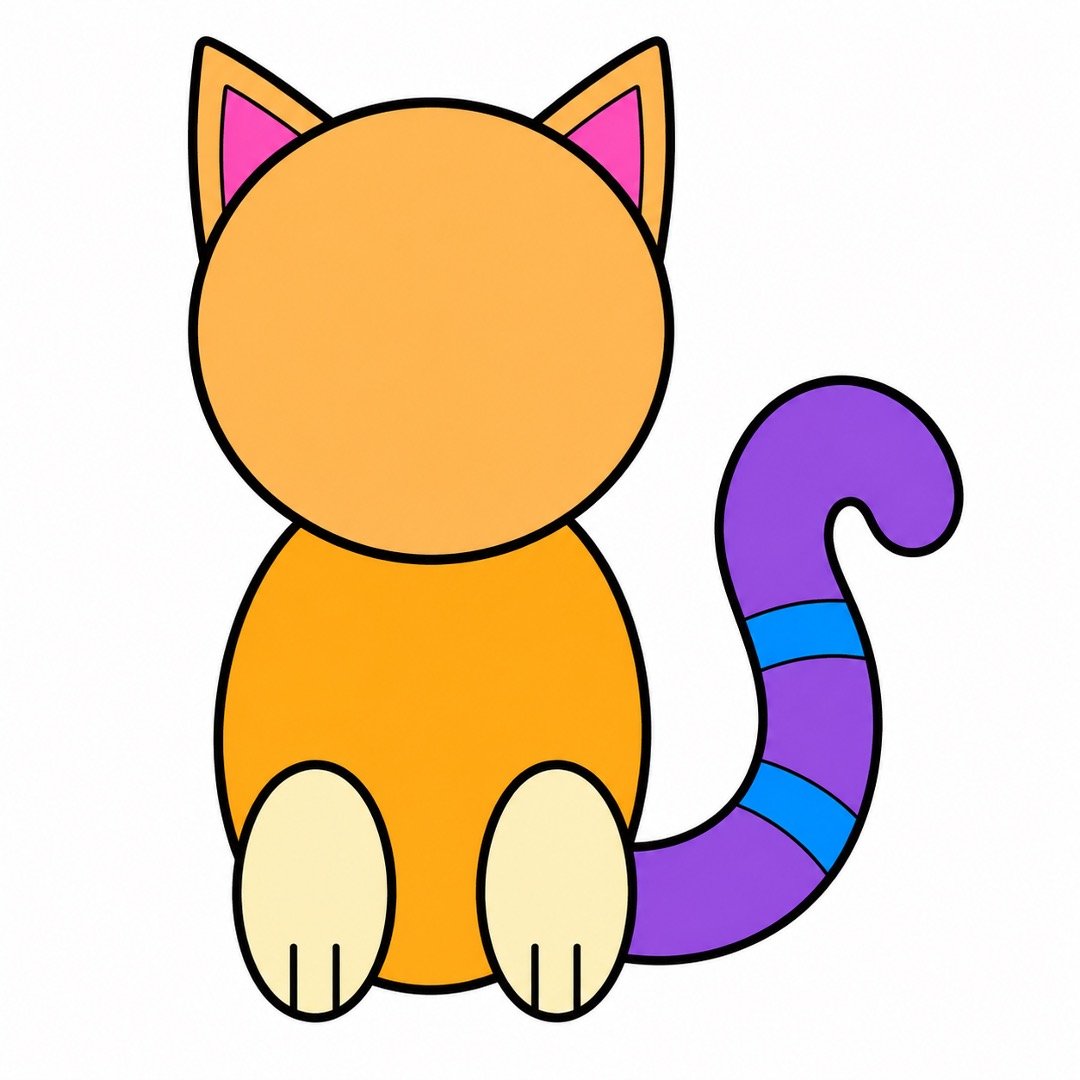
Step 5: Draw the Curved Tail
- Instruction: Draw one long curved line from the side of the body. Bring the line upward, then curve it back down to make a thick tail.
- Add color: Color the tail bright purple. Add two simple blue bands across it using short curved lines.
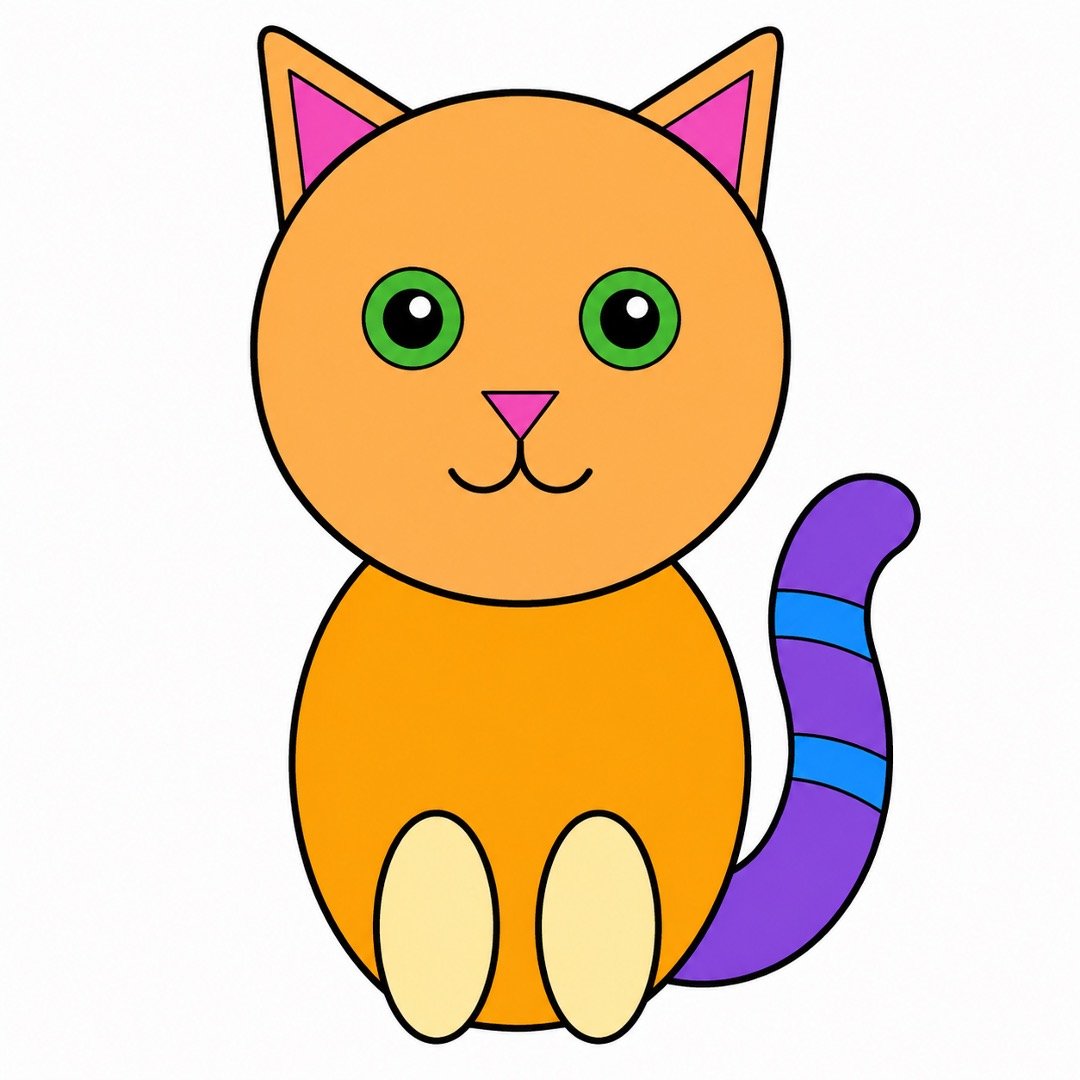
Step 6: Make the Face
- Instruction: Draw two small circles for the eyes. Add a black dot inside each eye, a tiny upside-down triangle for the nose, and two short curves for the mouth.
- Add color: Color the eyes bright green and the nose pink. Leave one tiny white spot inside each eye.
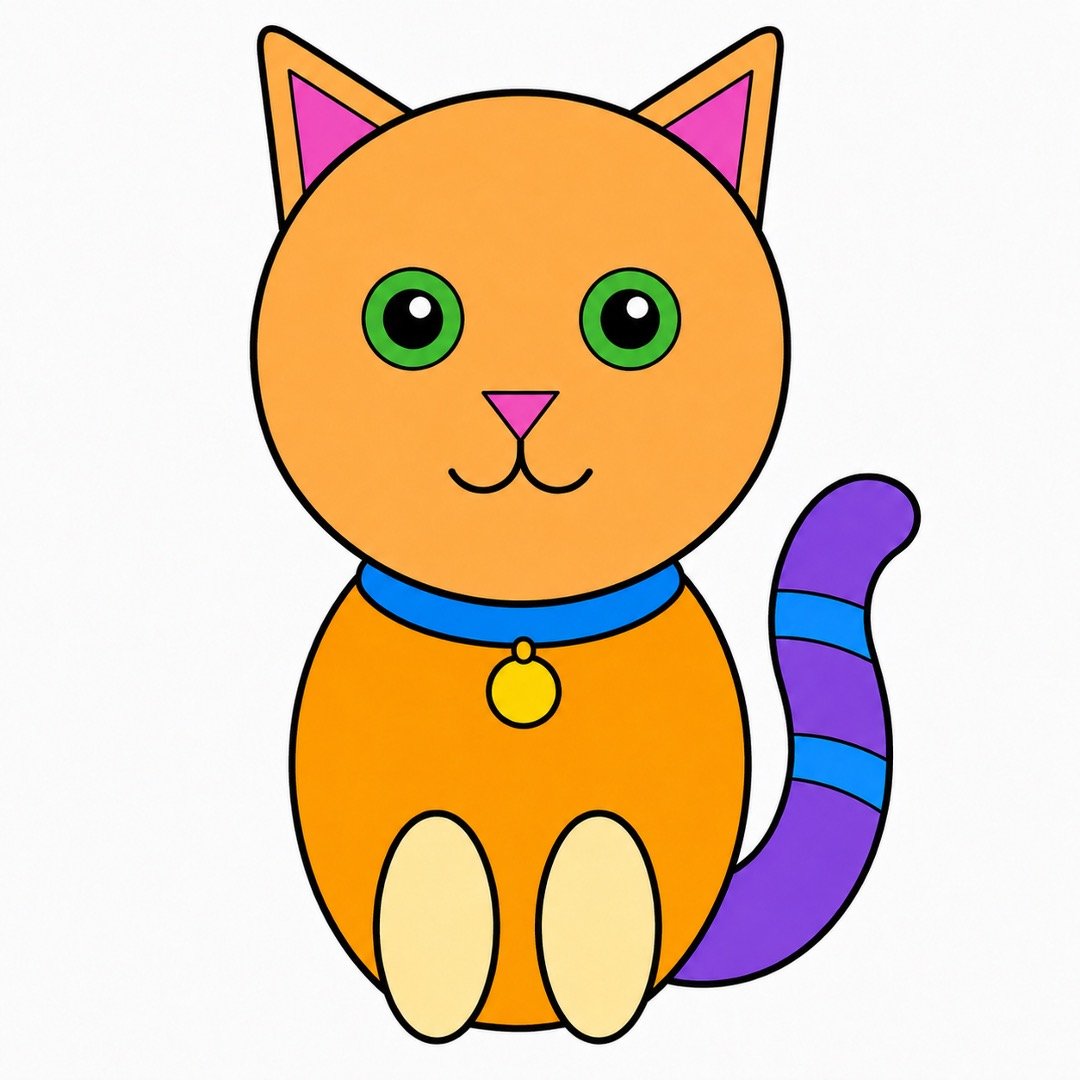
Step 7: Add a Collar
- Instruction: Draw two short curved lines across the bottom of the head to make a collar. Add one small circle under the collar for a tag.
- Add color: Color the collar bright blue. Color the round tag sunny yellow.
Step 8: Finish with Colorful Details
- Instruction: Add three small triangle stripes on the forehead and three simple curved stripes on the body. Draw one small circle on each cheek and trace the final lines with your black marker.
- Add color: Color the stripes purple and the cheeks soft pink. Fill any empty spaces neatly so the orange cat, cream paws, green eyes, blue collar, yellow tag, and purple tail look bright and complete.
3. Summary
Wonderful work—you have finished your colorful cat! Share your drawing with a friend, family member, class, or art group and be proud of every shape you made. Come back for the next easy tutorial, where we will turn more simple shapes into another cheerful animal.
About author










Add comment