
Easy Flowers Drawing Tutorial for Complete Beginners
Drawing flowers may look tricky at first, but every flower can be built from shapes you already know. In this easy lesson, we will use circles for the flower centers, ovals for the petals, curves for the stems and leaves, and a few straight lines for the flowerpot. You do not need special talent or any drawing experience. You only need to take one small step at a time.
Do not worry about making every petal match. Real flowers are not perfectly even, so small differences can make your picture feel more natural. Draw lightly with your pencil at first. This makes it easy to erase a line, move a shape, or try again. There is no “wrong” flower here.
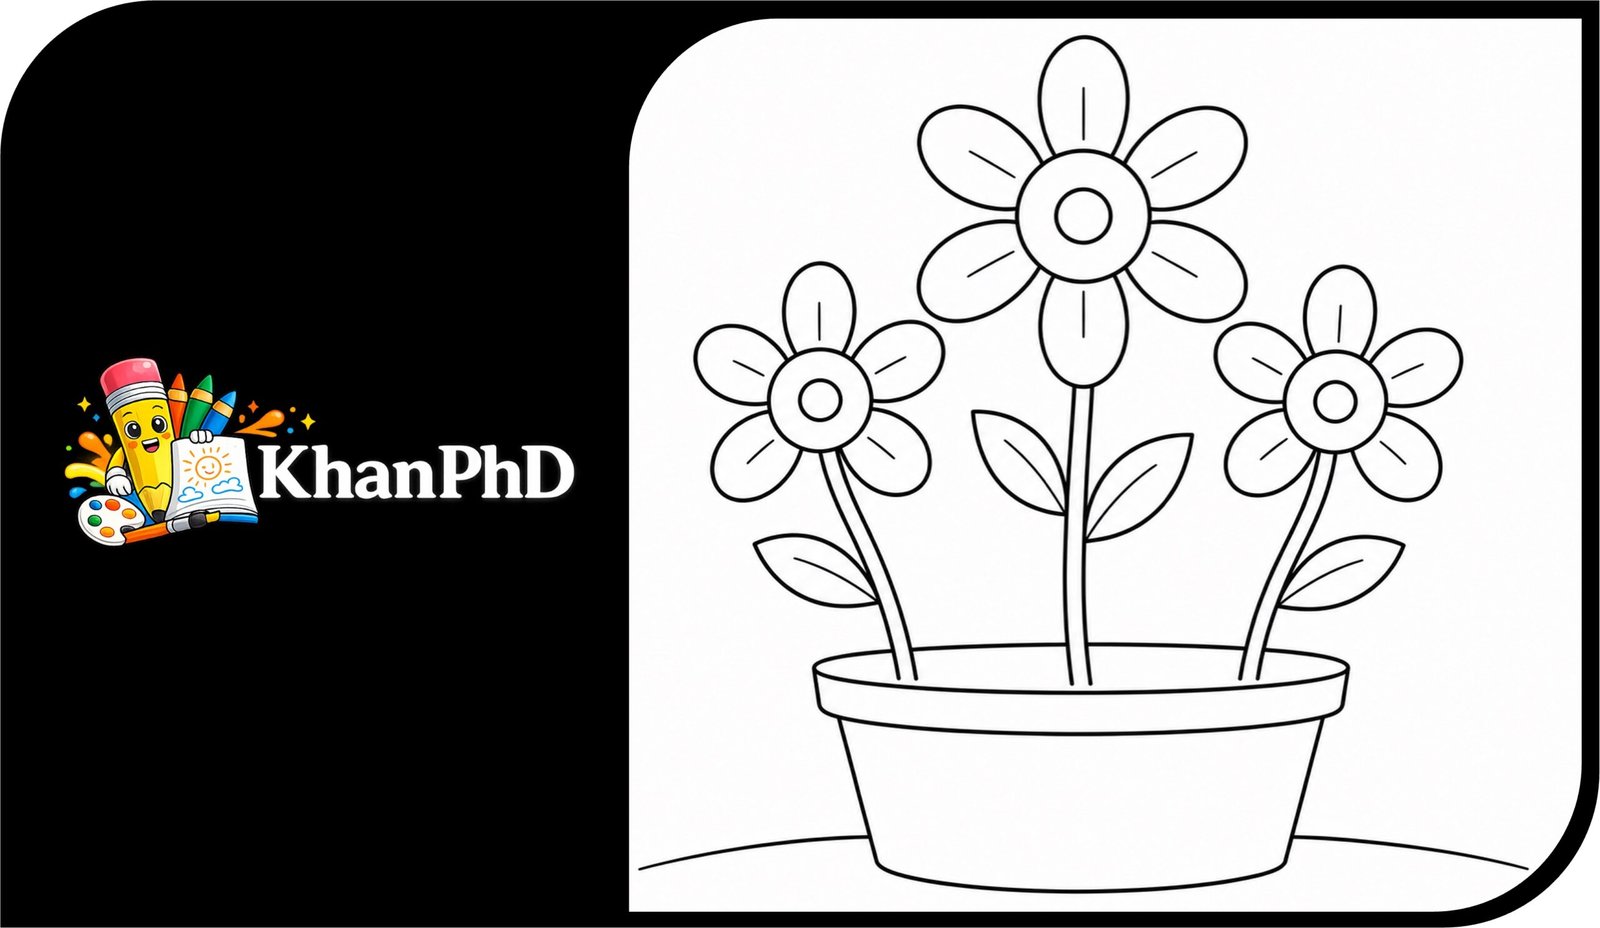
By the end of the tutorial, you will have a cheerful picture of three simple flowers growing from a small pot. The middle flower will be taller, with two smaller flowers beside it. You will also add curved stems, pointed leaves, and a few easy detail lines. The finished drawing will look complete even without color, but you can brighten it with crayons or colored pencils afterward.
Choose a comfortable place to draw, relax your hand, and remember that slow lines are often easier to control than fast ones. Let us gather a few simple materials and begin.
MATERIALS NEEDED
- A sheet of plain paper
- A regular pencil
- An eraser
- A black pen or marker, optional
- Colored pencils, crayons, or markers, optional
Easy Flowers Drawing Tutorial: 8 Simple Steps for New Artists
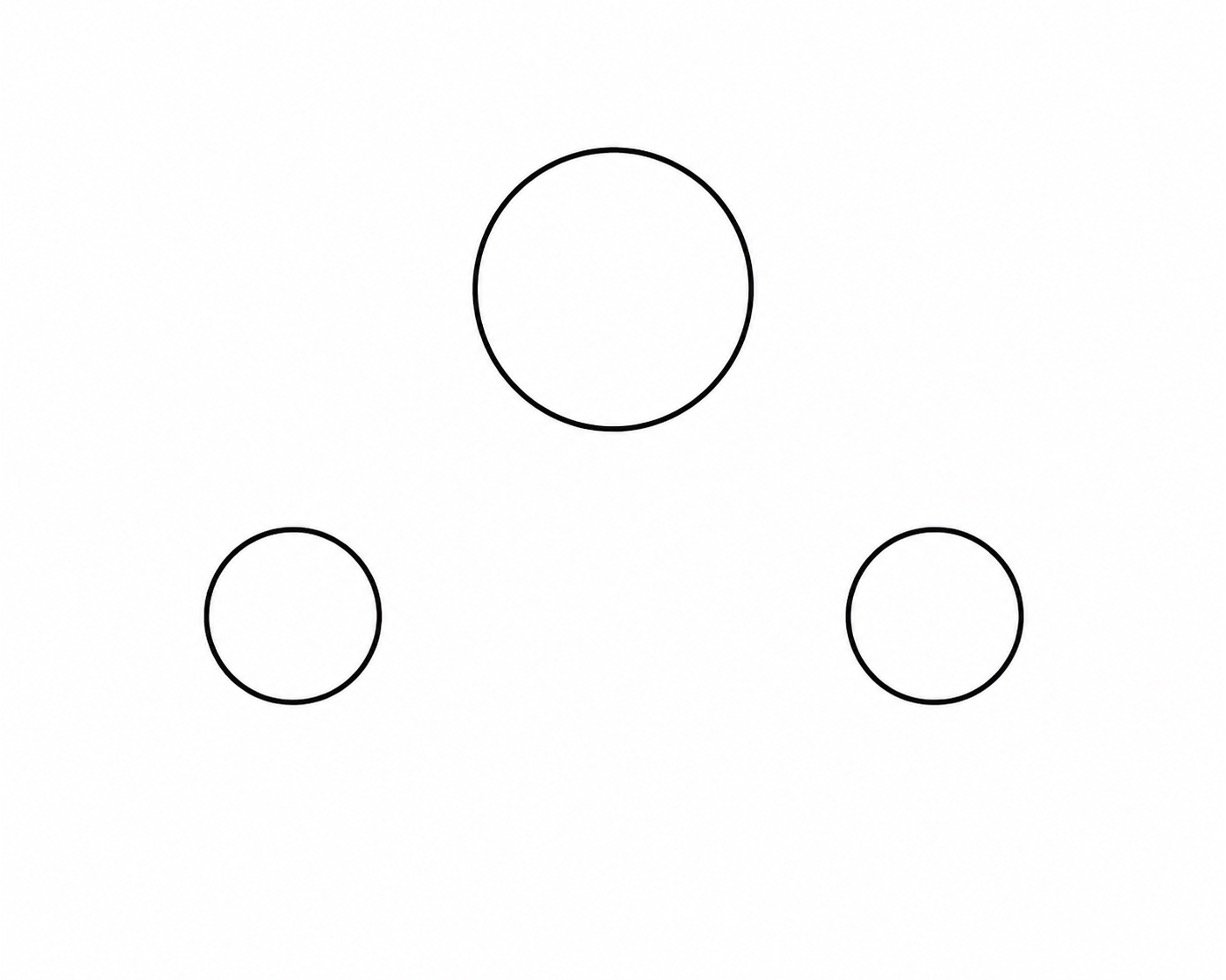
Step 1: Draw the Three Flower Centers
Instructions: Draw one medium circle near the upper middle of your paper. Add a slightly smaller circle below and to the left. Draw another small circle below and to the right, leaving about one circle of space between them.
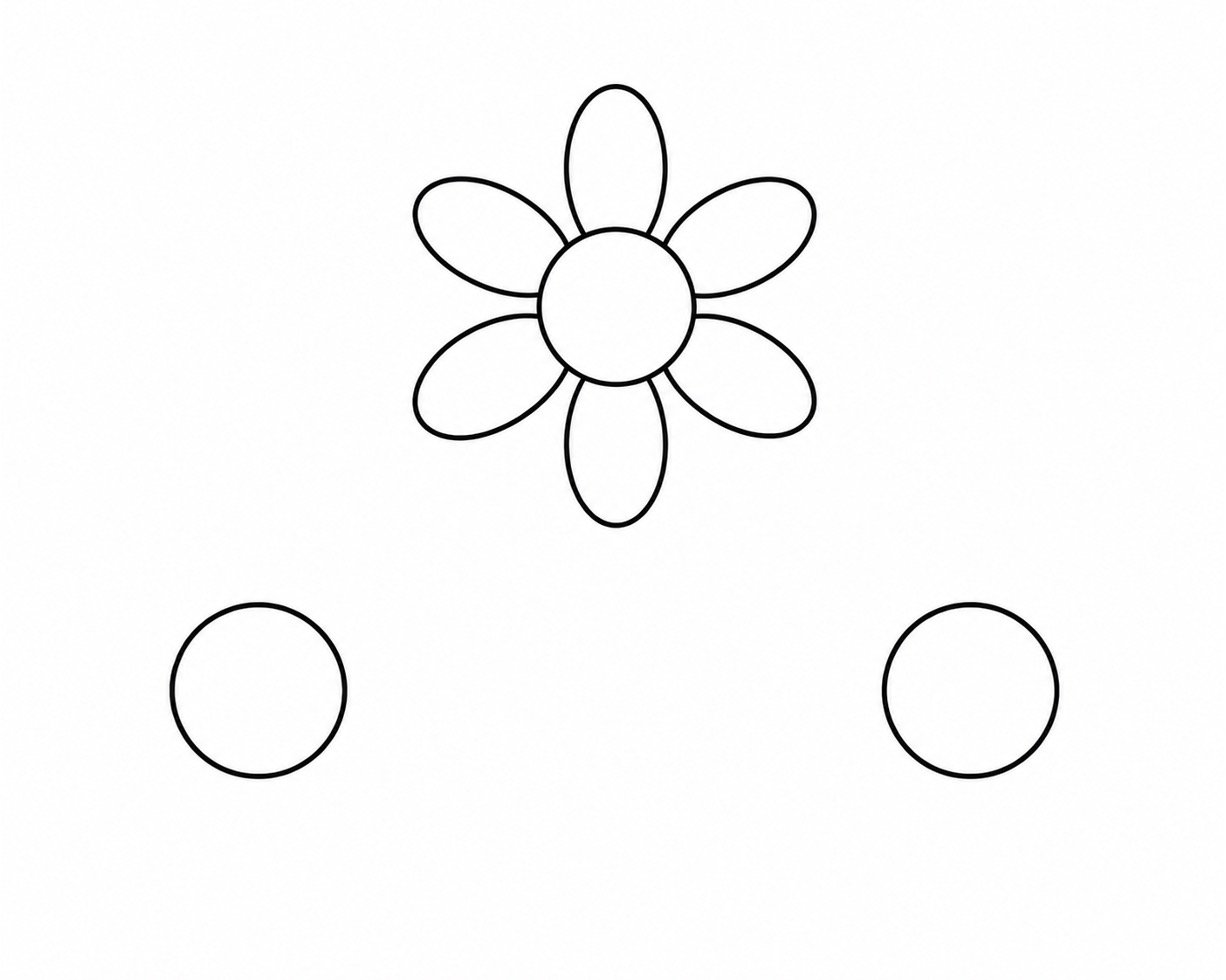
Step 2: Add Petals to the Middle Flower
Instructions: Draw six long ovals around the top circle. Place one oval above, one below, two on the left, and two on the right. Let the ends of the ovals touch the edge of the circle.
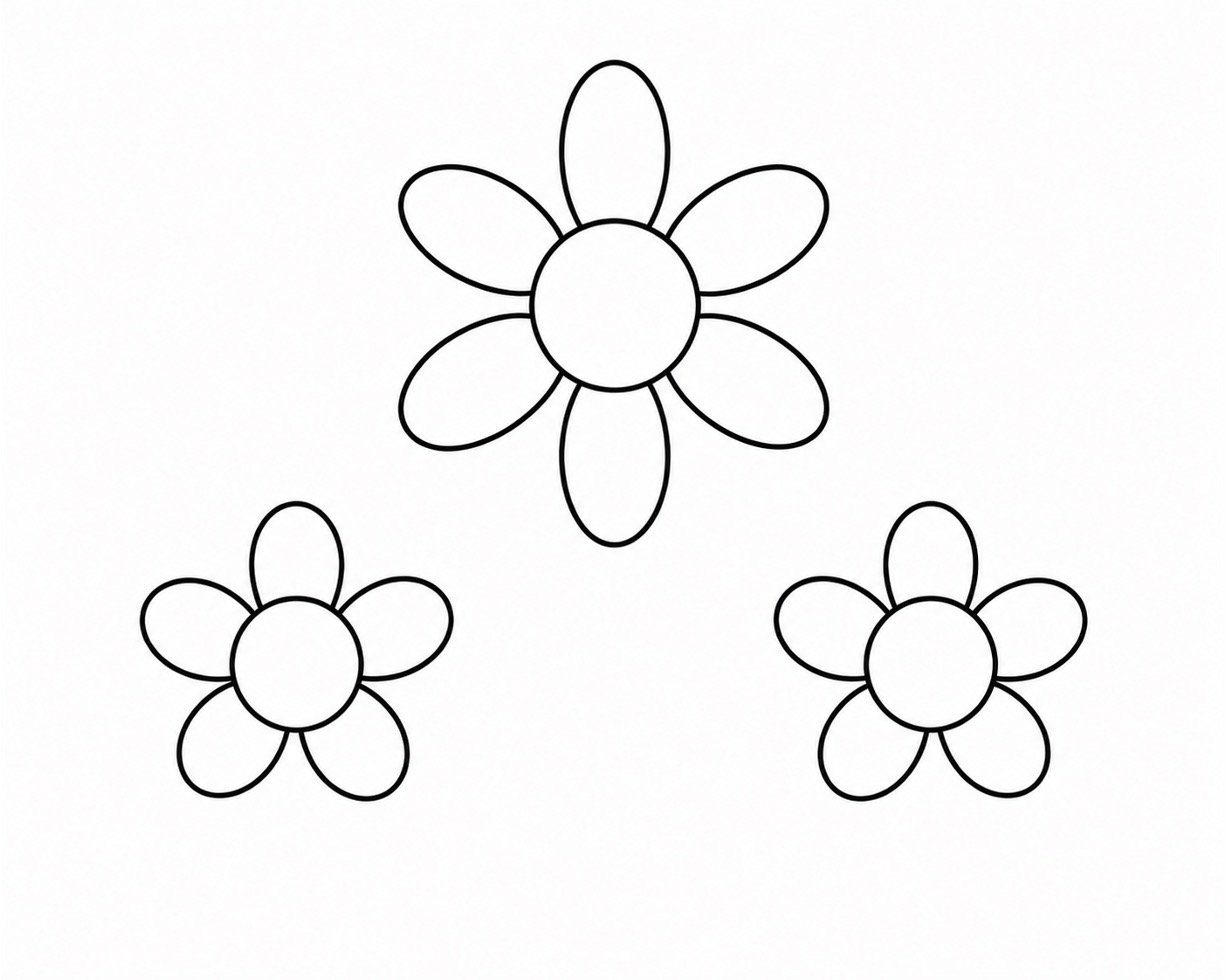
Step 3: Complete the Two Side Flowers
Instructions: Add five oval petals around the lower-left circle. Repeat this around the lower-right circle. Make these petals a little smaller than the petals on the middle flower.
Step 4: Draw the Stems
Instructions: Draw two close, gentle curves downward from the bottom of the middle flower to make its stem. Add two shorter curved lines below each side flower. Let all three stems move toward the lower middle of the page.
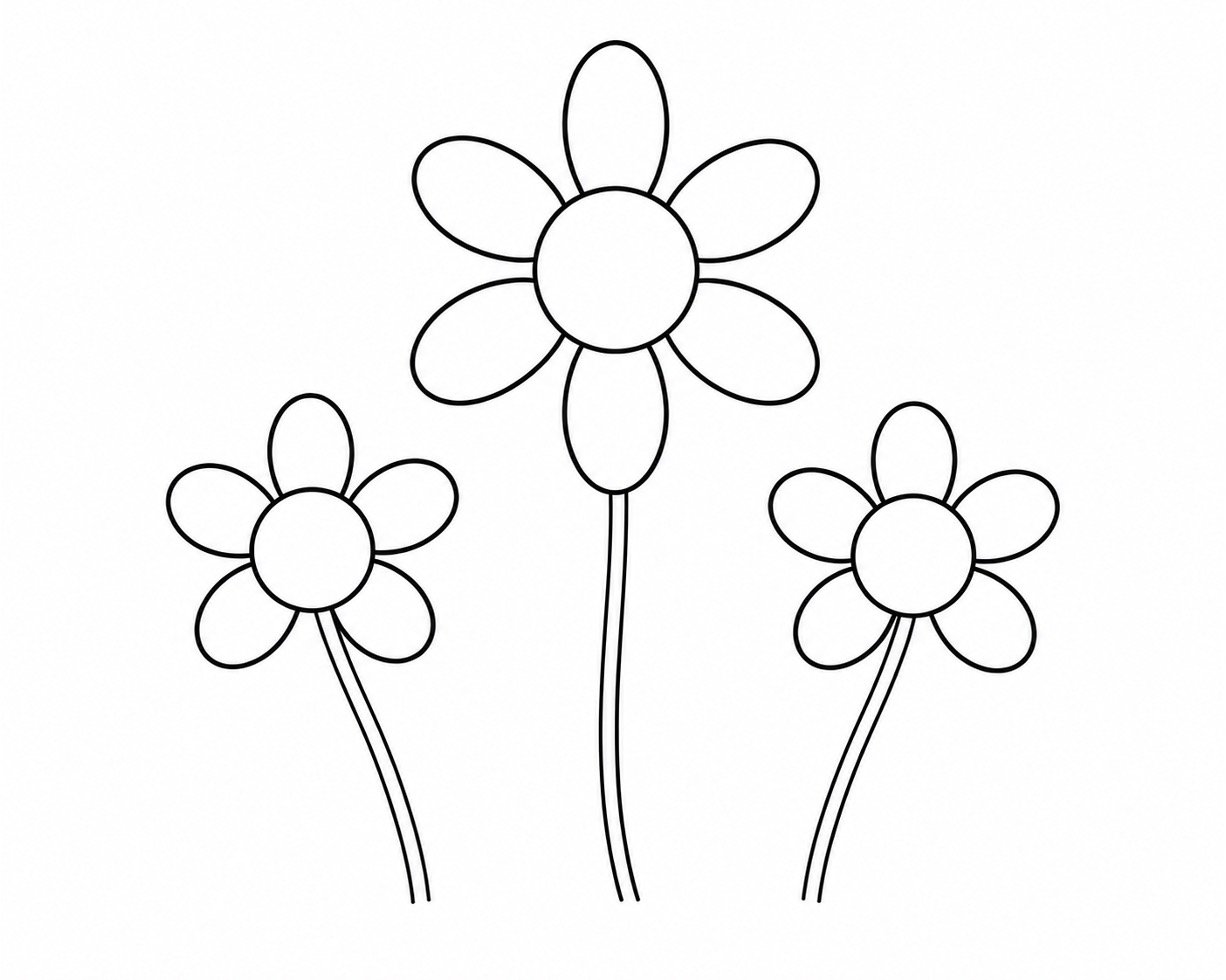
Step 5: Add the Leaves
Instructions: Add two leaves to the middle stem and one leaf to each side stem. Make each leaf from two curves that meet at a point. Keep the leaves about the same length as one flower petal.
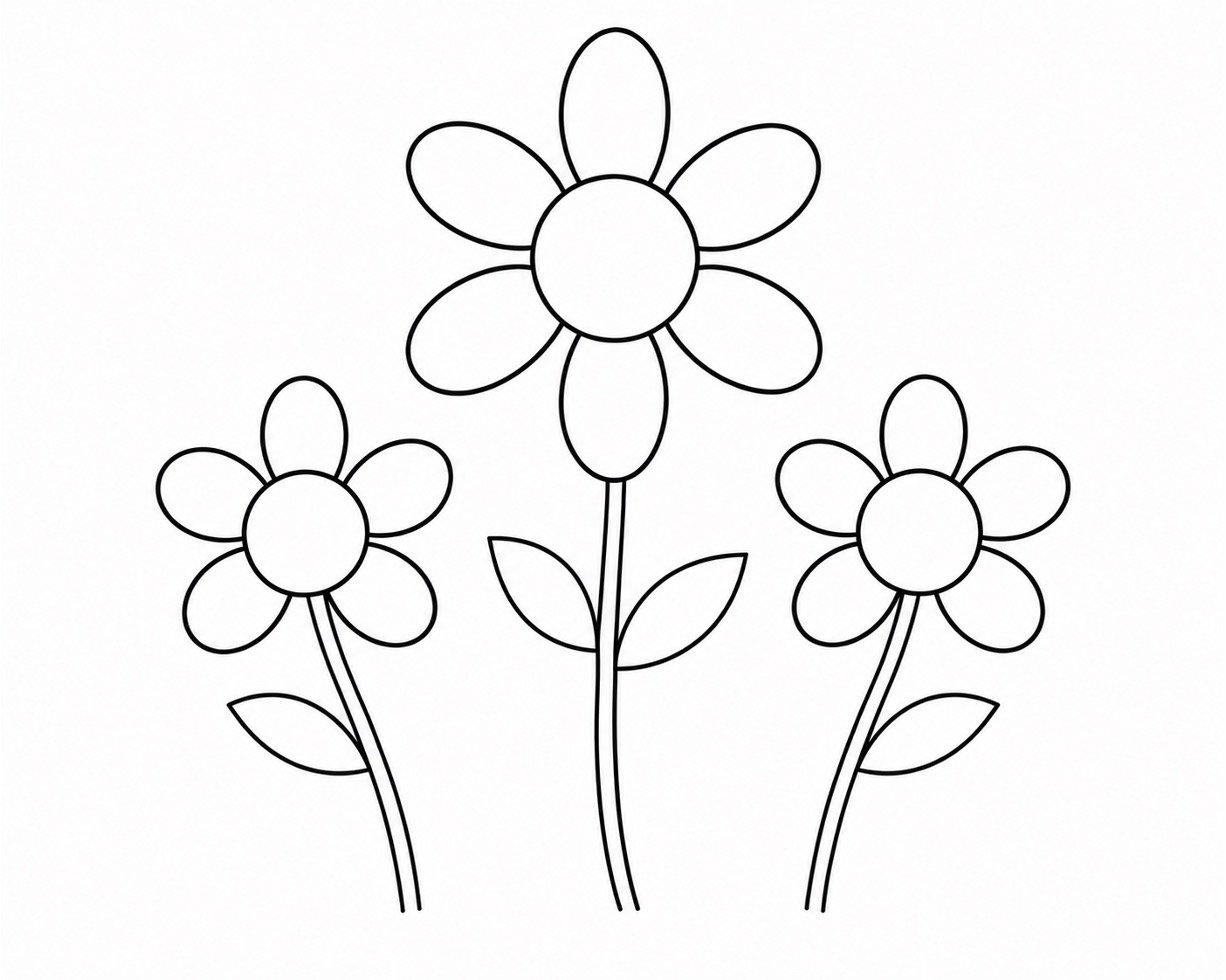
Step 6: Draw the Top of the Flowerpot
Instructions: Draw a wide, thin oval across the bottom ends of the stems. Place it below the leaves so the stems appear to enter it. Add a short straight line down from each side of the oval.
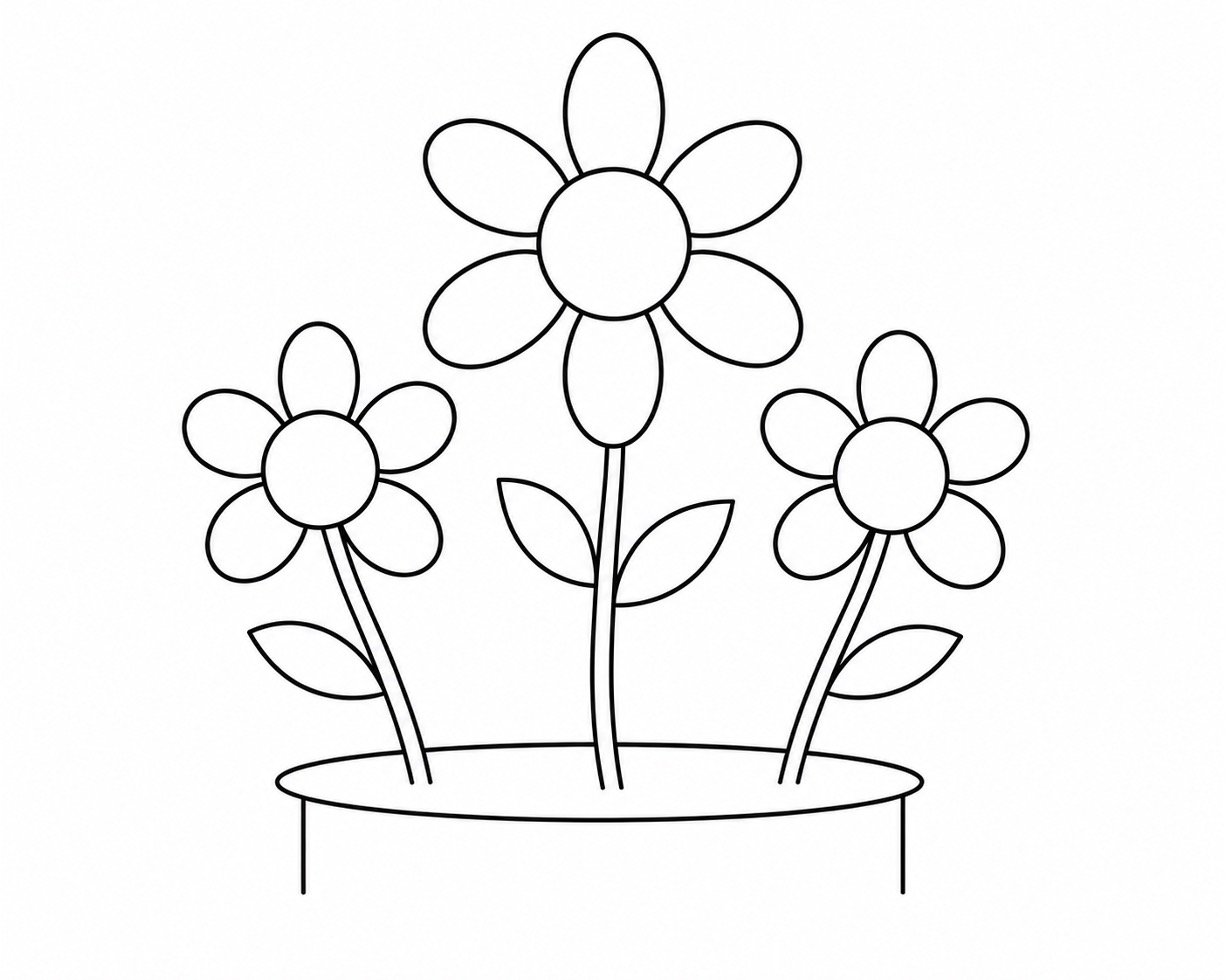
Step 7: Complete the Flowerpot
Instructions: Continue the two short lines downward and angle them slightly inward. Join their bottom ends with a shallow upward curve. The pot should be about as wide as the three flower centers placed side by side.
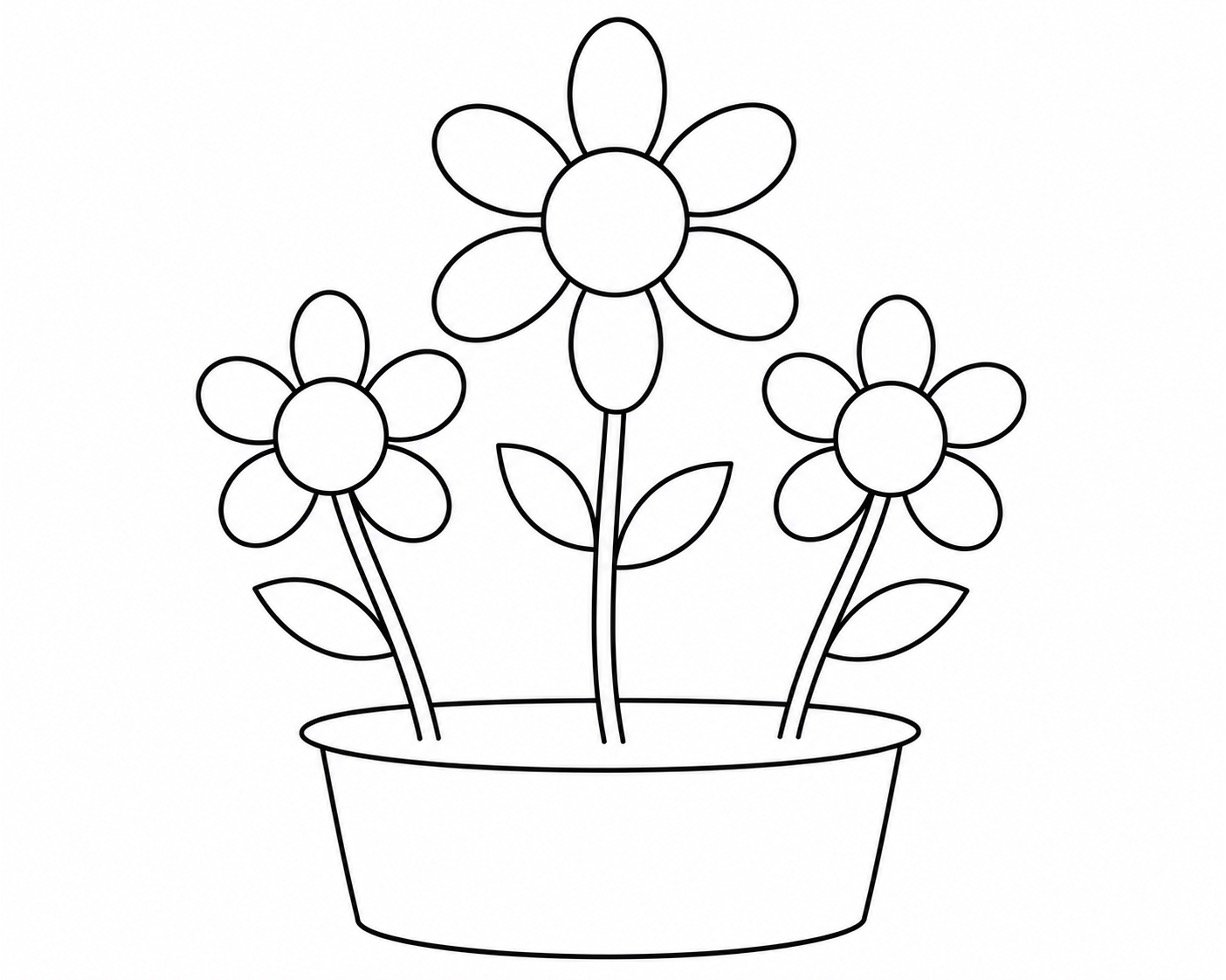
Step 8: Add Simple Finishing Details
Instructions: Draw a small circle inside each flower center. Add one short line inside each petal, starting near the center. Finish with a line through the middle of each leaf and a gentle curve beneath the pot for the ground.
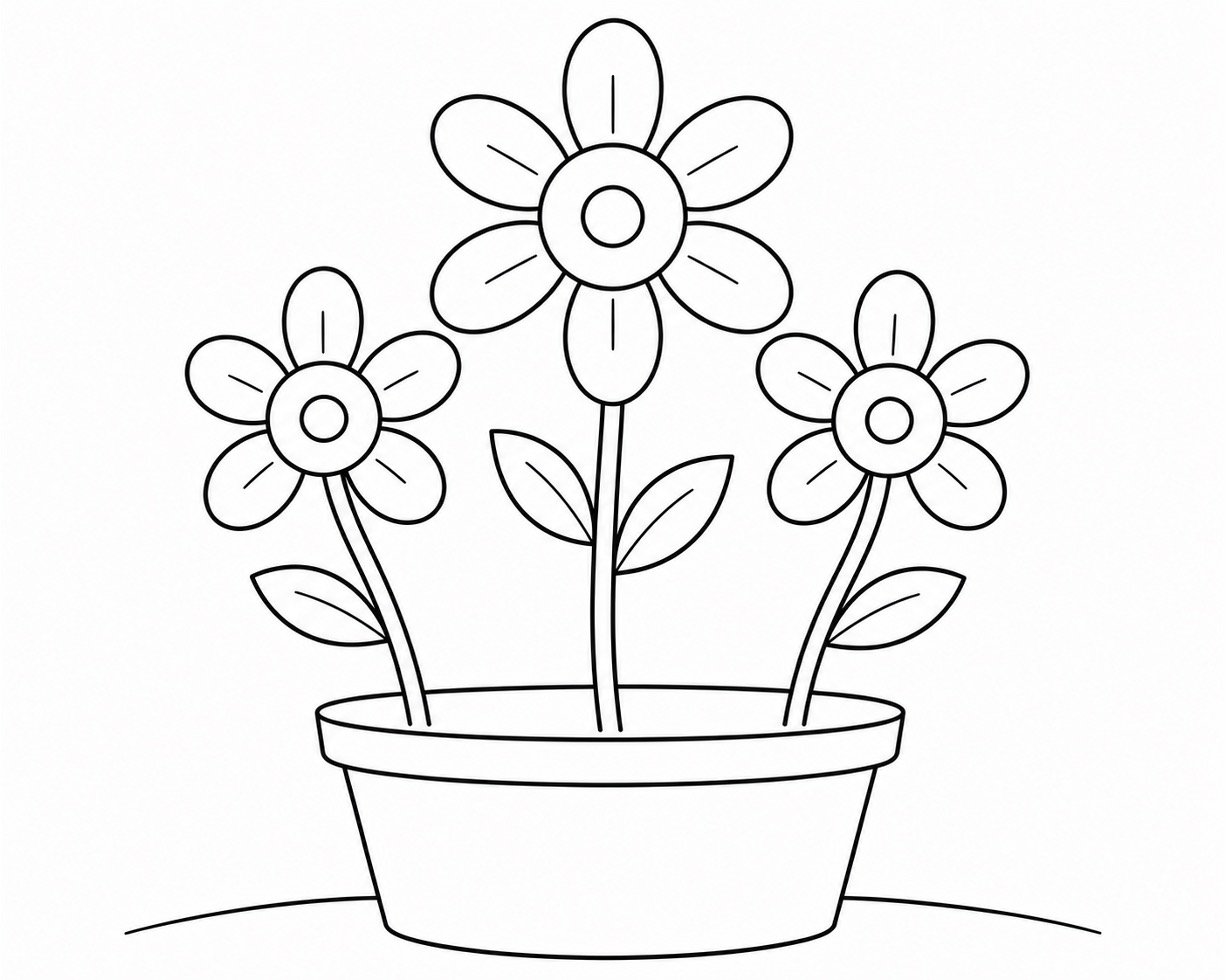
FINAL RESULT
Your completed drawing shows three cheerful flowers growing from a small flowerpot. The taller middle flower stands above two smaller side flowers, while the curved stems and pointed leaves help the picture feel balanced and lively.
You can leave the drawing as clean black-and-white line art or carefully trace your pencil lines with a black pen. Erase any extra pencil marks after the ink is dry.
For color, try yellow, pink, purple, or blue petals. The flower centers can be orange or brown, and the leaves and stems can be green. You can also add light pencil shading along one side of the pot or beneath a few petals. Keep the shading soft so the simple shapes remain easy to see.
Great job finishing your flowers! Every circle, oval, and curve helped build the final picture. Share your drawing with a friend, leave a comment with any questions, or try another beginner tutorial to keep practicing your new skills.


About author










Add comment