
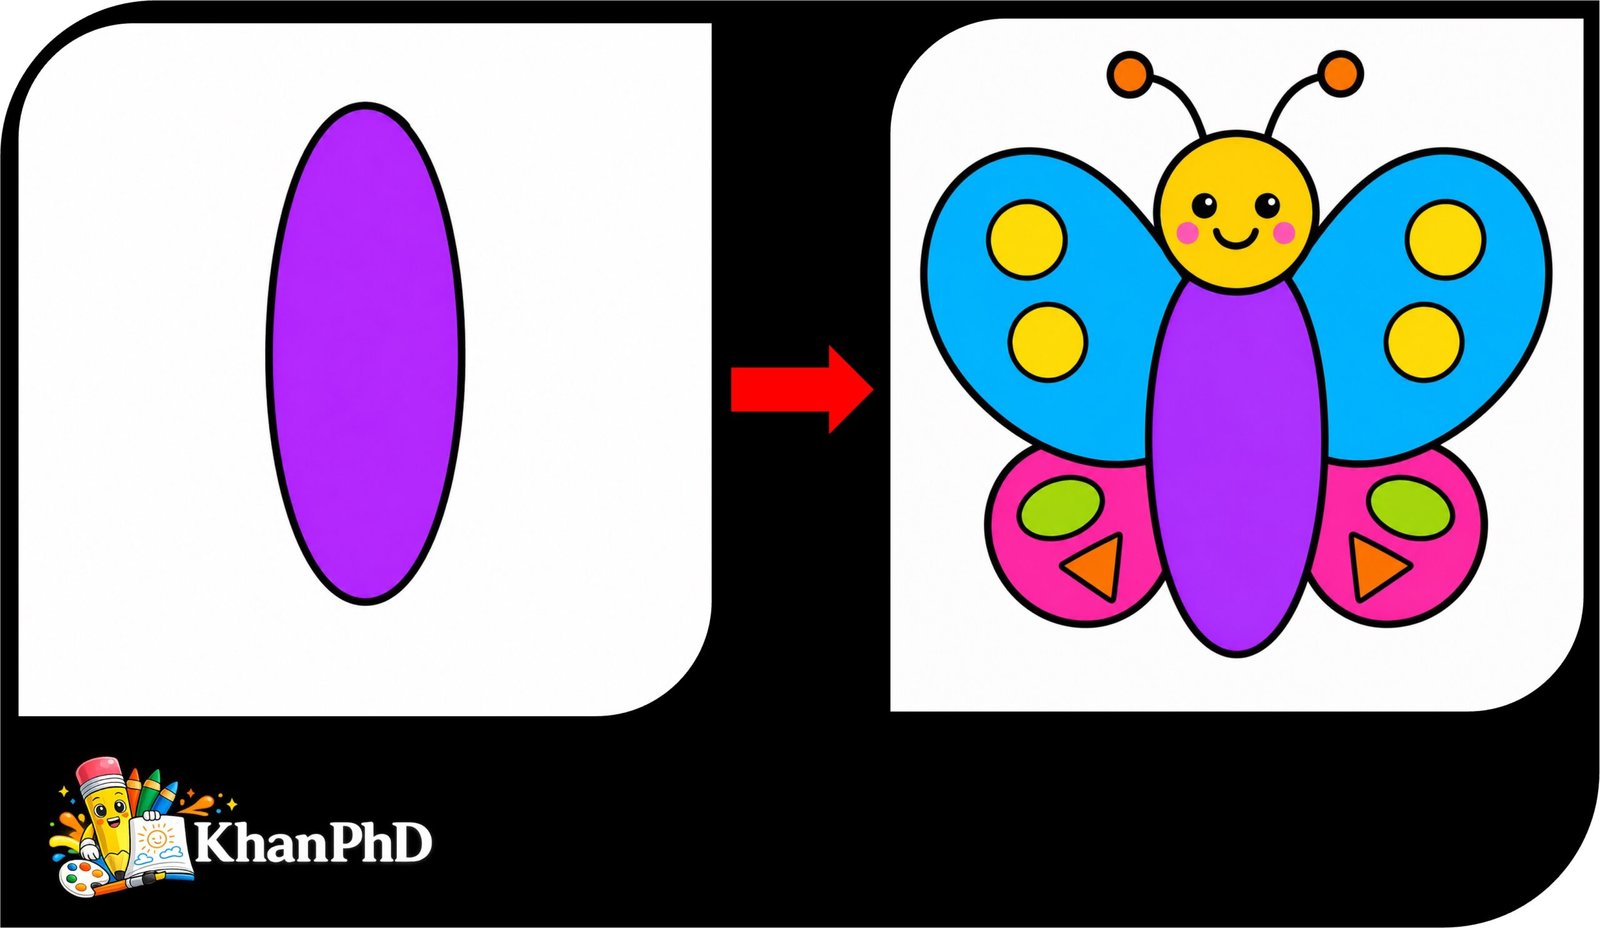
Butterfly Drawing with Colour: An Easy Step-by-Step Guide for Beginners
Have you ever wanted to draw a bright, beautiful butterfly but worried that your drawing would not look right? This easy Butterfly Drawing with Colour tutorial is made especially for you. You do not need any drawing experience, special talent, or expensive art supplies. We will take our time and build the butterfly one small shape at a time.
In eight simple steps, you will learn how to make the butterfly’s body, wings, antennae, and cheerful wing patterns. We will use only easy shapes and lines, such as ovals, circles, curves, and straight lines. Each step adds just one new part, so the drawing never feels confusing or rushed. Kids can follow along, and adults who are new to drawing can enjoy it too.
You only need a sheet of paper, a pencil, an eraser, and a black marker or fineliner. For coloring, use whatever you already have, such as crayons, markers, or colored pencils. This butterfly is fun to draw because you can make it as bright and playful as you like. Pink, blue, yellow, purple, orange, and green can all work together.
Remember, your butterfly does not need to look exactly like anyone else’s. Small differences make your artwork special. Take a deep breath, enjoy each easy step, and be proud of every line you draw. Grab your supplies, find a comfortable place to sit, and let’s start creating your colorful butterfly!
1. MATERIALS LIST
- White drawing paper
- Pencil
- Eraser
- Black marker or fineliner for outlines
- Crayons, markers, or colored pencils
2. BUTTERFLY DRAWING WITH COLOUR STEP-BY-STEP TUTORIAL
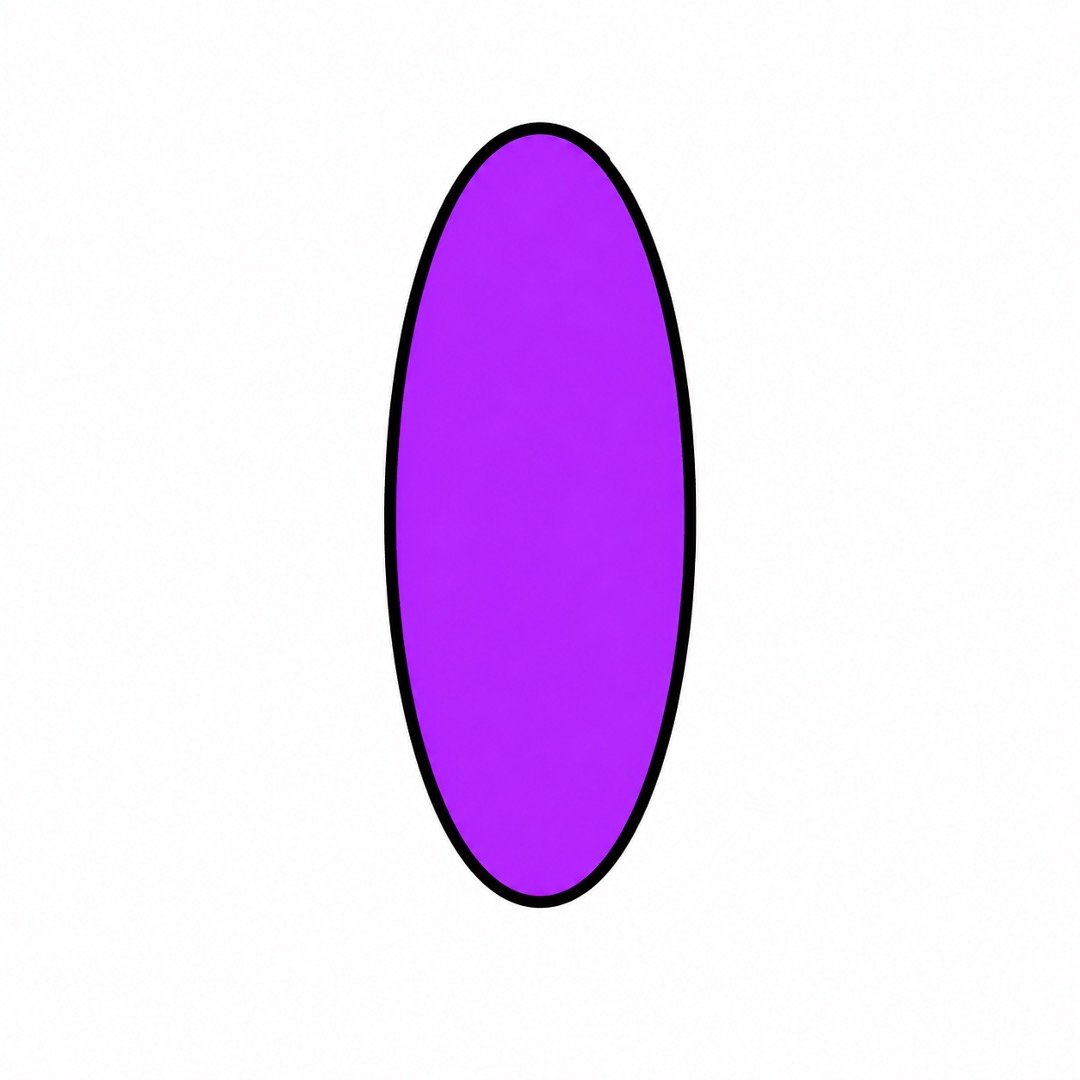
Step 1: Draw the Body
- Instruction: Draw one long oval standing upright in the middle of your paper. Keep the oval simple and smooth.
- Add color: Color the long oval bright purple.
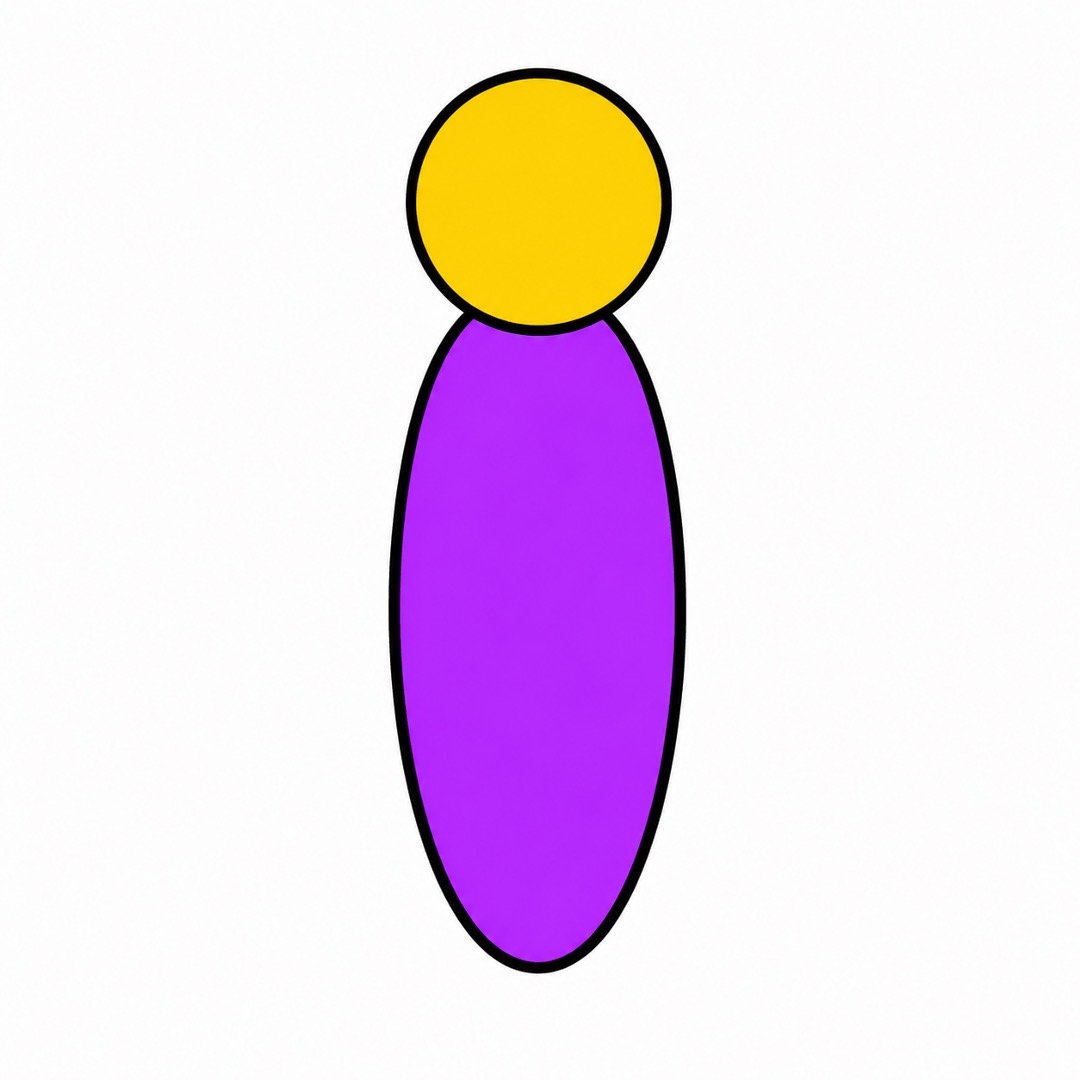
Step 2: Add the Head
- Instruction: Draw a medium-sized circle on top of the purple oval. Let the circle touch the top of the body.
- Add color: Color the head golden yellow.
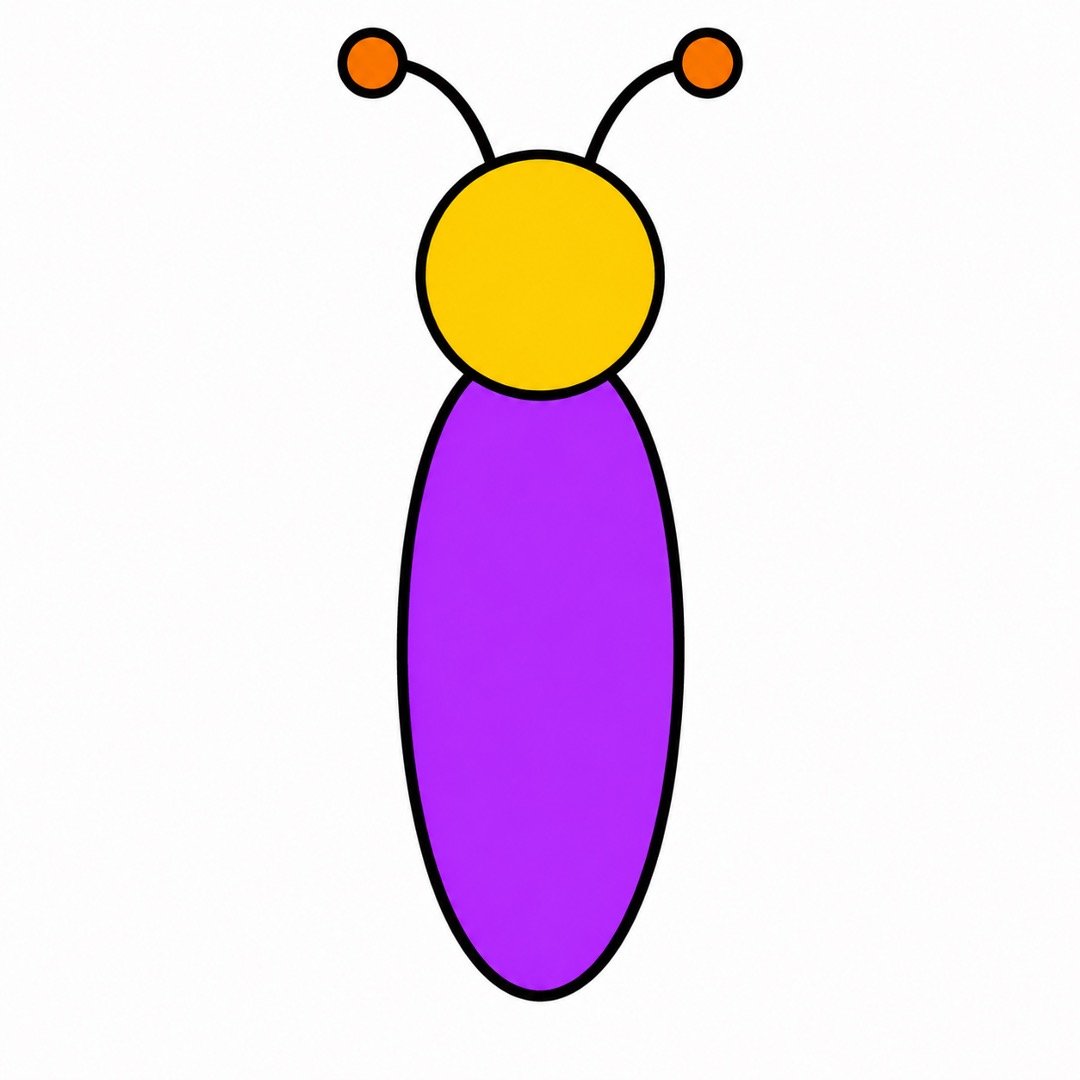
Step 3: Draw the Antennae
- Instruction: Draw two short curved lines from the top of the head. Add one small circle at the end of each line.
- Add color: Color the curved antennae black and the two small tip circles orange.
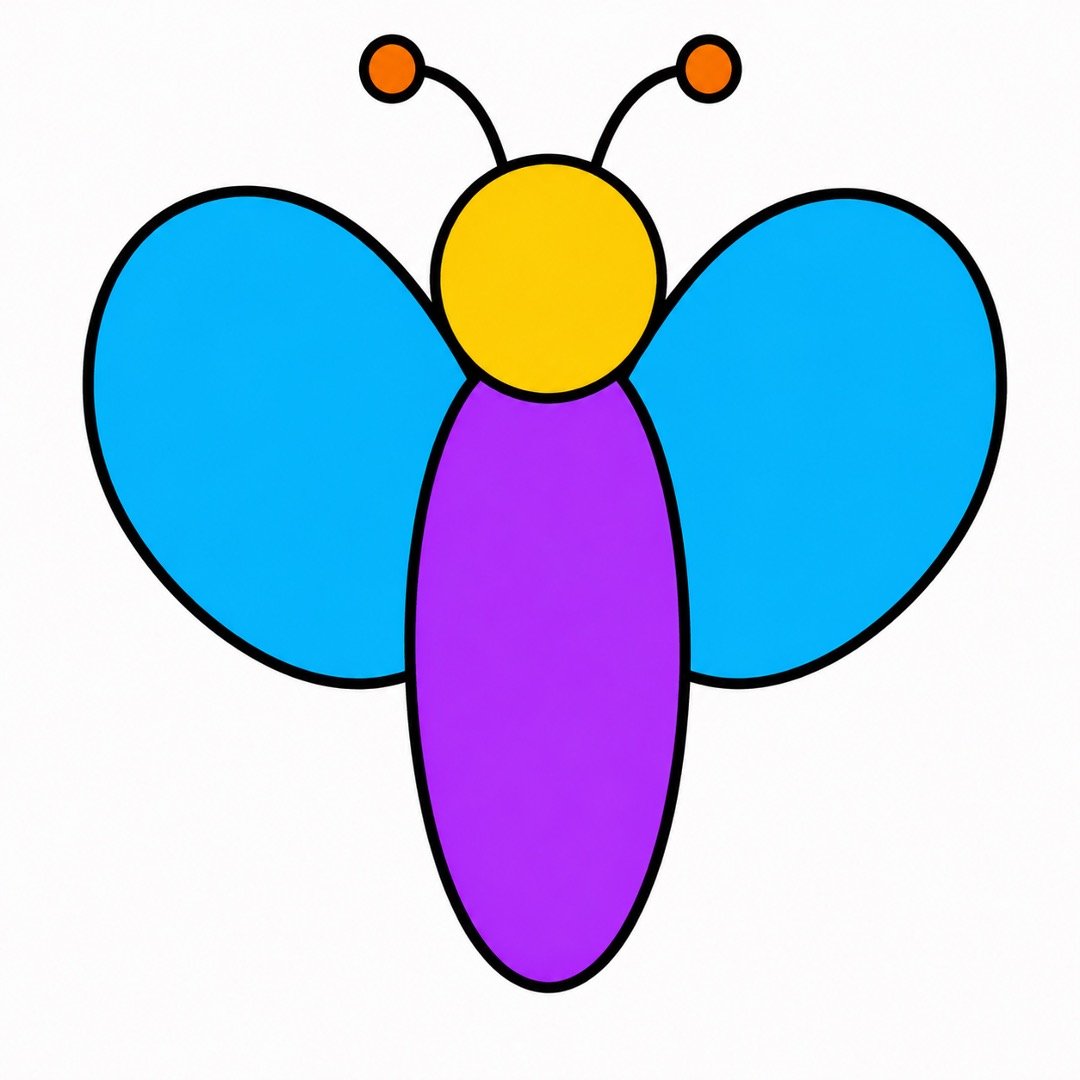
Step 4: Make the Upper Wings
- Instruction: Draw one large rounded wing on each side of the upper body. Make each wing with two wide curved lines.
- Add color: Color both upper wings bright sky blue.
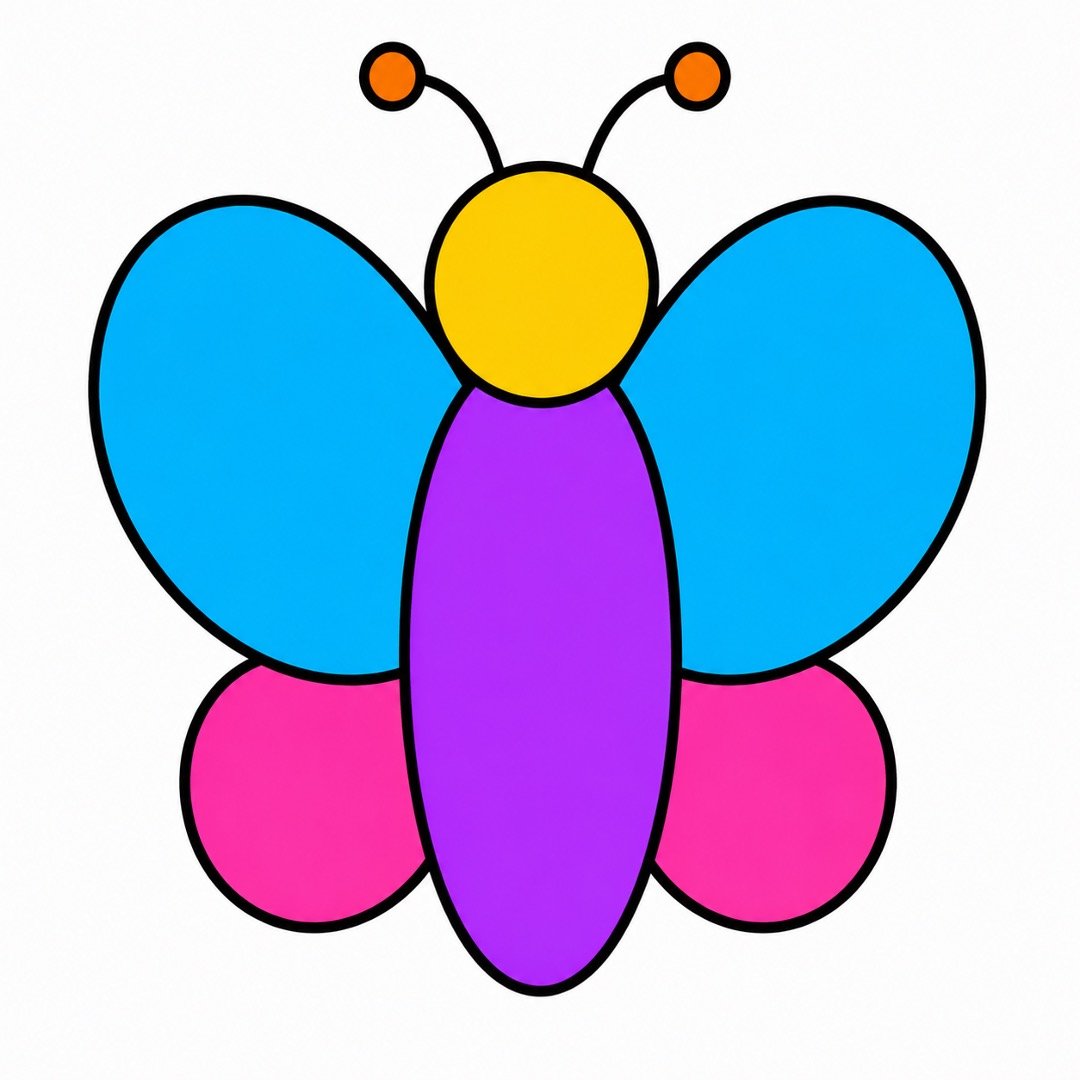
Step 5: Add the Lower Wings
- Instruction: Draw one smaller round wing below each blue wing. Use easy curves and connect the new wings to the lower body.
- Add color: Color both lower wings bright pink.
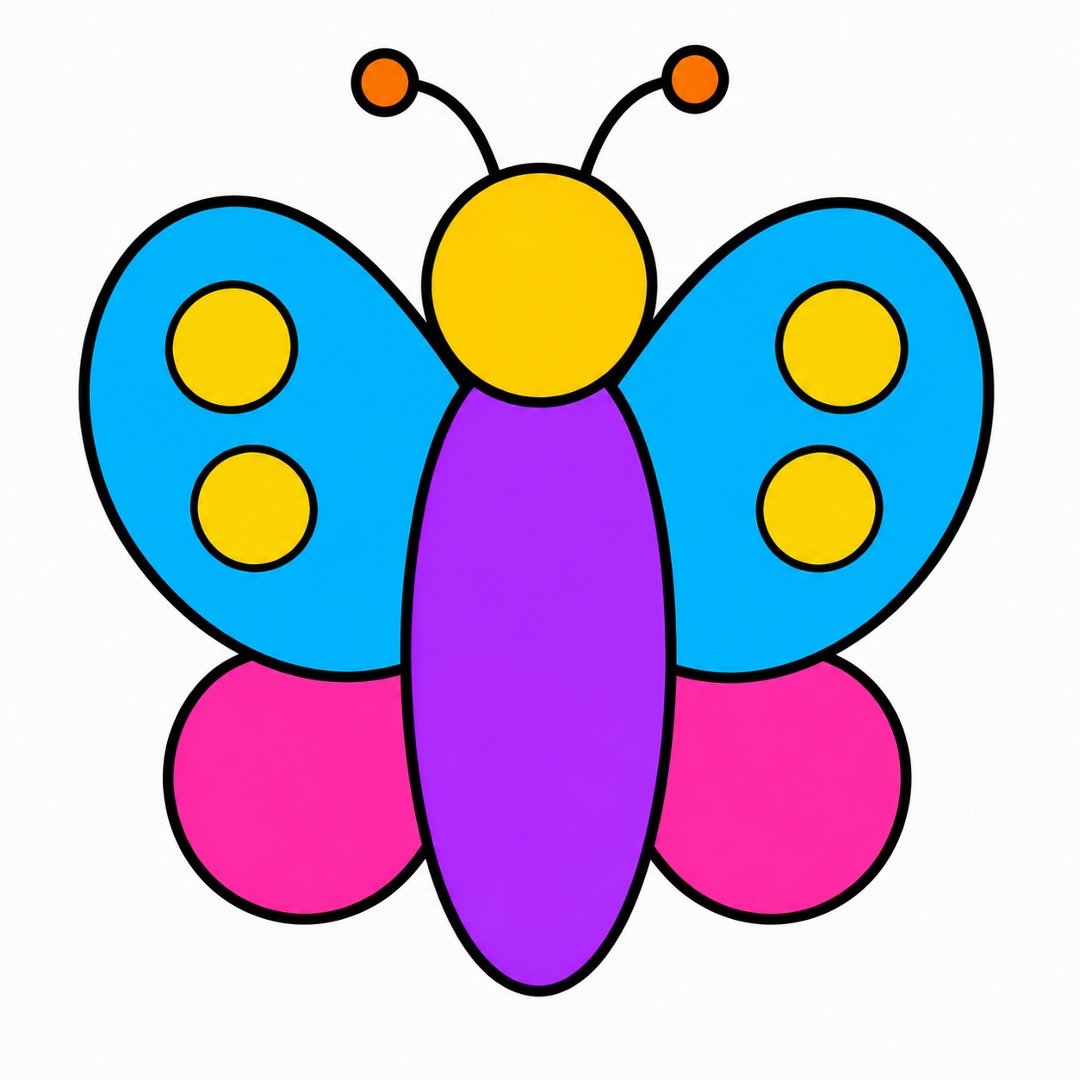
Step 6: Decorate the Upper Wings
- Instruction: Draw two medium circles inside each blue upper wing. Leave a little space between the circles.
- Add color: Color all four circles sunny yellow.
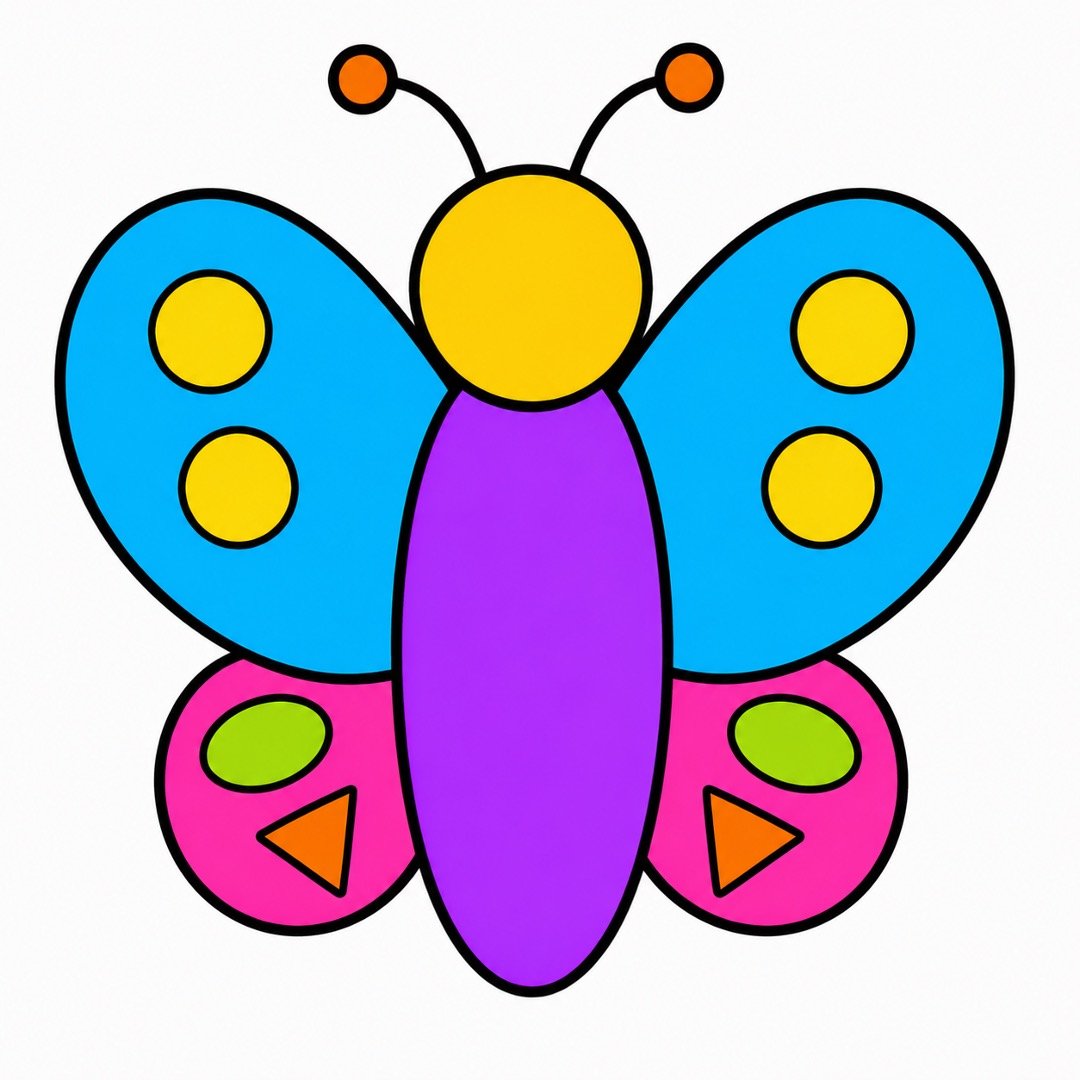
Step 7: Decorate the Lower Wings
- Instruction: Draw one small oval and one small triangle inside each pink lower wing. Keep the shapes large enough to color easily.
- Add color: Color the ovals bright green and the triangles orange.
Step 8: Finish the Colorful Butterfly
- Instruction: Draw two small black circles for the eyes and a short upward curve for a happy smile. Trace the outside lines with your black marker, then erase any extra pencil marks.
- Add color: Add two light pink circles on the cheeks. Fill any white gaps neatly and make the blue, pink, purple, yellow, green, and orange colors bright.
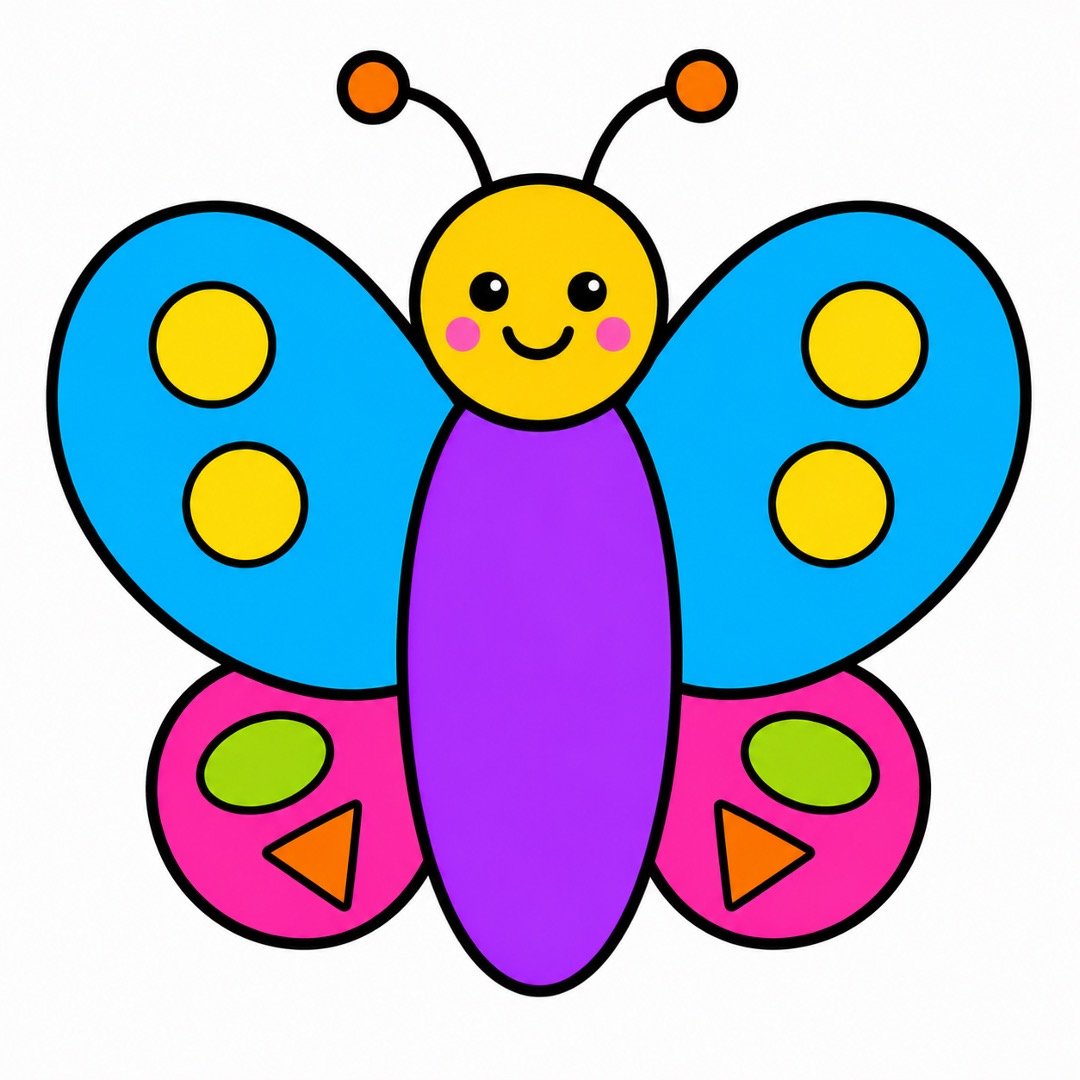
Wonderful work—you have finished your colorful butterfly! Share your drawing with a friend or family member and let them see what you created. Get ready for the next easy tutorial, where we will turn more simple shapes into cheerful art.

About author










Add comment