
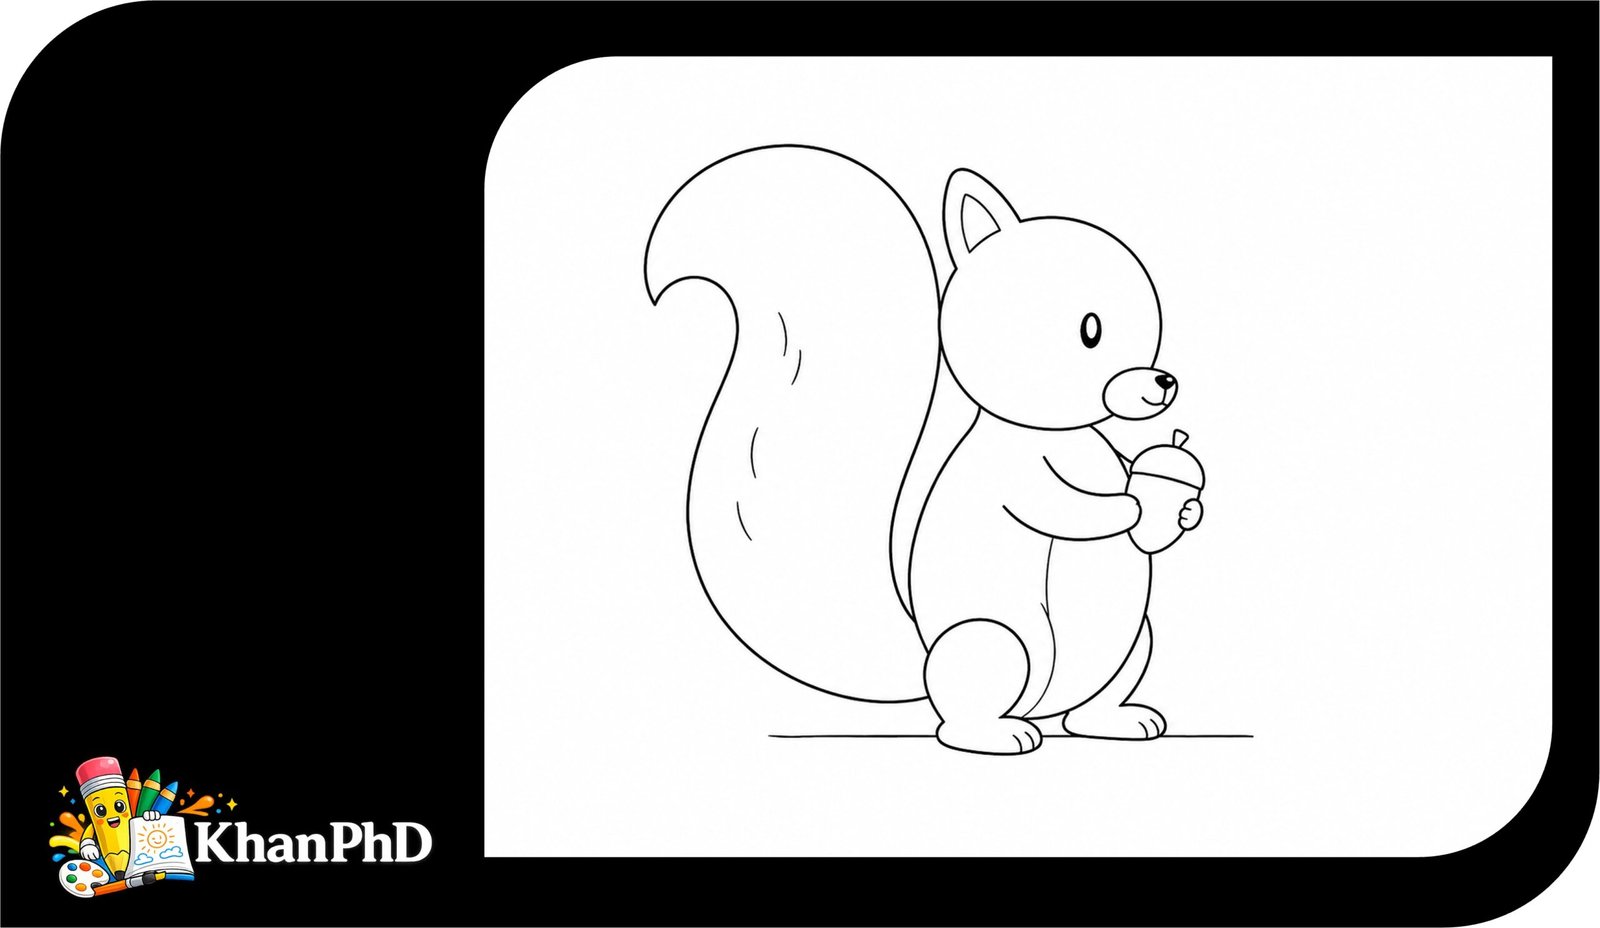
Cute Squirrel Drawing in 8 Easy Steps for Complete Beginners
Drawing a squirrel may look tricky at first, especially because of its big tail and tiny paws. The good news is that you do not need any drawing experience to make a cute squirrel of your own. In this beginner tutorial, we will build the picture slowly using circles, ovals, straight lines, curves, and triangles. Each step adds only a few new shapes, so you can focus on one small part at a time.
Do not worry about making every line perfect. Real squirrels come in many shapes and sizes, and your drawing can have its own personality too. Draw lightly with your pencil at the beginning. Light lines are easier to erase or adjust. You can also pause after each step and compare your picture with the instructions before moving on.
By the end of the eight steps, you will have a friendly side-view squirrel sitting upright, holding a small acorn, with a large fluffy tail curling behind its body. You will also learn how simple shapes can turn into an animal drawing. This is a useful skill you can use again when drawing rabbits, cats, foxes, and other animals.
Take your time, enjoy the process, and remember that every artist starts with simple lines. Let’s gather a few basic materials and begin.
MATERIALS NEEDED
- A sheet of plain paper
- A pencil
- An eraser
- A black pen or marker, optional
- Brown, tan, gray, or orange colored pencils, optional
STEP-BY-STEP GUIDE To Draw Squirrel (8 steps)
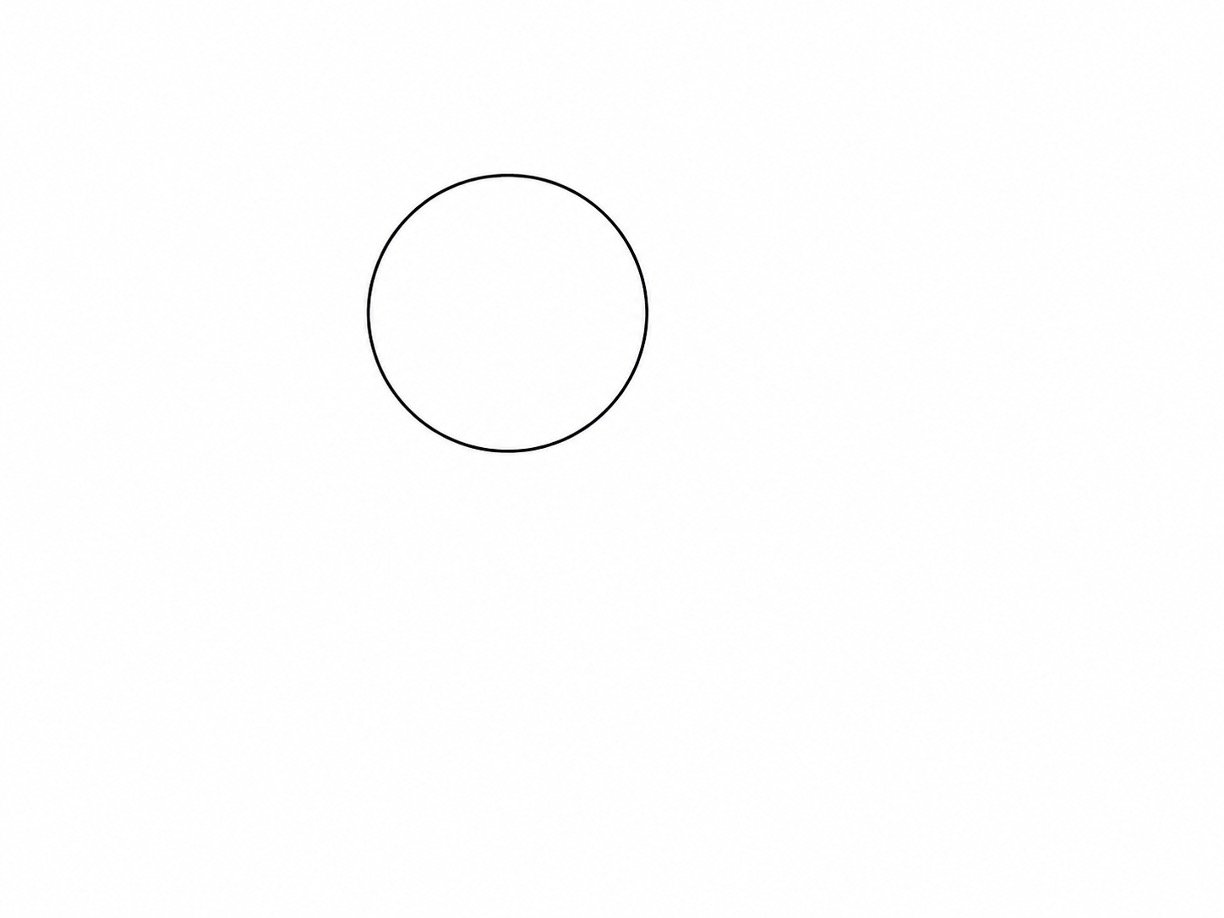
Step 1: Draw the Head
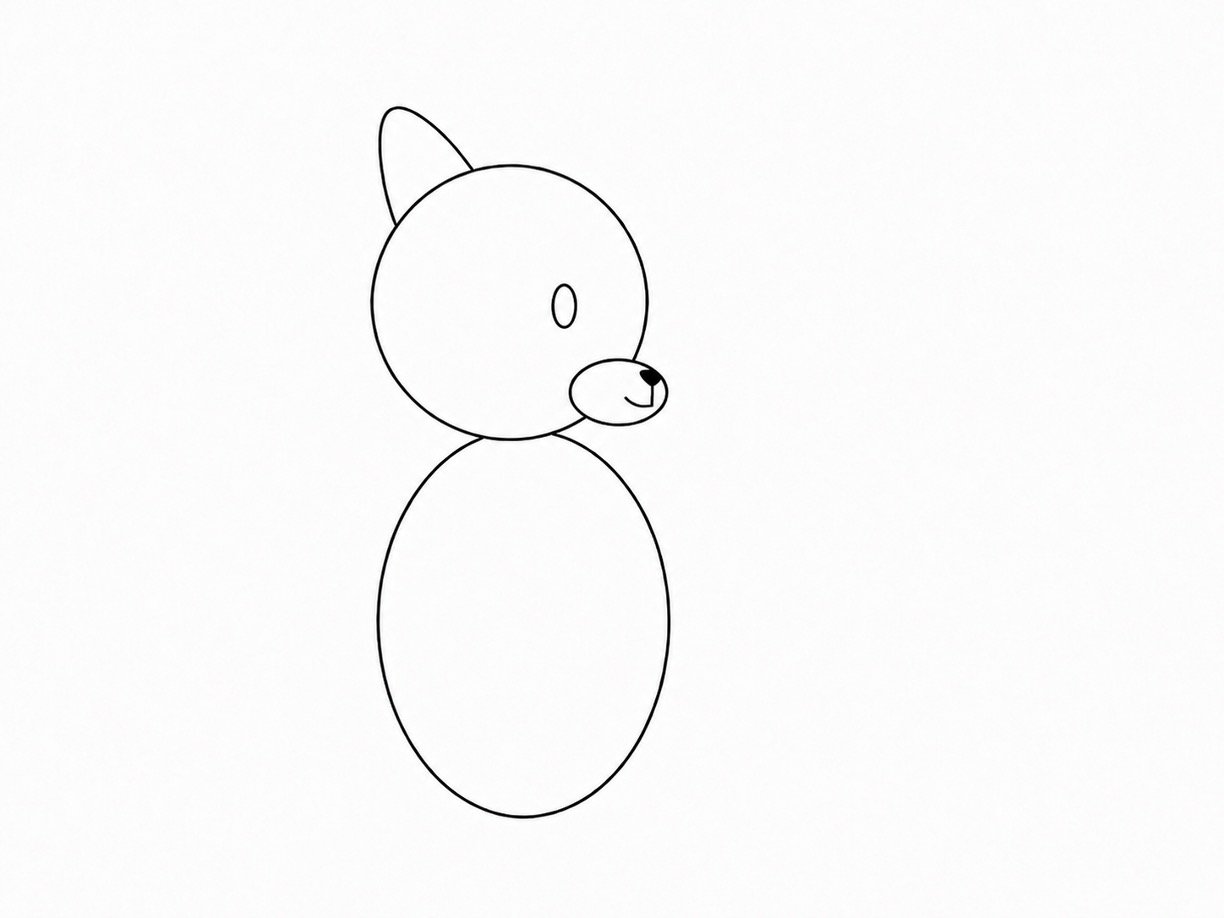
Near the upper middle of your paper, draw a medium-sized circle. Make it about the size of a large coin. Leave plenty of empty space below and to the right for the body and tail.
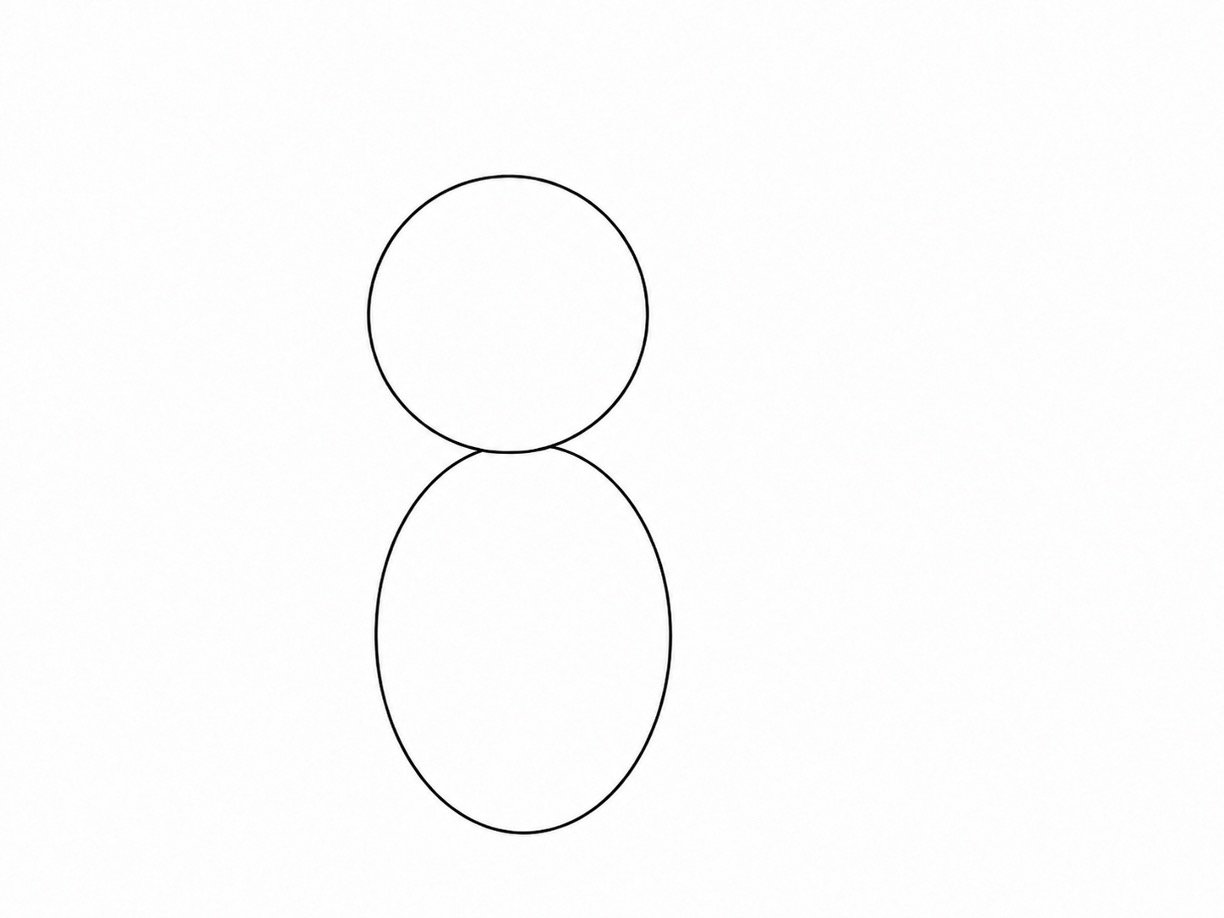
Step 2: Add the Body
Draw a large upright oval below the head and slightly to the right. Make the oval about twice as tall as the head circle. Let the top of the oval overlap the bottom edge of the head a little.
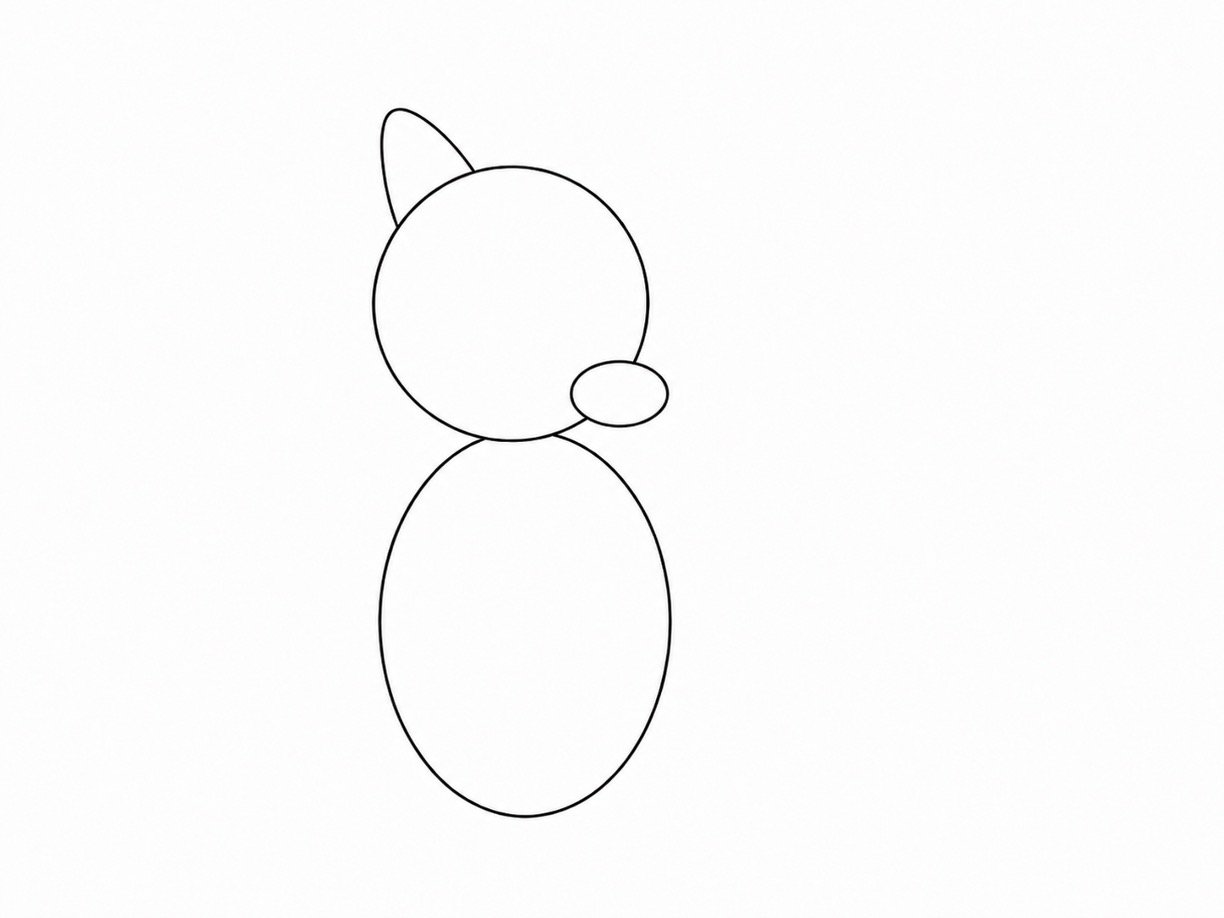
Step 3: Draw the Ear and Muzzle
Add a small rounded triangle on top of the head for the ear. Point the triangle upward and slightly left. On the lower right side of the head, add a small sideways oval for the muzzle.
Step 4: Add the Face
Draw a small oval inside the head for the eye. Place it above and slightly left of the muzzle. Add a tiny triangle at the right end of the muzzle for the nose, then draw one short curve below it for a smile.
Step 5: Draw the Legs and Feet
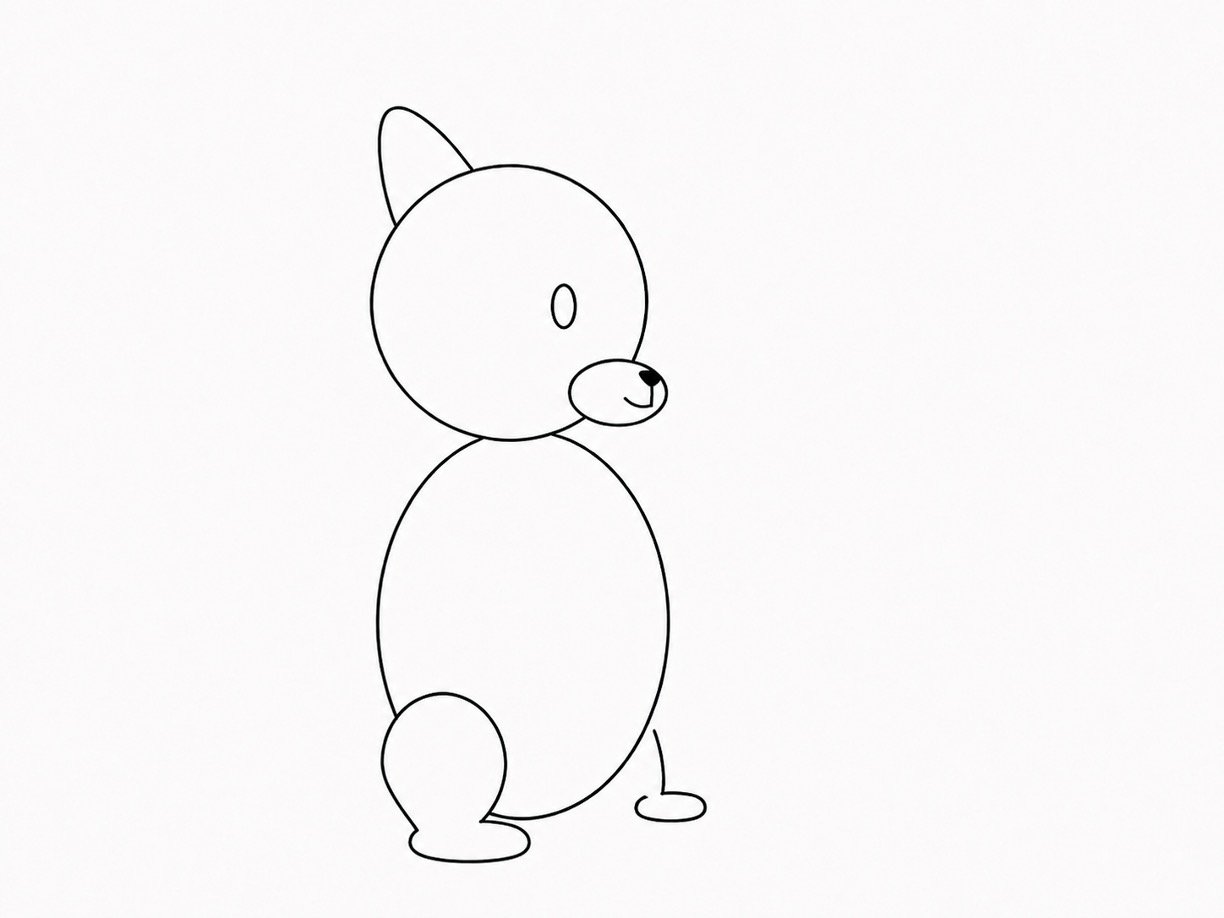
At the lower front of the body, draw one short curved line for the front leg. Near the bottom of the body, add a larger bent curve for the back leg. Finish each leg with a small horizontal oval for a foot.
Step 6: Add the Arms and Acorn
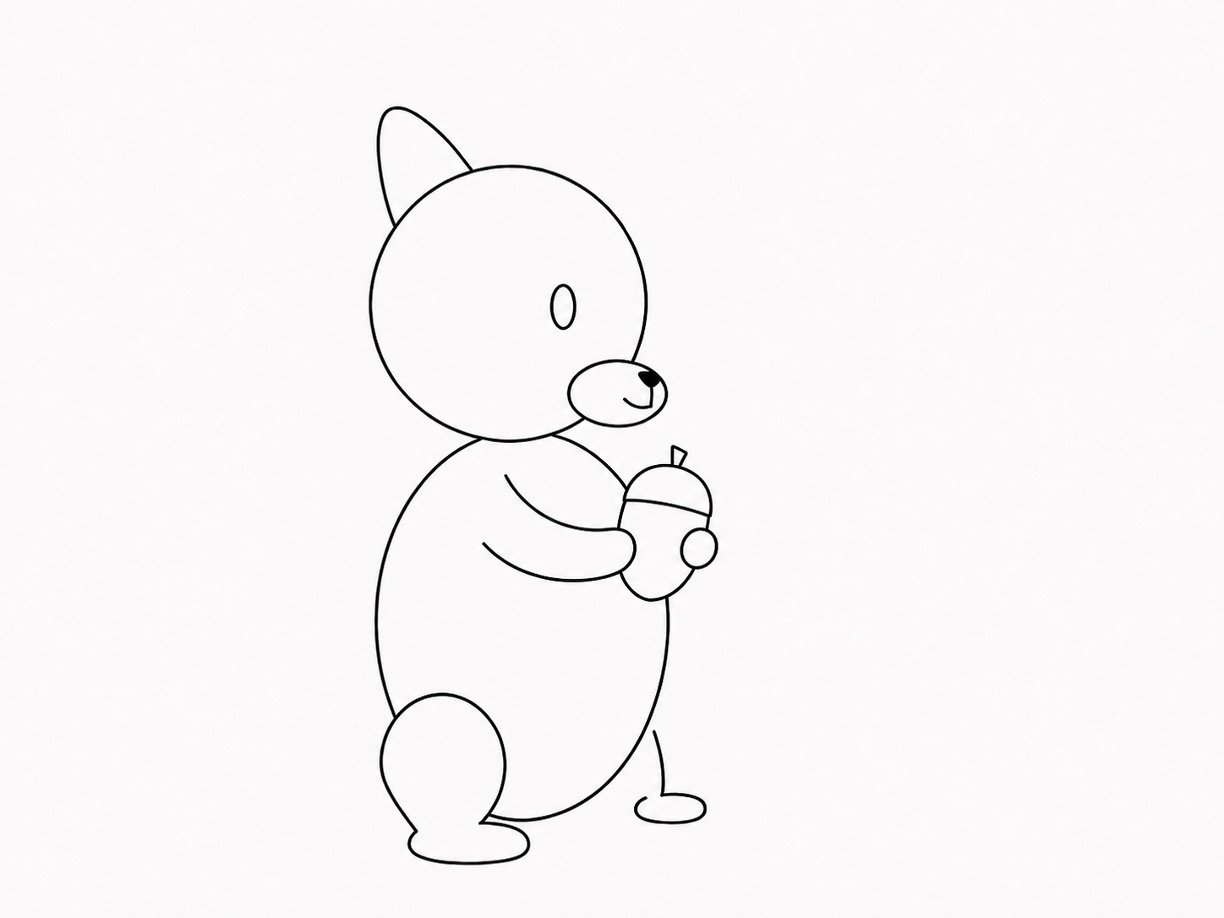
Draw two short curved lines from the upper front of the body to make the arms. Between the paws, draw a small upright oval for an acorn. Add a curved line across the top of the oval and a tiny triangle above it for the cap and stem.
Step 7: Draw the Large Tail
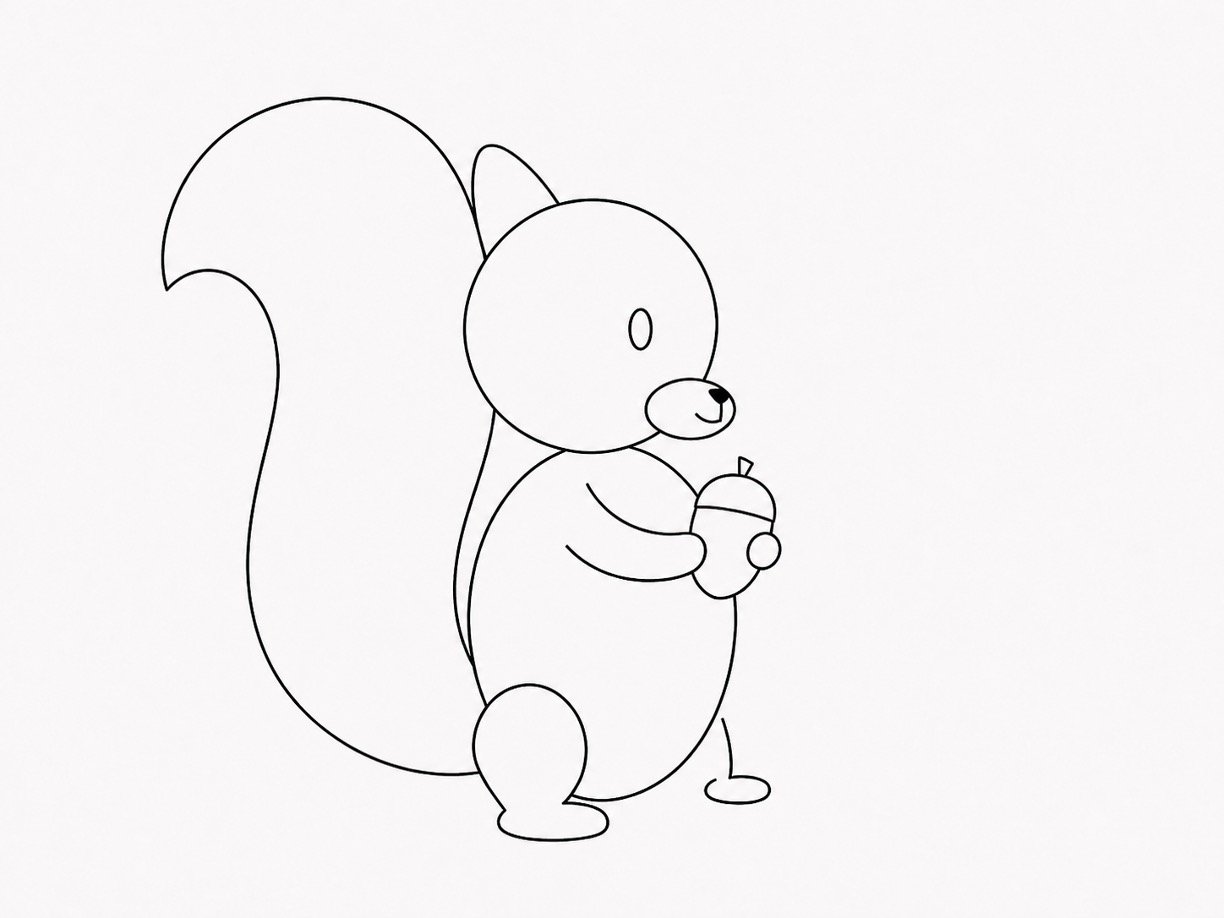
Behind the body, draw one long curve that rises above the squirrel’s head. Bring the curve down in a wide loop behind the body. Add a second curve inside it to complete the thick, fluffy tail shape.
Step 8: Add the Final Details
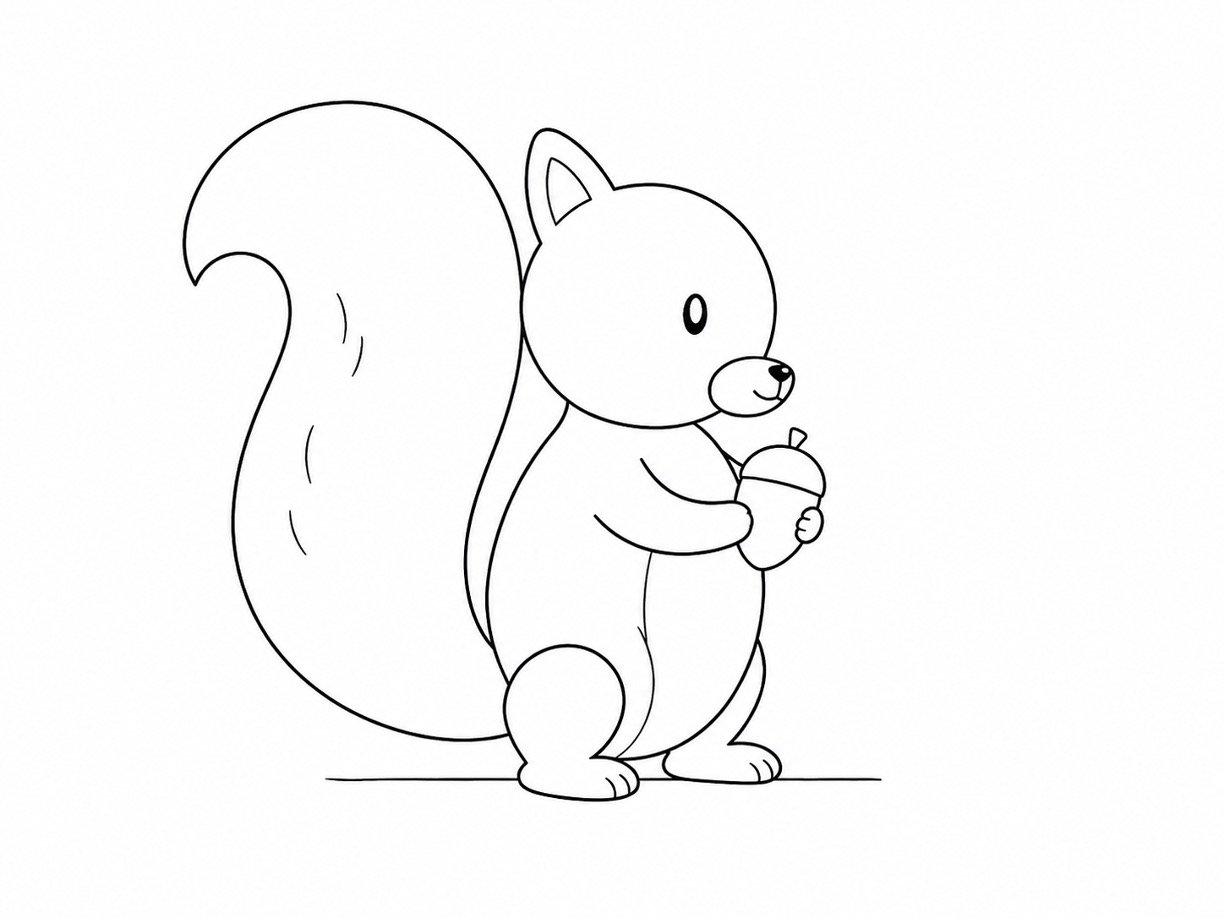
Draw a gentle curve inside the body to make the belly. Add two or three short curves on the tail to suggest soft fur. Draw tiny lines on the feet for toes, then erase any unwanted overlapping lines and trace the final outline.
FINAL RESULT
Your completed drawing shows a cute squirrel sitting upright and holding a small acorn. It has a round head, a soft oval body, tiny paws, and a large tail curling behind it. The simple face gives the squirrel a friendly and cheerful expression.
You can leave the drawing as clean black-and-white line art or add a few extra touches. Lightly shade the belly and the inside of the tail with your pencil. For color, try warm brown, reddish orange, soft gray, or golden tan. You can make the belly and muzzle a lighter color than the rest of the body.
You could also add grass, fallen leaves, small trees, or more acorns around the squirrel. Keep these details simple so the squirrel remains the main part of the picture.
CLOSING
Great job finishing your squirrel drawing! Every shape and line you added helped create the final animal. Share your drawing with a friend, leave a comment with any questions, or try another easy woodland animal tutorial next.
About author










Add comment