
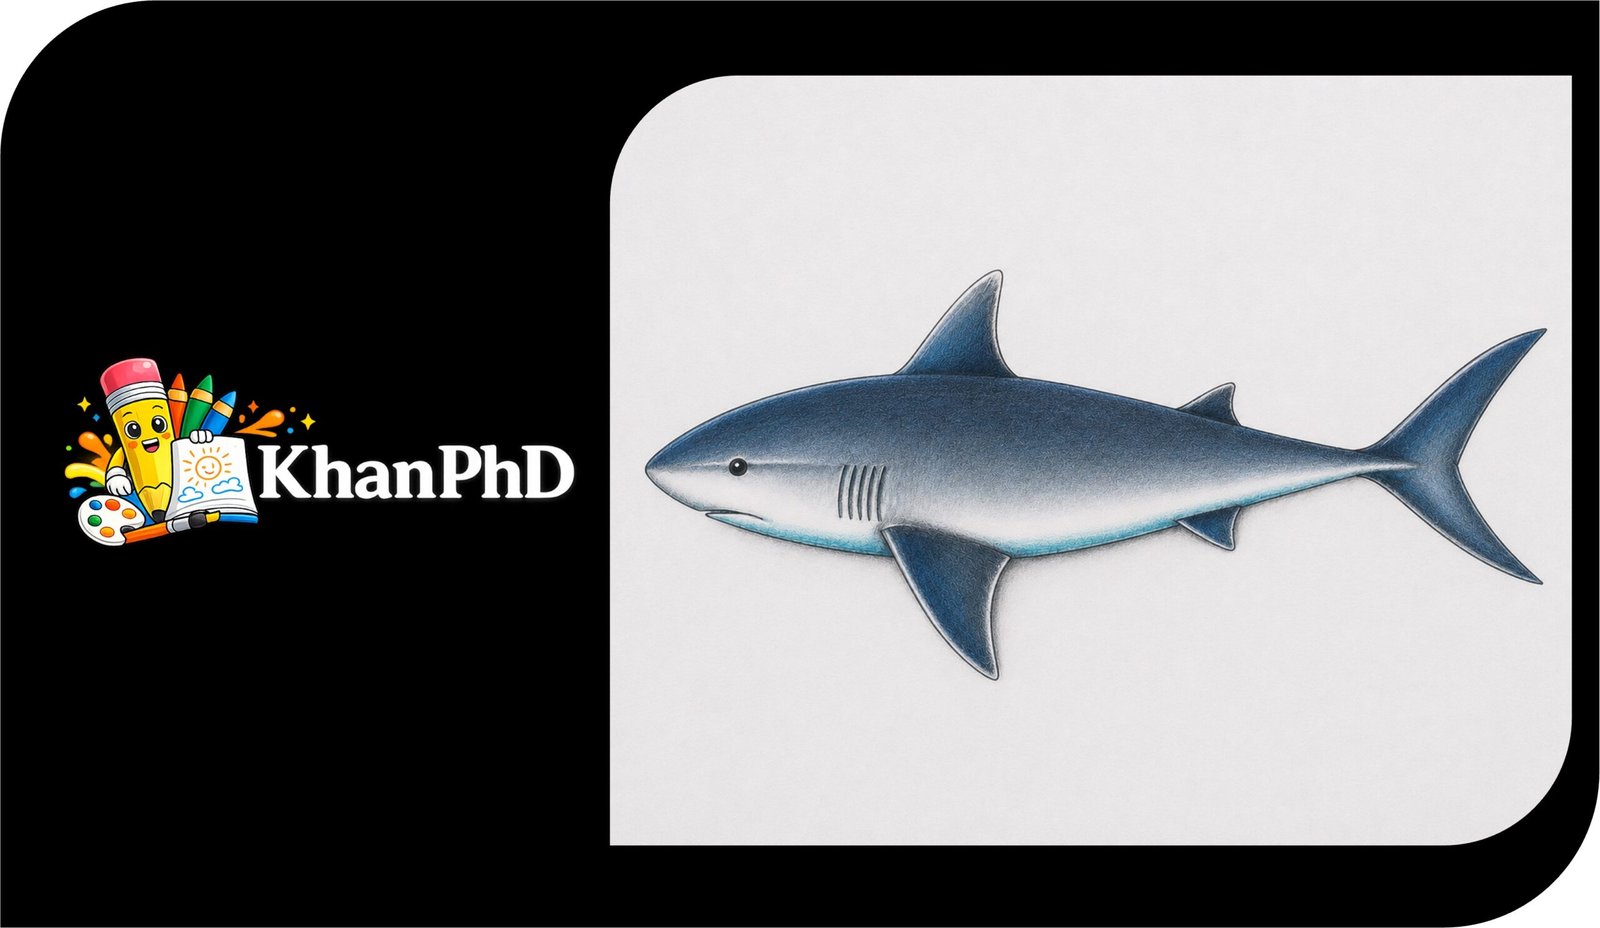
Easy Realistic Shark Drawing in Colour
Welcome, artist! If you have never drawn a shark before, or even if you feel nervous about drawing anything realistic, you are in exactly the right place. This tutorial is designed for complete beginners, so we will build the shark slowly using simple shapes, light pencil lines, and easy colour layers.
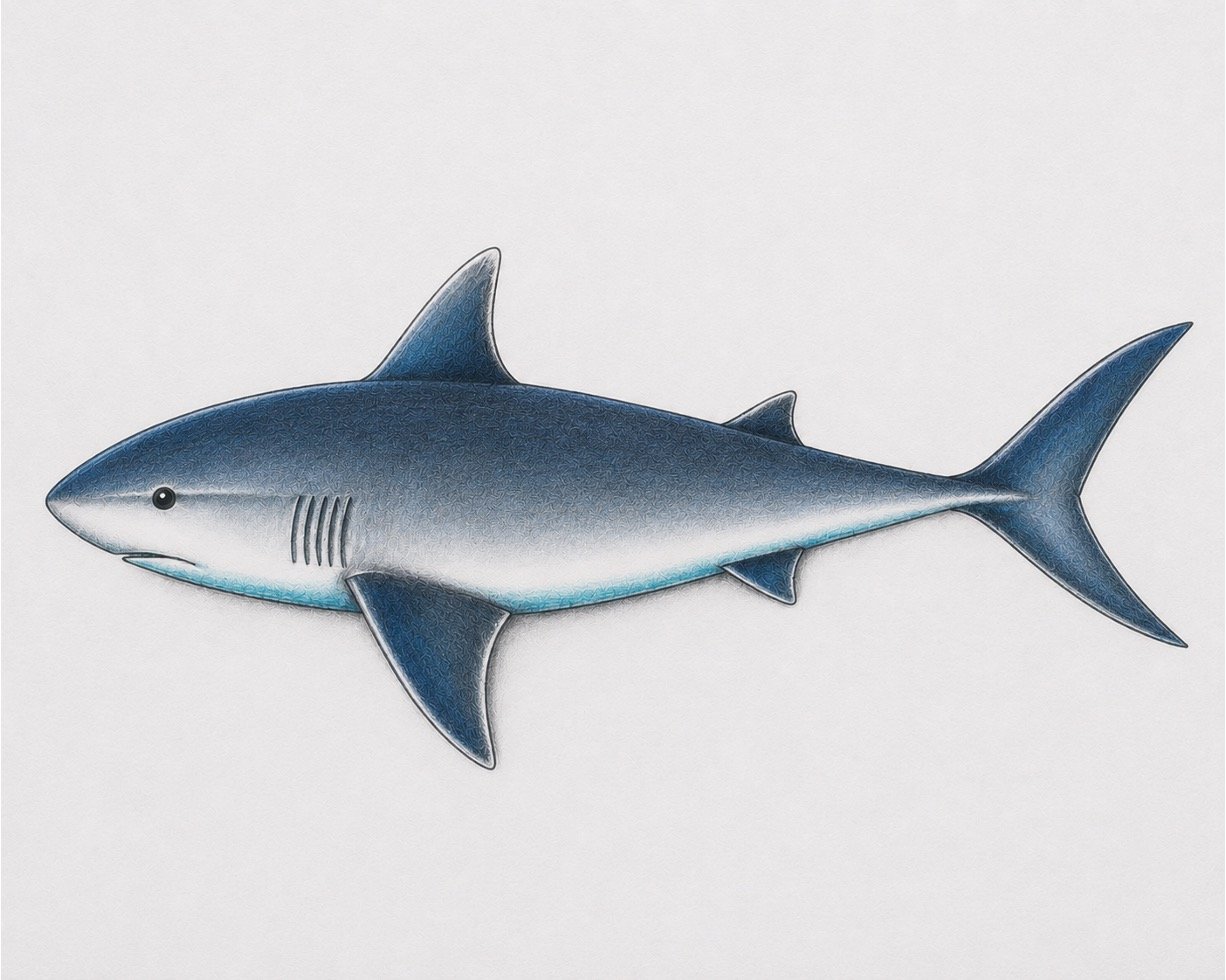
By the end, you will have a realistic, colourful shark drawing with a strong body shape, clear fins, a bright blue-grey back, a pale underside, soft shadows, and a little ocean-inspired glow. The goal is not to make a perfect copy of a shark photograph. The goal is to help you understand the shapes and enjoy watching your drawing come to life one small step at a time.
You will need plain drawing paper, an HB pencil, an eraser, coloured pencils or light paints, and a blending tool such as a paper stump, cotton bud, tissue, or even a clean fingertip. Useful colours include grey, blue-grey, navy, pale blue, white, black, and a touch of turquoise for reflected water colour.
Set aside around 45 to 75 minutes, depending on how slowly you like to work. We will follow an 8-step structure, starting with basic shapes and guidelines, then refining the outline, adding features, building colour, deepening shadows, and finishing with highlights and texture. Take your time. Light layers and patience are your best friends here.
EASY REALISTIC SHARK DRAWING IN COLOUR TUTORIAL
Step 1: Sketch the Basic Shapes
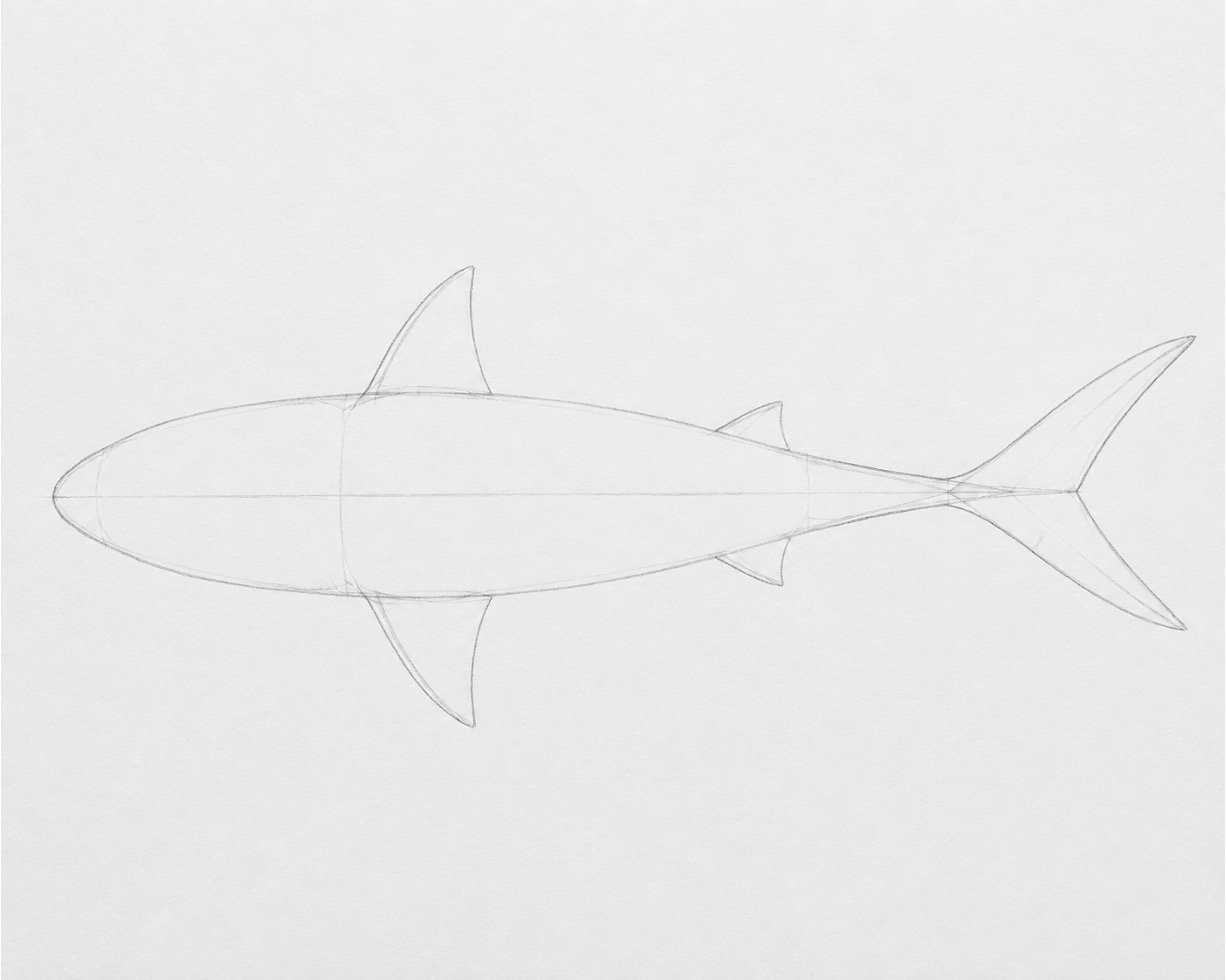
Start with a very light pencil line, almost as if you are whispering on the paper. Draw a long, gently curved oval for the shark’s body, with the head slightly wider and the tail end narrowing. Add a simple triangle for the top fin, smaller triangles for the side fins, and a narrow fork shape for the tail. Keep everything loose, because these are only guidelines and will be adjusted later.
Step 2: Refine the Outline
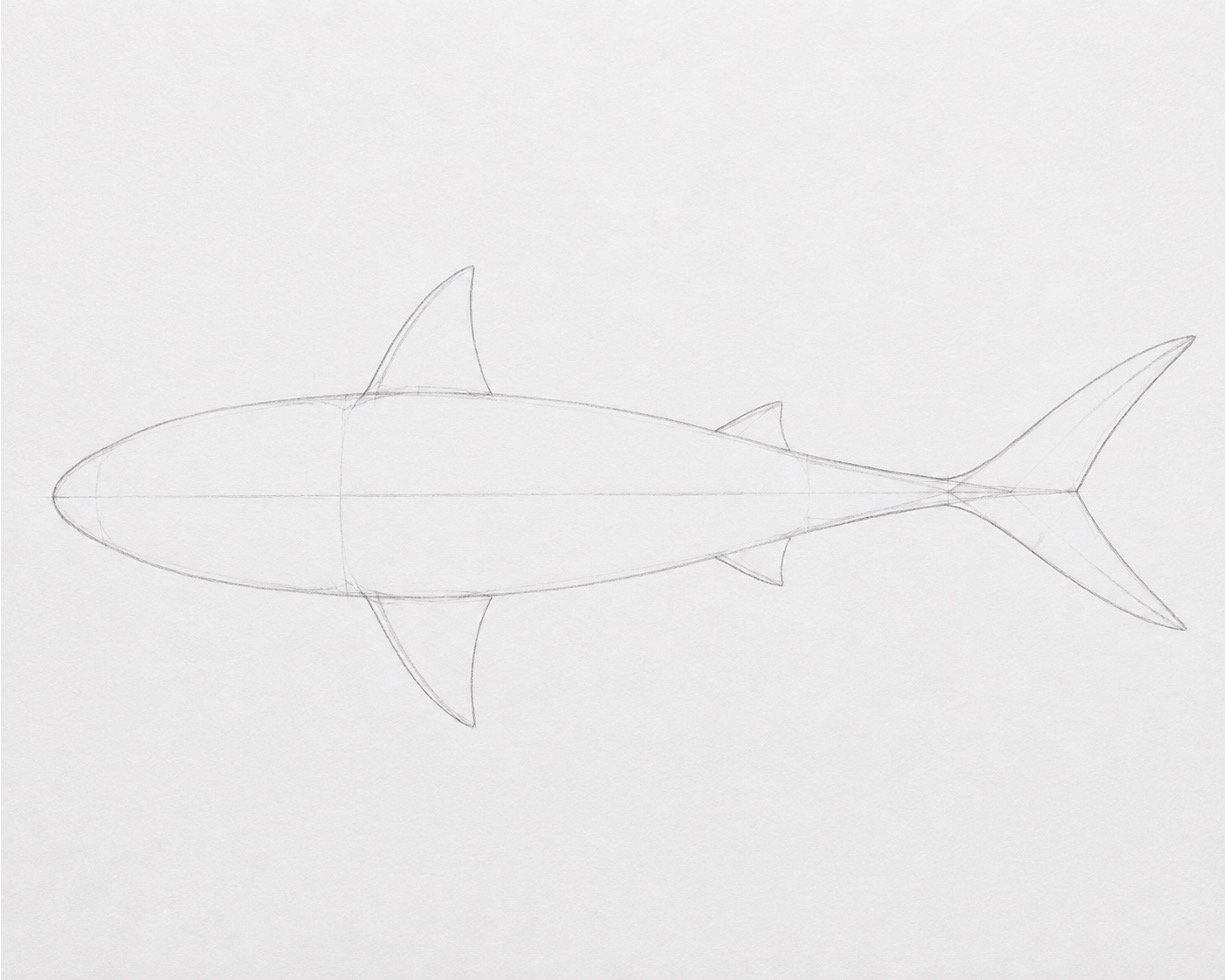
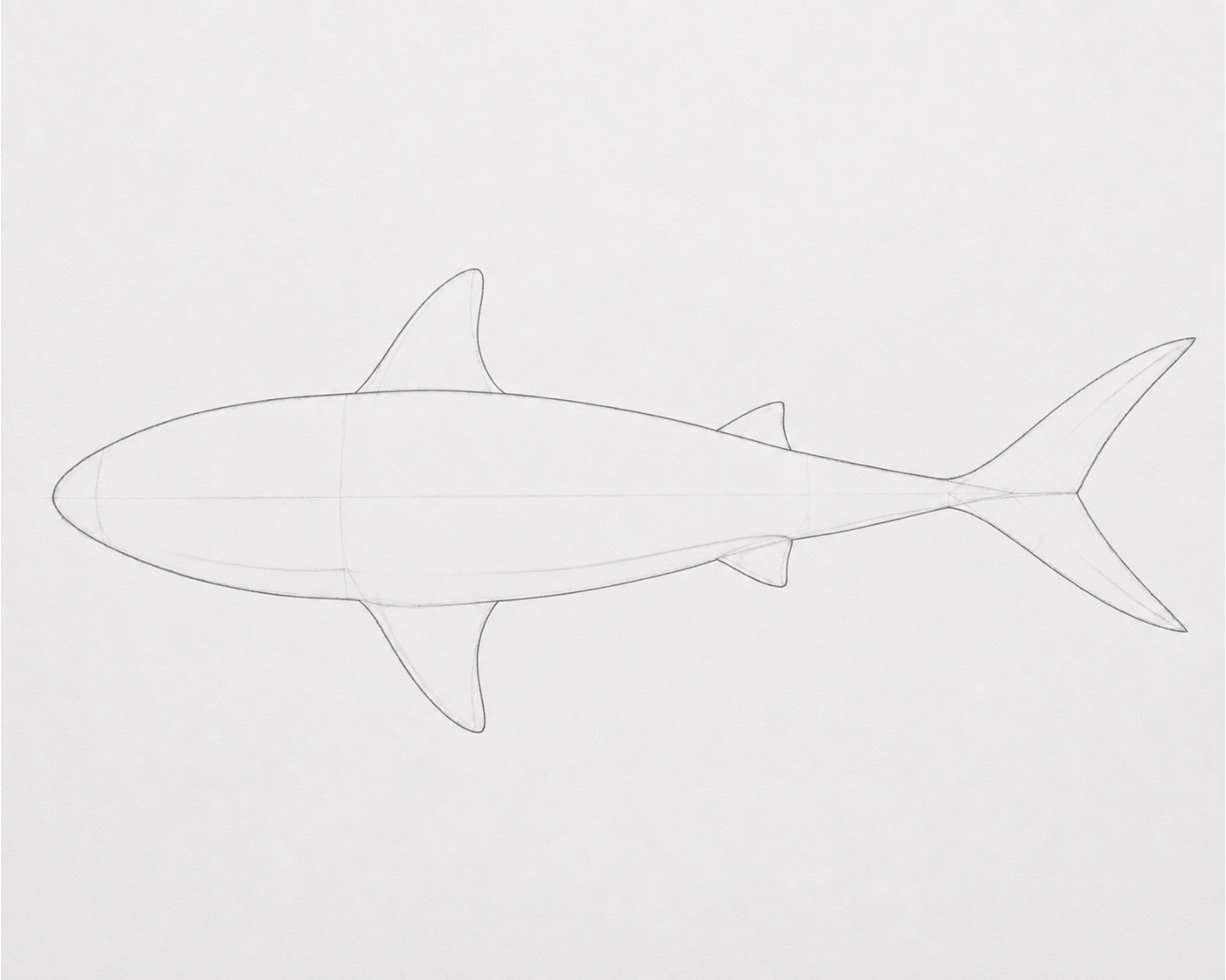
Now use the basic shapes to create a smoother shark silhouette. Round the nose slightly, curve the back gently, and make the belly line softer and lighter than the top line. Refine the tail so each side looks pointed but natural, and reshape the fins so they feel attached to the body rather than pasted on. Press only a little harder than before, so the outline is clear but still easy to erase.
Step 3: Add Major Details and Features
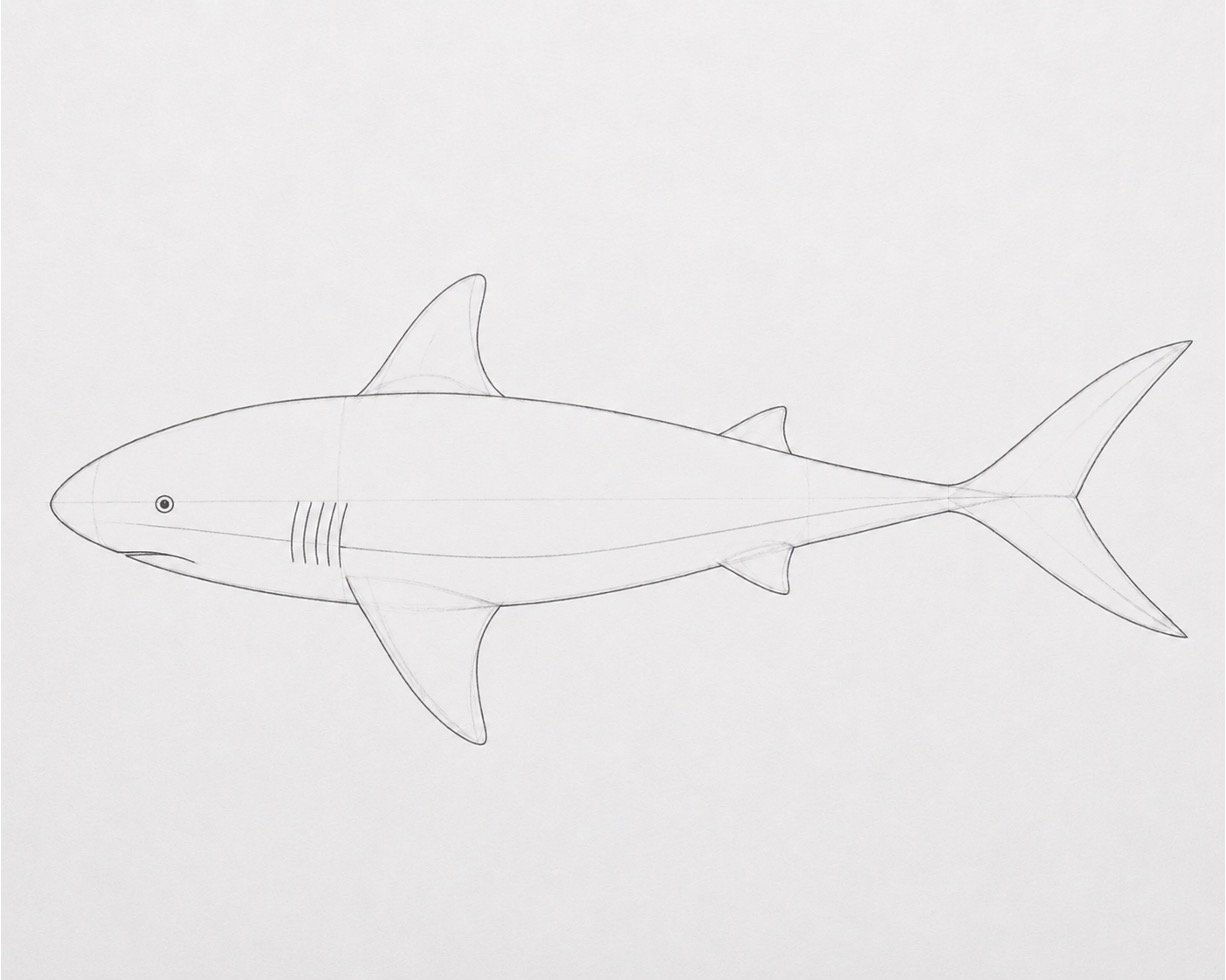
Place the eye near the front of the head, slightly above the middle line. Add a small curved mouth line under the nose, then draw a few short gill lines behind the head. Lightly mark the divide between the darker top of the shark and the paler underside, letting the line curve naturally along the body. Add a few tiny guide marks where the shadow will be strongest, especially under the belly and fins.
Step 4: Lay Down the Base Colour
Begin colouring with very light pressure. Add pale blue-grey across the shark’s back, keeping the underside mostly white or very pale grey. Use soft strokes that follow the direction of the body, from head to tail, so the shark feels smooth and streamlined. Add a faint wash of turquoise around the lower edge if you want a colourful ocean reflection.
Step 5: Build Shading and Mid-Tones
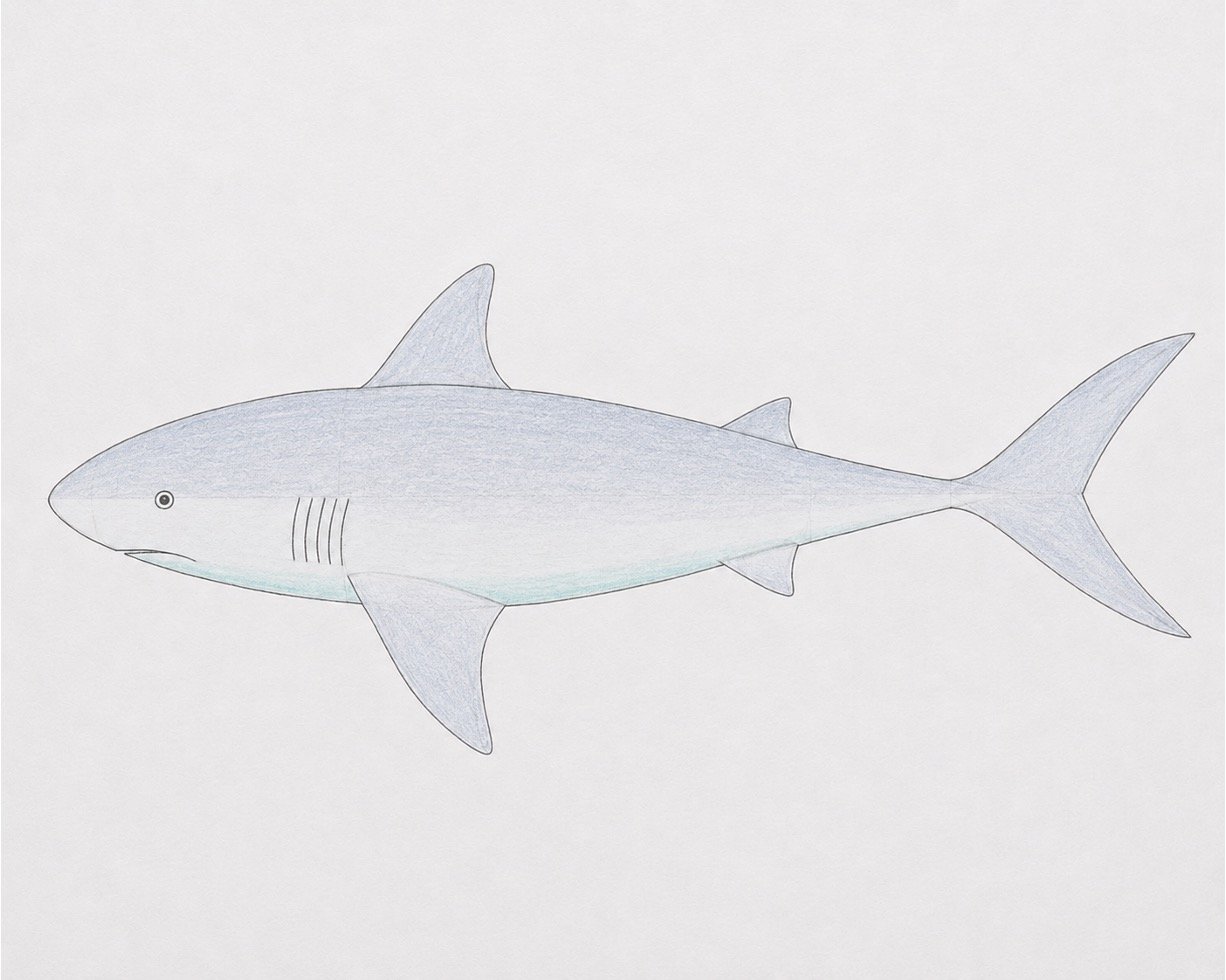
Now add medium blue-grey over the top of the shark, especially along the back and near the base of the dorsal fin. Leave the belly pale so the shark keeps its rounded, realistic form. Shade lightly under the side fins and near the tail, using small layers instead of one heavy pass. Blend gently with a tissue or blending stump so the colours soften together.
Step 6: Add Darker Shadows and Depth
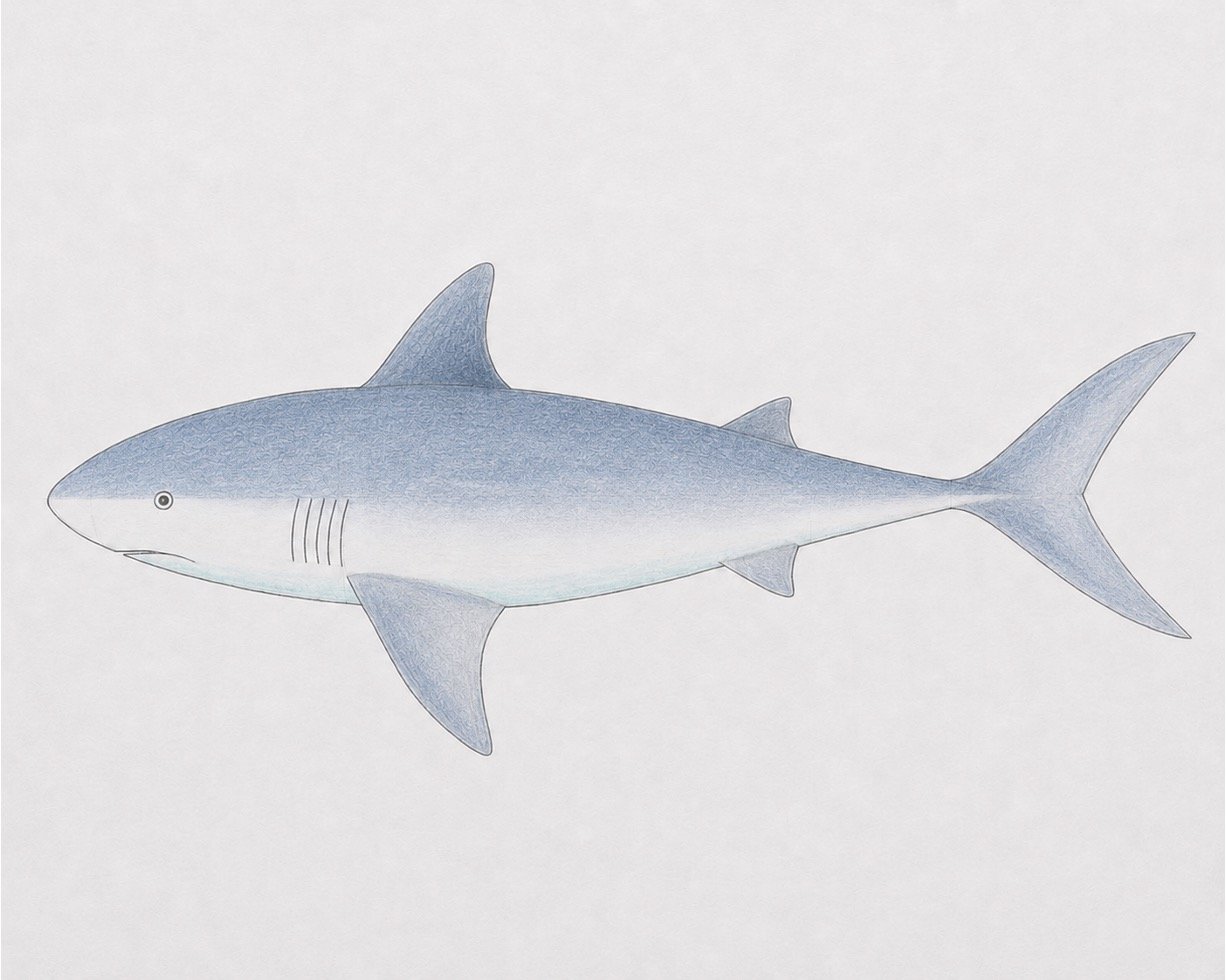
Use navy, dark grey, or a very light touch of black to deepen the darkest areas. Add shadow under the belly, behind the gills, under the fins, and where the tail overlaps. Keep your pencil pressure controlled, because dark colours can quickly become too strong. If an area looks too heavy, soften it with a blending tool or lift a little colour with the eraser.
Step 7: Add Highlights and Texture
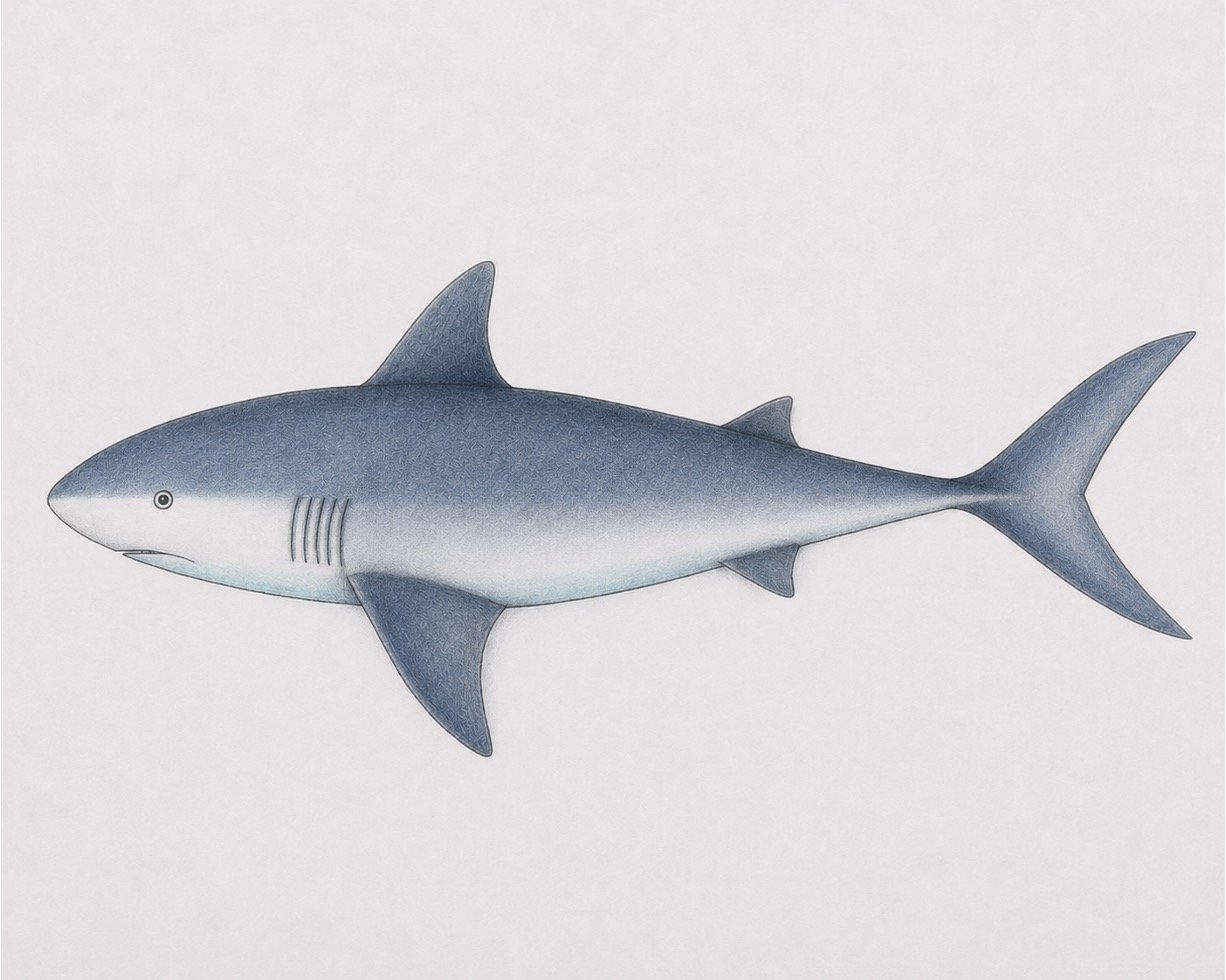
Use a white pencil, eraser, or untouched paper areas to brighten the top edge of the nose, the belly, and the upper curve of the fins. Add tiny texture marks along the body with short, gentle strokes, but do not cover the shark in lines. Sharpen the eye with a dark dot and leave a tiny white highlight inside it. Add a few subtle blue and turquoise touches to make the shark feel colourful without losing realism.
Step 8: Blend and Polish the Final Drawing
Finish by blending the colour transitions so the shark moves smoothly from dark blue-grey on top to pale grey underneath. Strengthen the cleanest outline only where needed, such as the nose, tail tips, and lower fins. Add your final highlights, soften any harsh pencil marks, and erase stray guidelines around the drawing. Step back for a moment and enjoy the finished realistic, colourful shark you created from simple shapes.
TIPS
Use light pencil pressure at the beginning so changes feel easy, not stressful.
Do not rush the colour. Realistic coloured pencil drawings look best when built with several gentle layers.
Keep the shark’s belly lighter than its back. This simple contrast makes the body look rounded and more lifelike.
Practice the body shape a few times on scrap paper first. Once the long oval and tail feel comfortable, the whole shark becomes much easier.


About author










Add comment