
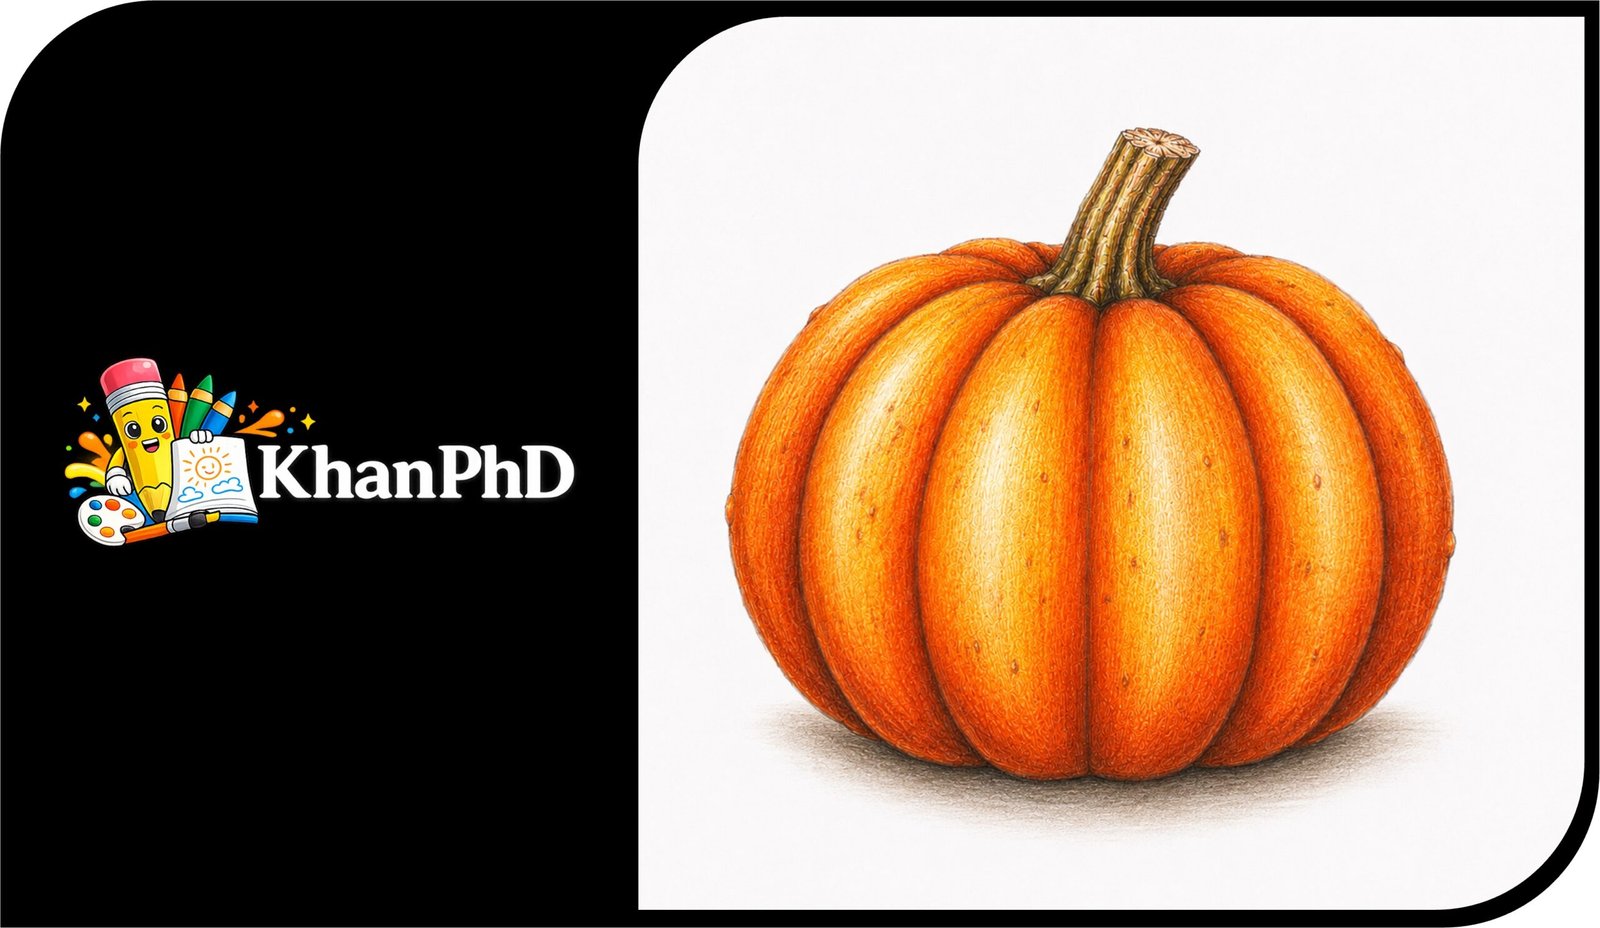
How to Draw a Realistic Colourful Pumpkin Easily
Welcome! If you have never drawn a pumpkin before—or you feel unsure about drawing anything realistic—you are in the right place. This tutorial breaks the process into small, friendly stages, so you can focus on one simple decision at a time. There is no need to make perfect lines, and your pumpkin does not have to look exactly like anyone else’s.
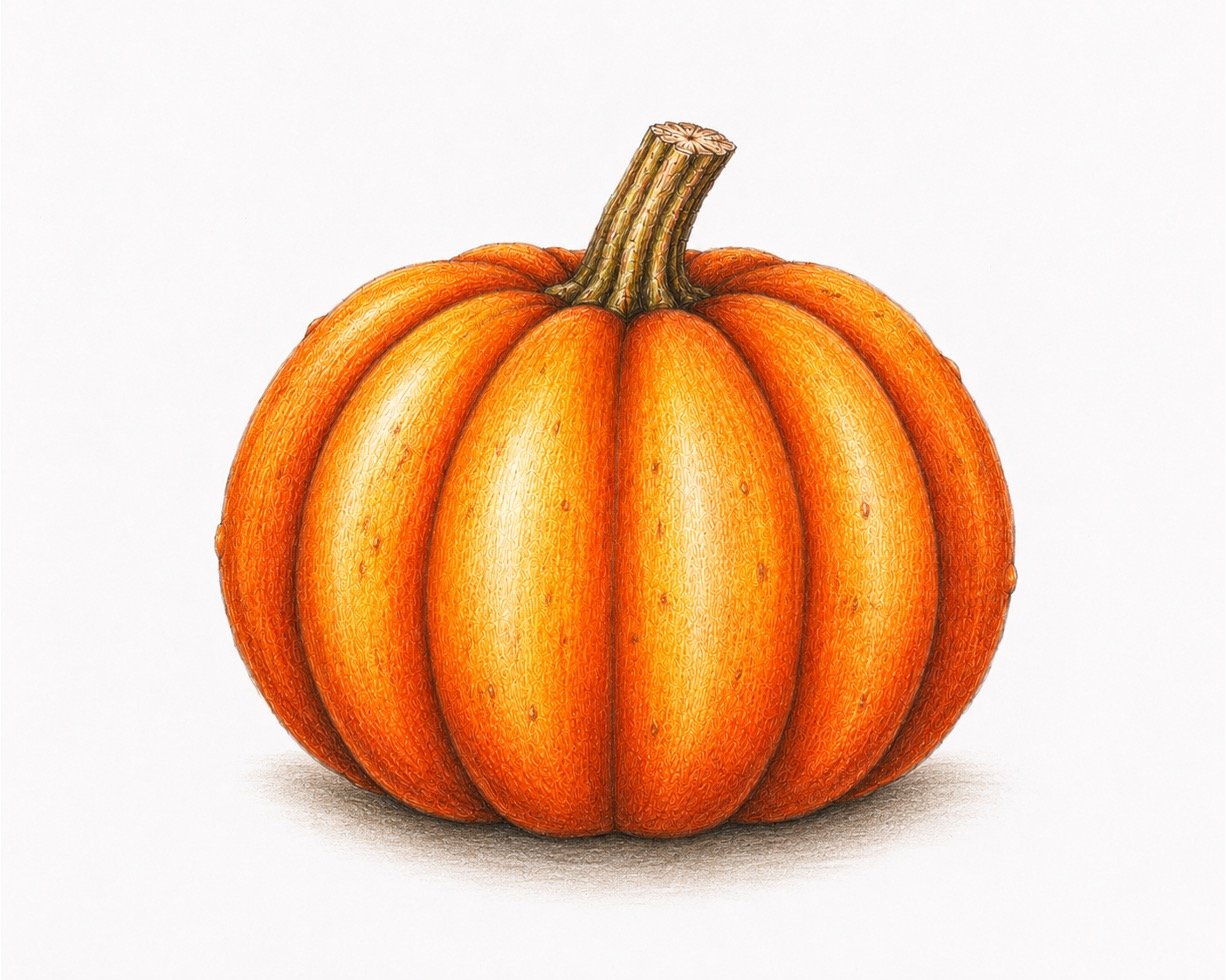
By the end, you will have a realistic, colourful pumpkin with a warm orange glow, rounded ribs, a natural brown-green stem, soft shadows, and bright highlights. We will begin with basic oval shapes, then slowly refine the outline, add details, and build colour in gentle layers. Layering simply means adding several light coats of colour instead of pressing hard all at once.
You will need a regular pencil, an eraser, smooth white drawing paper, and orange, yellow, red-brown, dark brown, green, and cream coloured pencils. A white coloured pencil or white gel pen is helpful for highlights, and a blending tool—such as a paper stump, cotton bud, or folded tissue—can soften transitions. Keep a scrap piece of paper nearby for testing colours.
Allow about 45 to 75 minutes, depending on how slowly you like to work. You can also pause after any stage and return later. The lesson follows an easy 8-step structure, moving from a light sketch to a fully blended and polished pumpkin. Take your time, keep your pencil pressure gentle, and enjoy watching the drawing become more lifelike with every layer.
HOW TO DRAW A REALISTIC COLOURFUL PUMPKIN EASILY
Step 1: Sketch the Basic Shapes
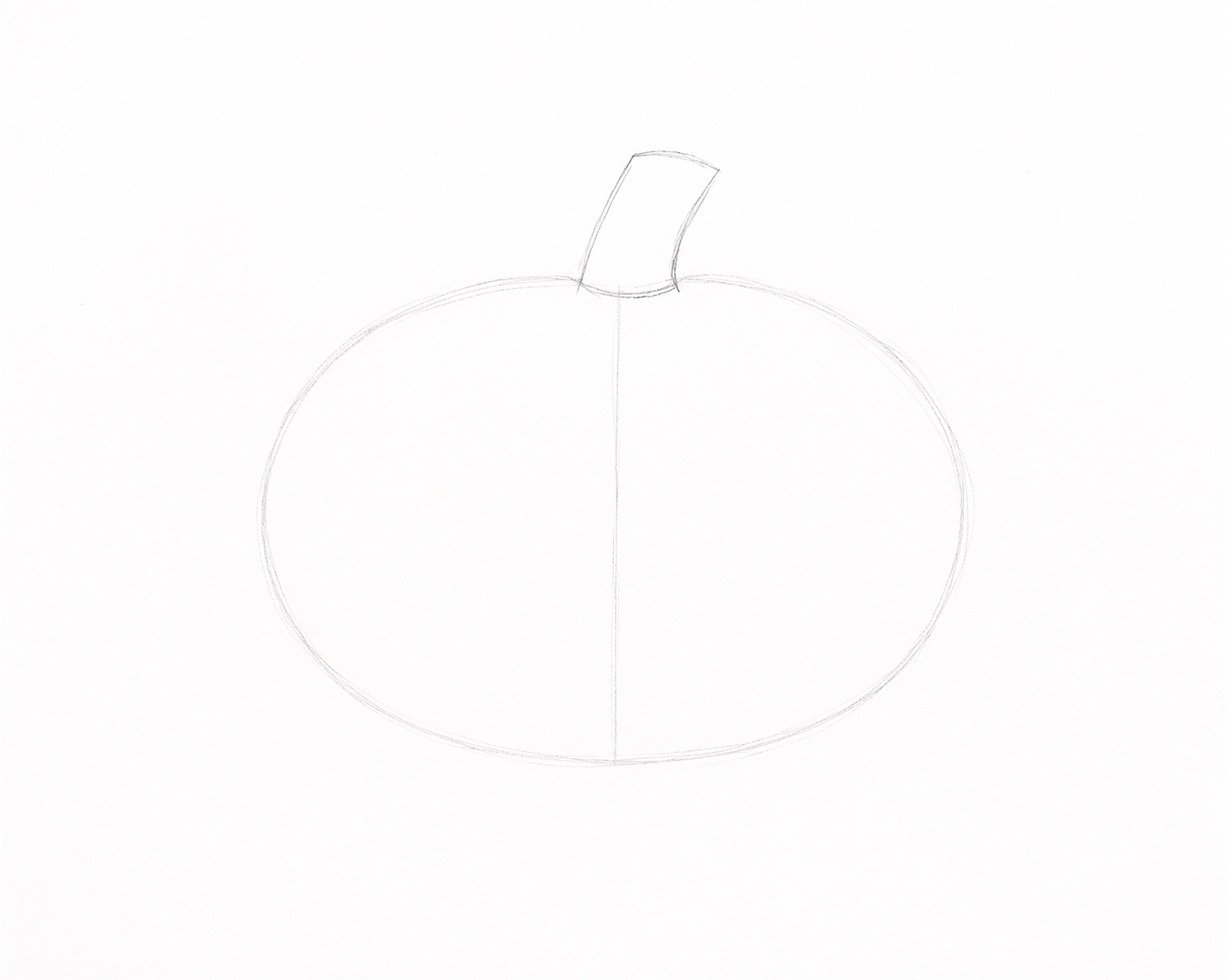
Using a regular pencil, lightly draw a wide oval for the main body of the pumpkin. Keep your pencil pressure very soft so the lines will be easy to erase later. Add a short, slightly curved rectangular shape at the top for the stem, then draw one faint vertical guideline through the centre of the pumpkin. Do not worry about making the oval perfectly smooth—real pumpkins are naturally uneven.
Step 2: Refine the Outline and Proportions
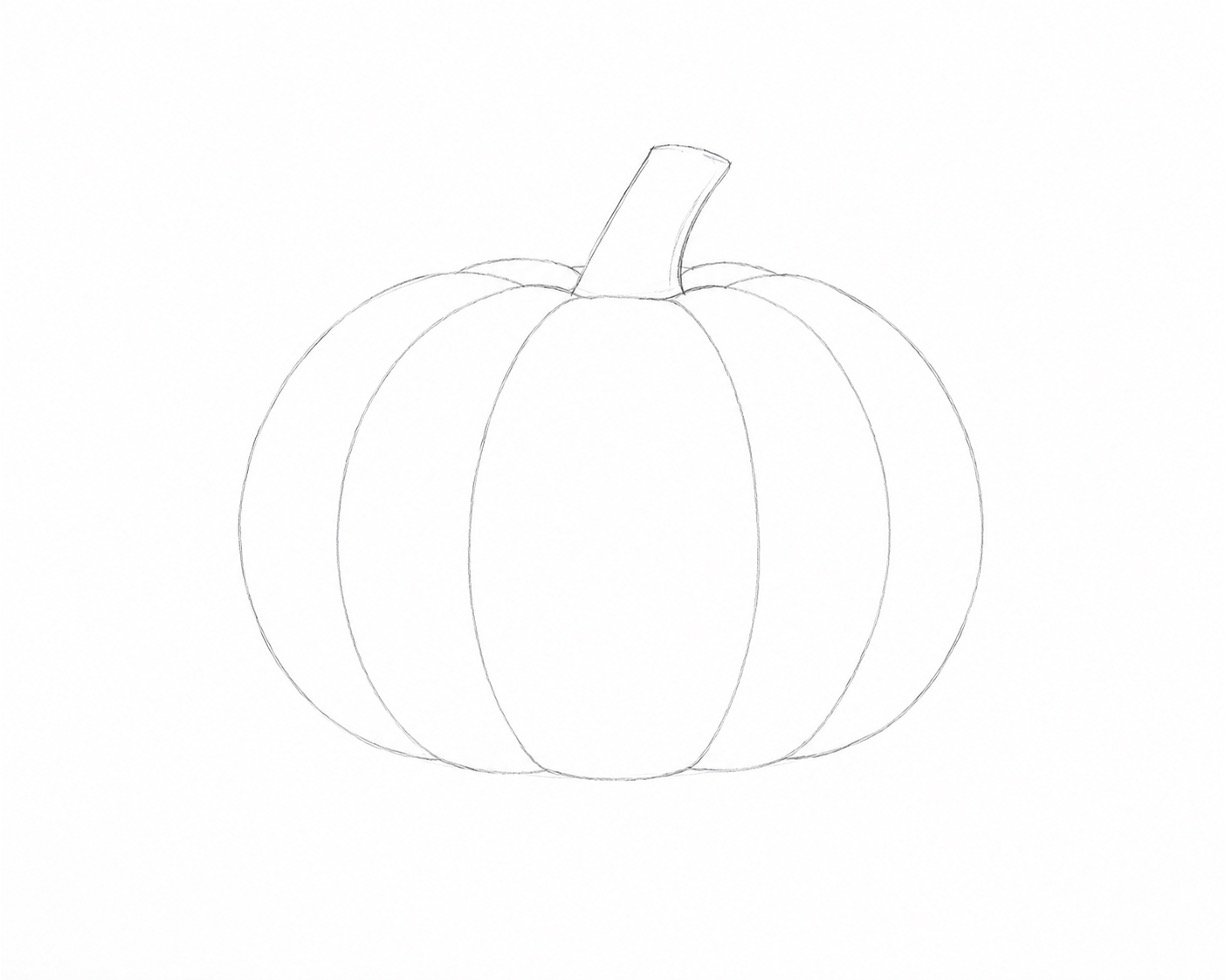
Turn the plain oval into a more natural pumpkin shape by flattening the bottom slightly and adding a gentle dip around the stem. Sketch curved lines from the top to the bottom to divide the pumpkin into six or seven rounded sections, often called ribs. Make the centre ribs wider and the outer ribs narrower so the pumpkin appears rounded rather than flat. When you are happy with the proportions, erase the original oval and guideline where they are no longer needed.
Step 3: Add the Major Details
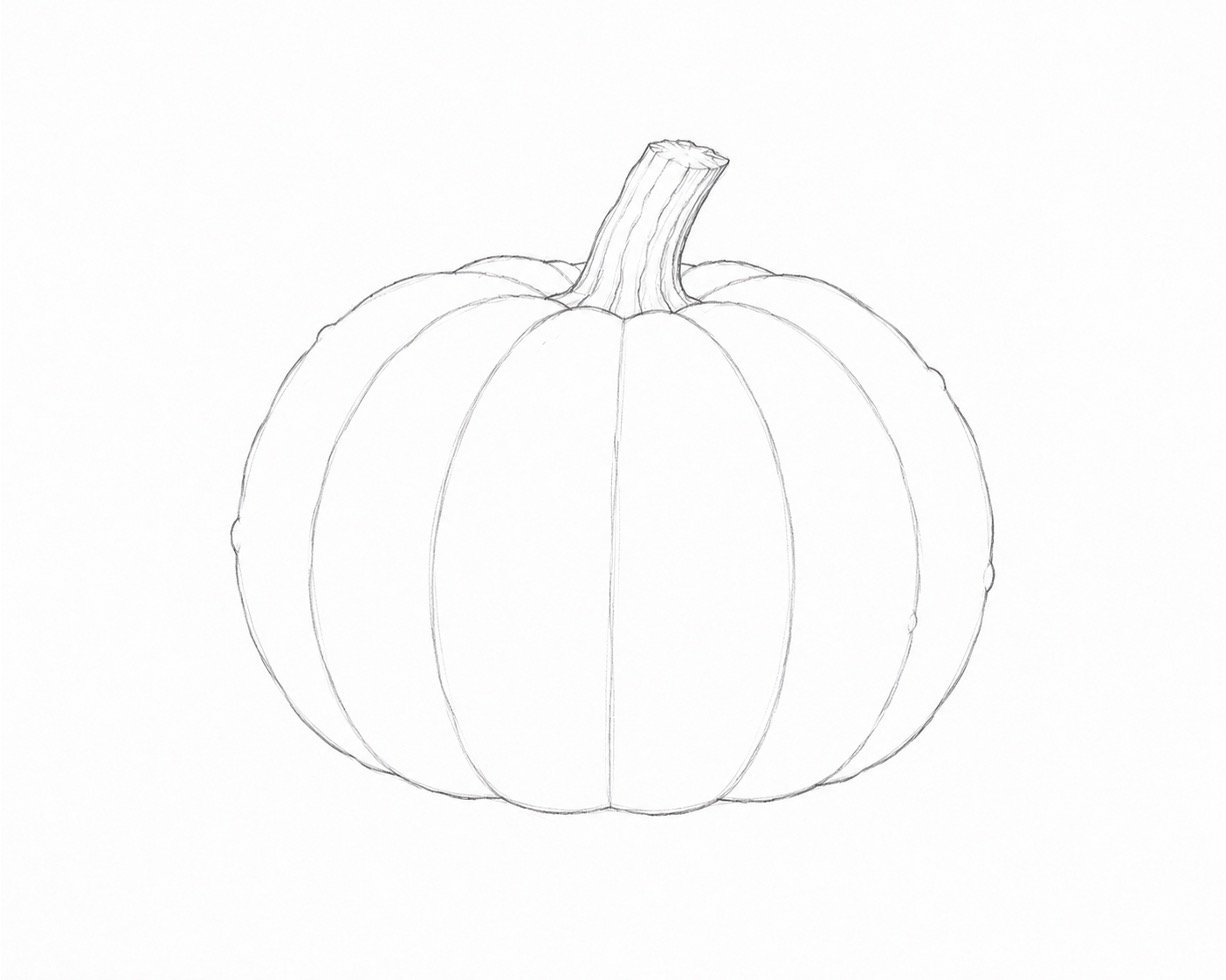
Refine the stem by giving it an uneven, slightly twisted outline instead of straight sides. Add a few curved ridges along the stem and small irregular bumps around the pumpkin’s outer edge. Strengthen the most useful rib lines, but keep them soft because they will later blend into the colour. Check that both sides feel balanced without trying to make them perfectly symmetrical.
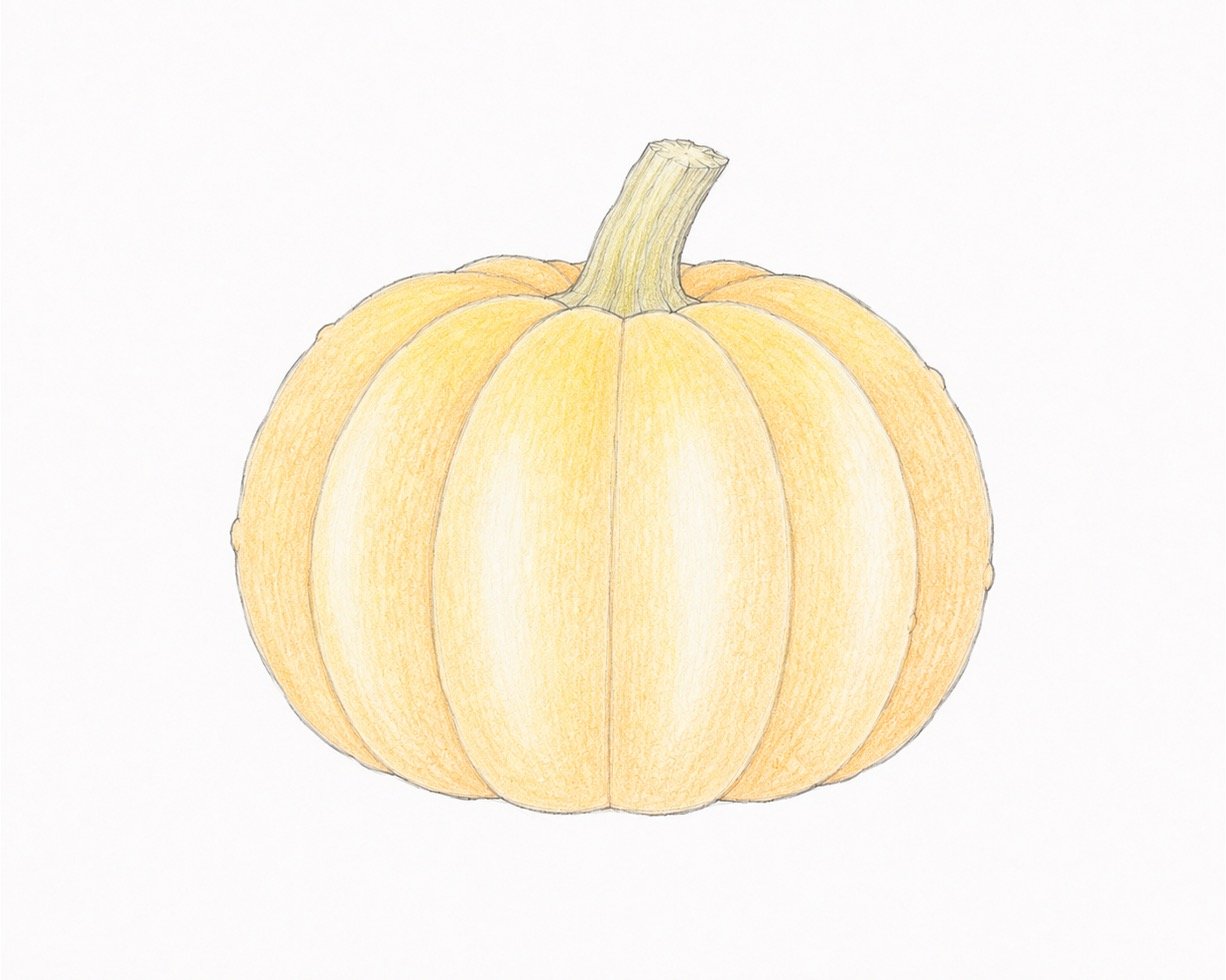
Step 4: Lay Down the Light Base Colours
Use a yellow-orange pencil to cover the pumpkin with a very light, even layer of colour. Move your pencil in small circular motions and leave a narrow pale strip near the centre of each rib for future highlights. Add a light cream or golden-yellow layer near the top and across the brightest areas. Colour the stem softly with pale olive green and light brown, keeping your pressure gentle.
Step 5: Build the Shading and Mid-Tones
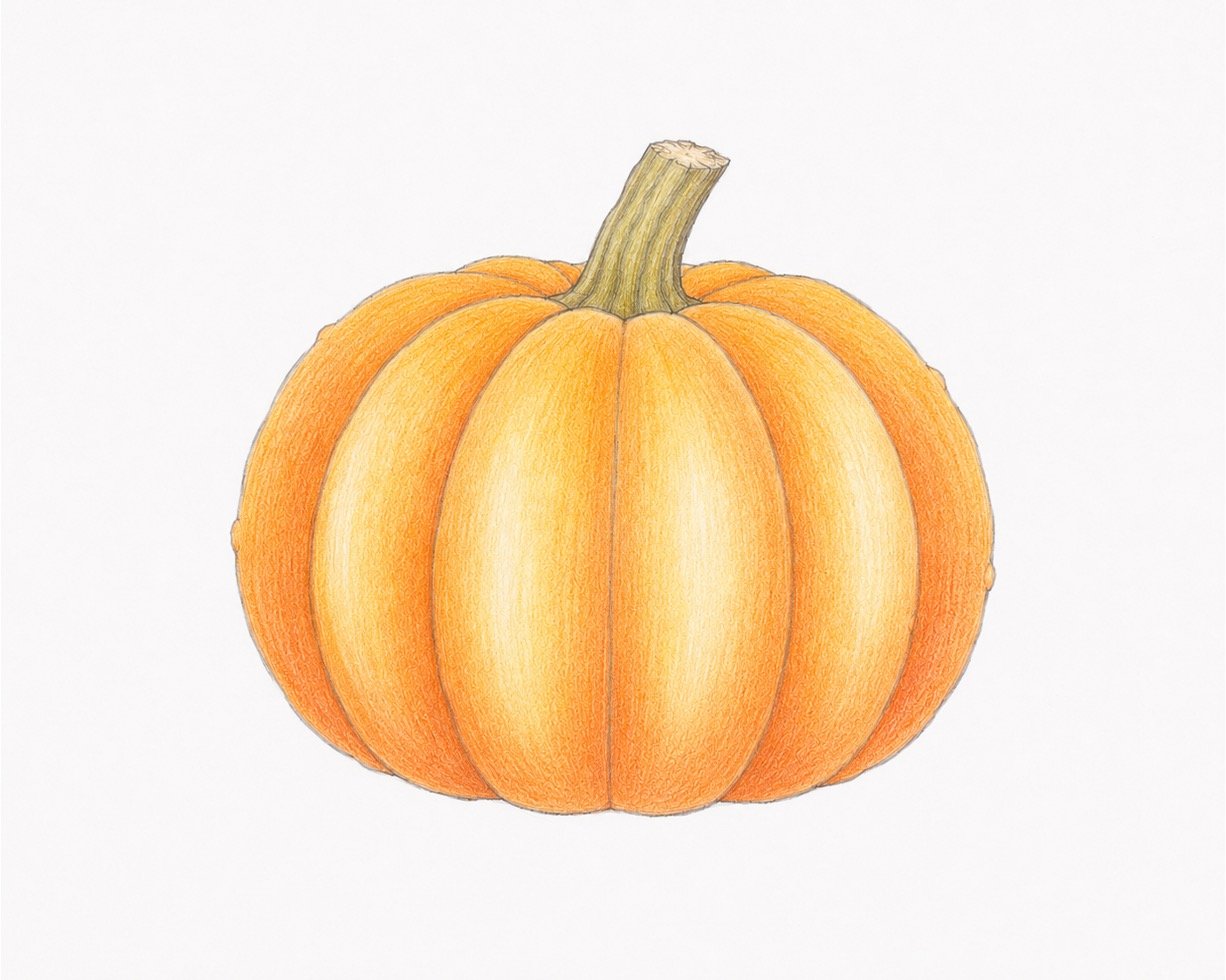
Add a stronger orange layer along the sides of each rib while keeping the centres lighter. Use curved pencil strokes that follow the rounded direction of the pumpkin rather than colouring with straight lines. Blend a little red-orange into the lower half and outer edges to create warmth. On the stem, add medium brown and muted green around the ridges, leaving small lighter areas between them.
Step 6: Deepen the Shadows
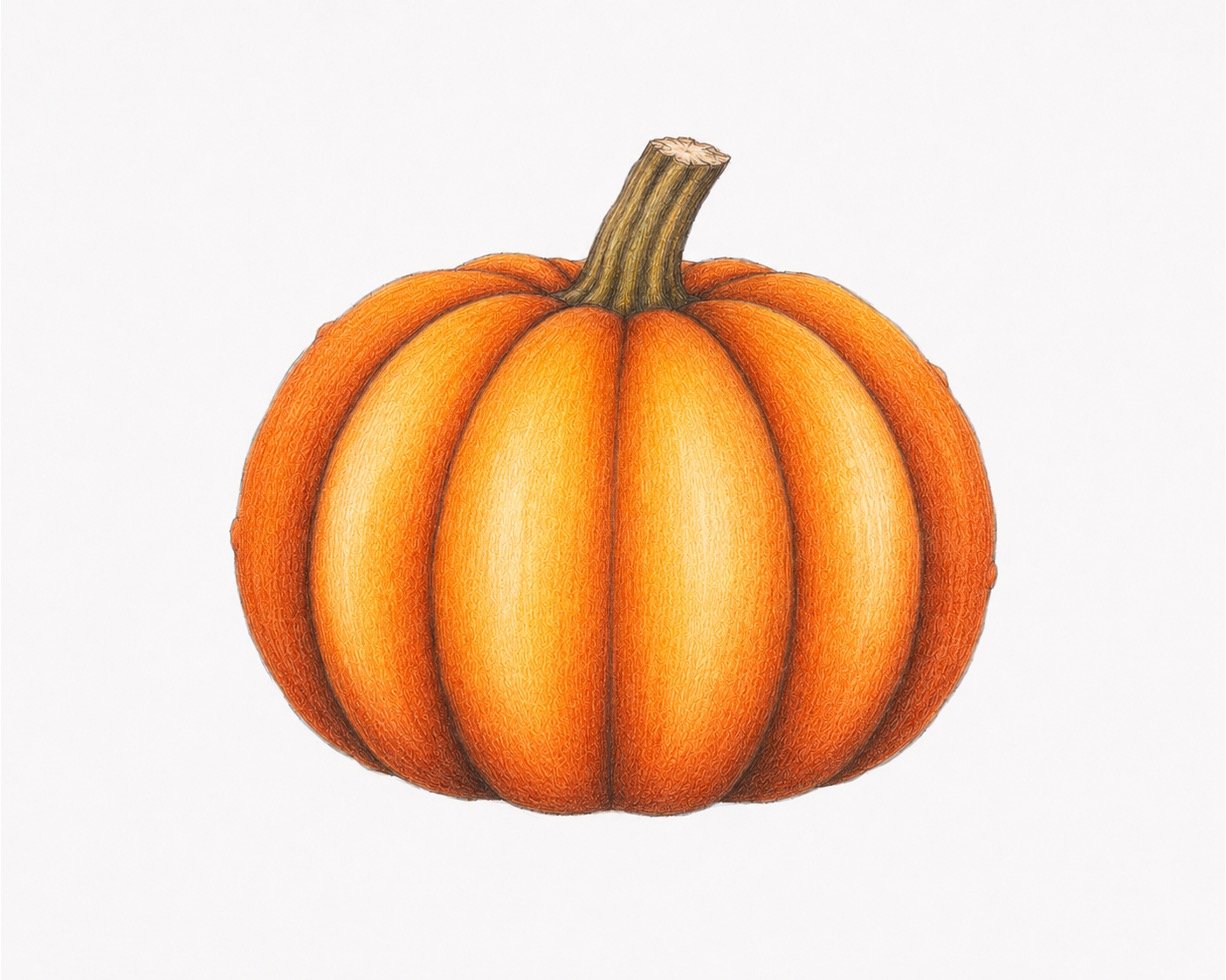
Use dark red-brown to deepen the narrow grooves between the pumpkin’s ribs. Apply the darkest colour near the stem, along the lower edge, and around the far left and right sides, but build it slowly instead of pressing hard. Blend dark orange over the edges of the brown areas so the shadows transition smoothly into the brighter colour. Add dark brown beneath the stem and inside its deepest ridges to make it look solid and raised.
Step 7: Add Highlights and Texture
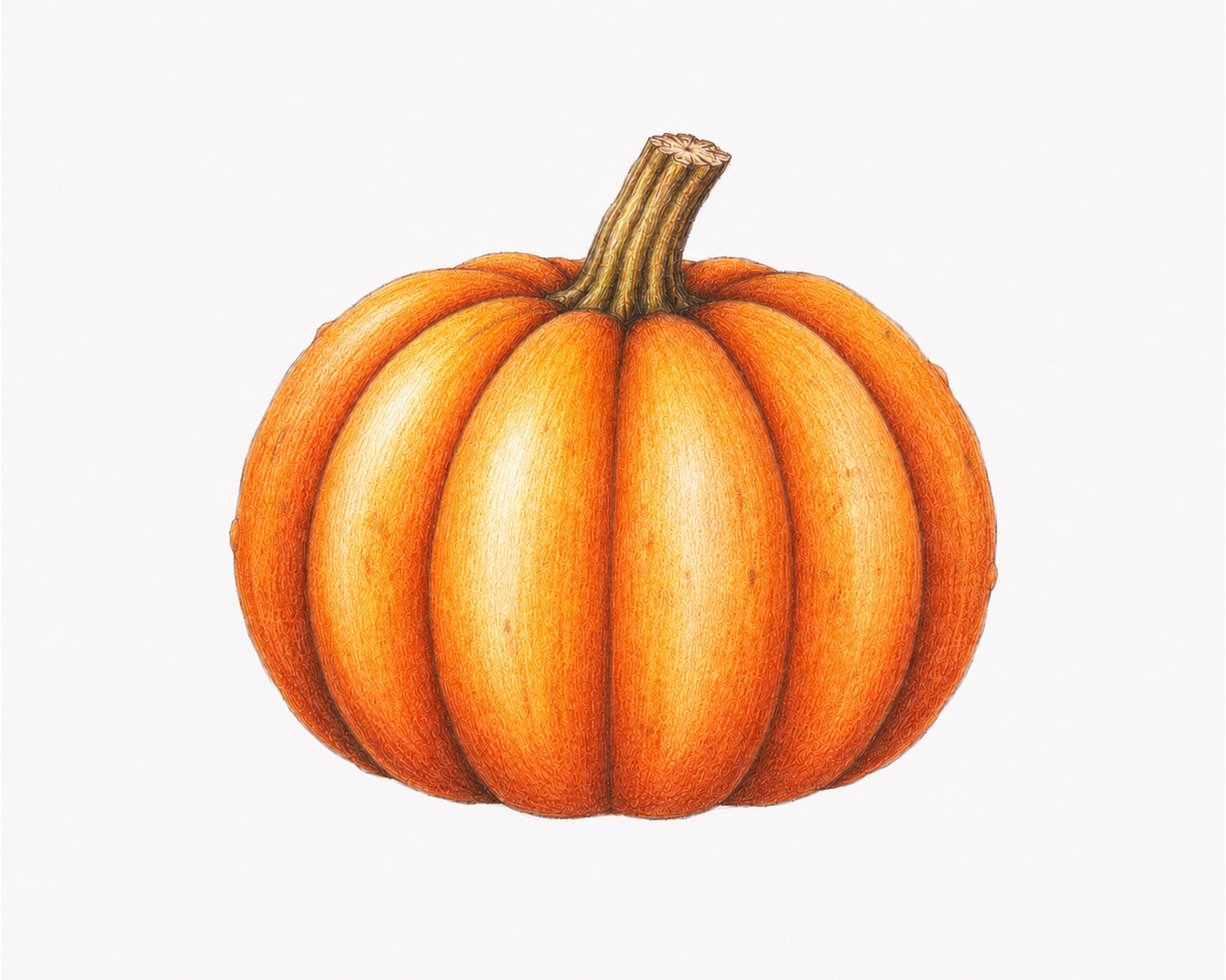
Use cream, pale yellow, or white to brighten the centre of each rib and the upper-left area of the pumpkin. Add tiny curved orange and red-brown marks to suggest natural skin texture, but keep them subtle so the surface does not become too busy. Draw a few fine fibres and cracks on the stem with dark brown, then place small cream highlights on its raised ridges. Soften any sharp colour boundaries with a blending pencil, cotton bud, or gentle layer of light orange.
Step 8: Blend and Polish the Finished Pumpkin
Step back and look for any areas that need smoother colour or stronger contrast. Add one final light orange layer across the pumpkin to connect the colours, avoiding the brightest highlights. Deepen only a few of the darkest grooves, sharpen the stem edges, and erase any remaining construction marks around the outside. Finish with tiny white highlights and a soft grey-brown contact shadow beneath the pumpkin so it feels grounded on the paper.
TIPS
- Keep your early sketch lines light. Dark outlines can be difficult to erase and may show through the finished colour.
- Build colour with several gentle layers instead of pressing hard immediately. Slow layering creates smoother, richer results.
- Follow the curve of each pumpkin rib with your pencil strokes to help the shape look round and three-dimensional.
- Do not compare your pumpkin too closely with the example. Natural pumpkins are uneven, so small differences can make your drawing more believable.

About author









Add comment