
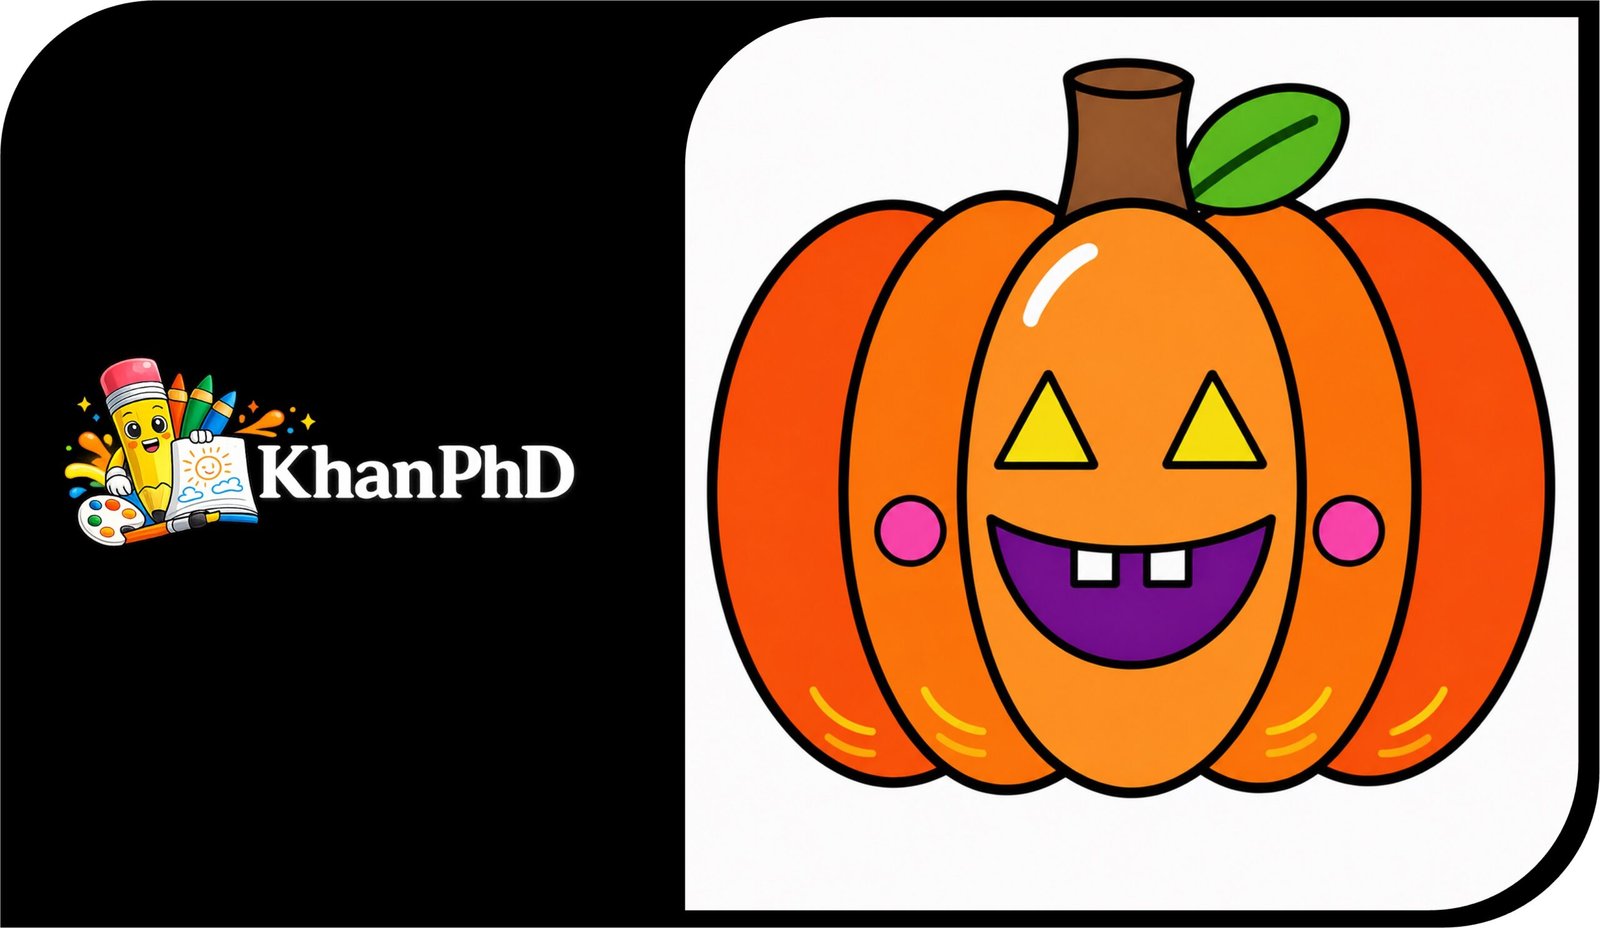
Pumpkin Drawing with Colour for Beginners
Have you ever wanted to make a bright pumpkin drawing with colour but worried that drawing might be too difficult? This friendly tutorial is made for complete beginners, including children and adults who have never drawn before. You do not need special talent, fancy tools, or lots of practice. We will build the pumpkin one small shape at a time, using easy ovals, curves, straight lines, and triangles.
In eight simple steps, you will learn how to draw a round pumpkin, add its curved sections, create a short stem, and finish it with a cheerful face and autumn colors. Each step grows naturally from the one before it, so you can follow along without feeling rushed. You can pause whenever you need to, erase a line, or try again. Every drawing will look a little different, and that is part of the fun.
You only need plain paper, a pencil, an eraser, a black marker or fineliner, and something to color with. Crayons, markers, and colored pencils all work well. Pumpkins are especially fun to draw because their shapes are simple, their colors are warm and bright, and you can give them your own happy personality.
Take a deep breath, enjoy the process, and remember that simple drawings can be wonderful. Grab your supplies, find a comfortable place to sit, and let’s start your colorful pumpkin together!
MATERIALS LIST
- Plain drawing paper
- Pencil
- Eraser
- Black marker or fineliner for the outlines
- Crayons, markers, or colored pencils
PUMPKIN DRAWING WITH COLOUR: 8 SIMPLE STEPS FOR KIDS AND ADULTS
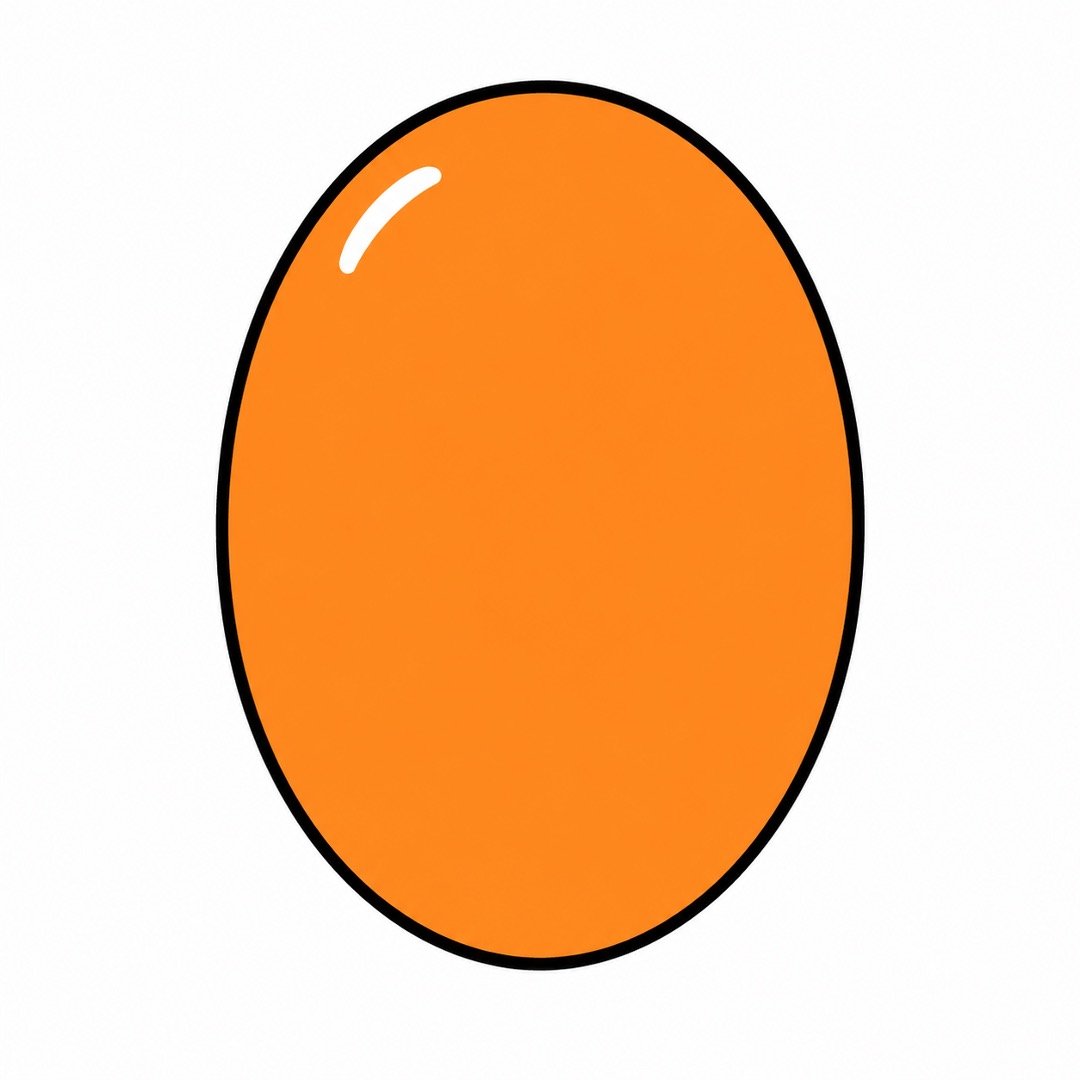
Step 1: Draw the Center Oval
- Instruction: Draw one large upright oval in the middle of your paper. It can be a little wider near the center.
- Add color: Color the oval light orange. Leave a little white space near the top for a shiny spot.
Step 2: Add Two Side Curves
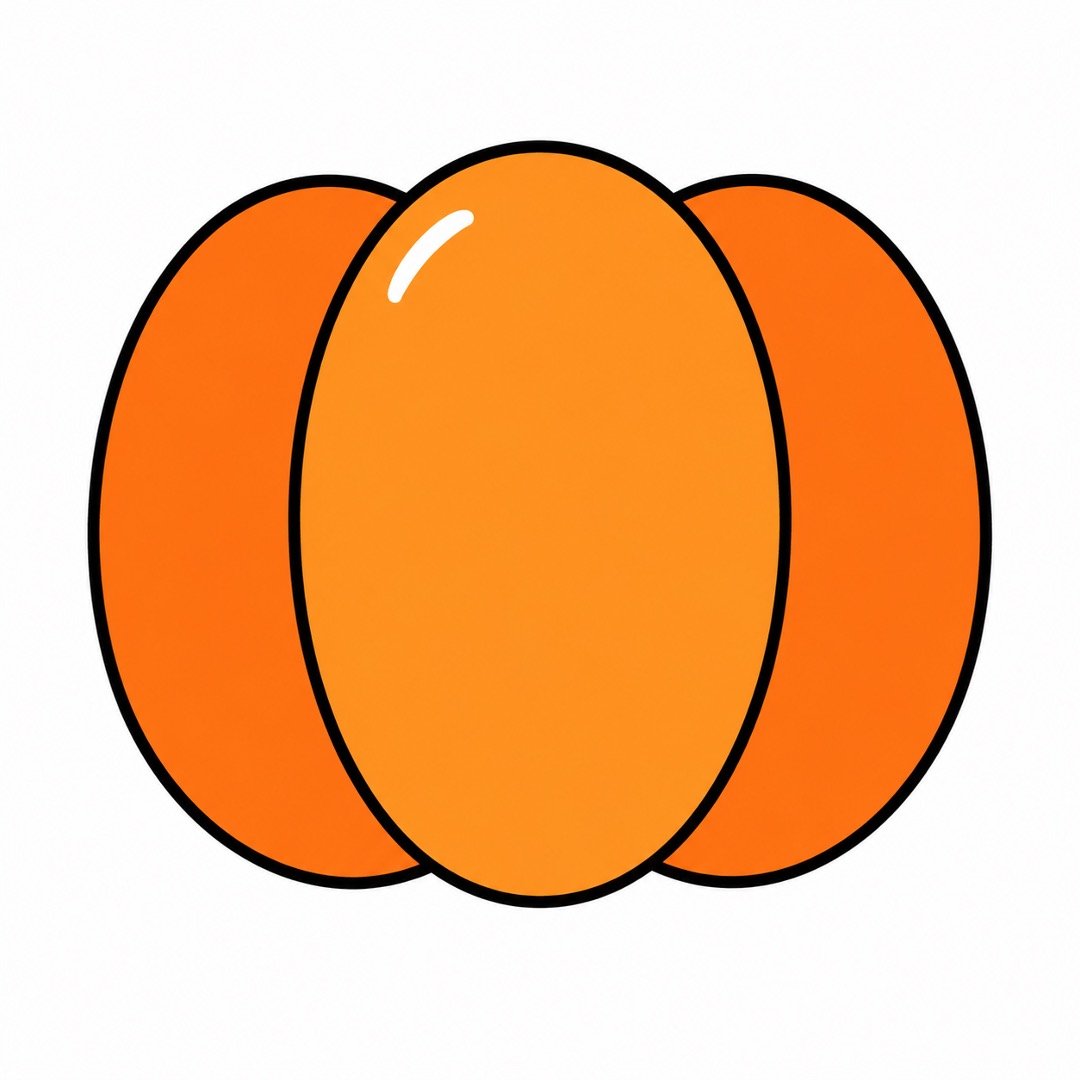
- Instruction: Draw one long curved line on each side of the center oval. Start near the top and bring each curve down to the bottom.
- Add color: Color the two new side sections medium orange.
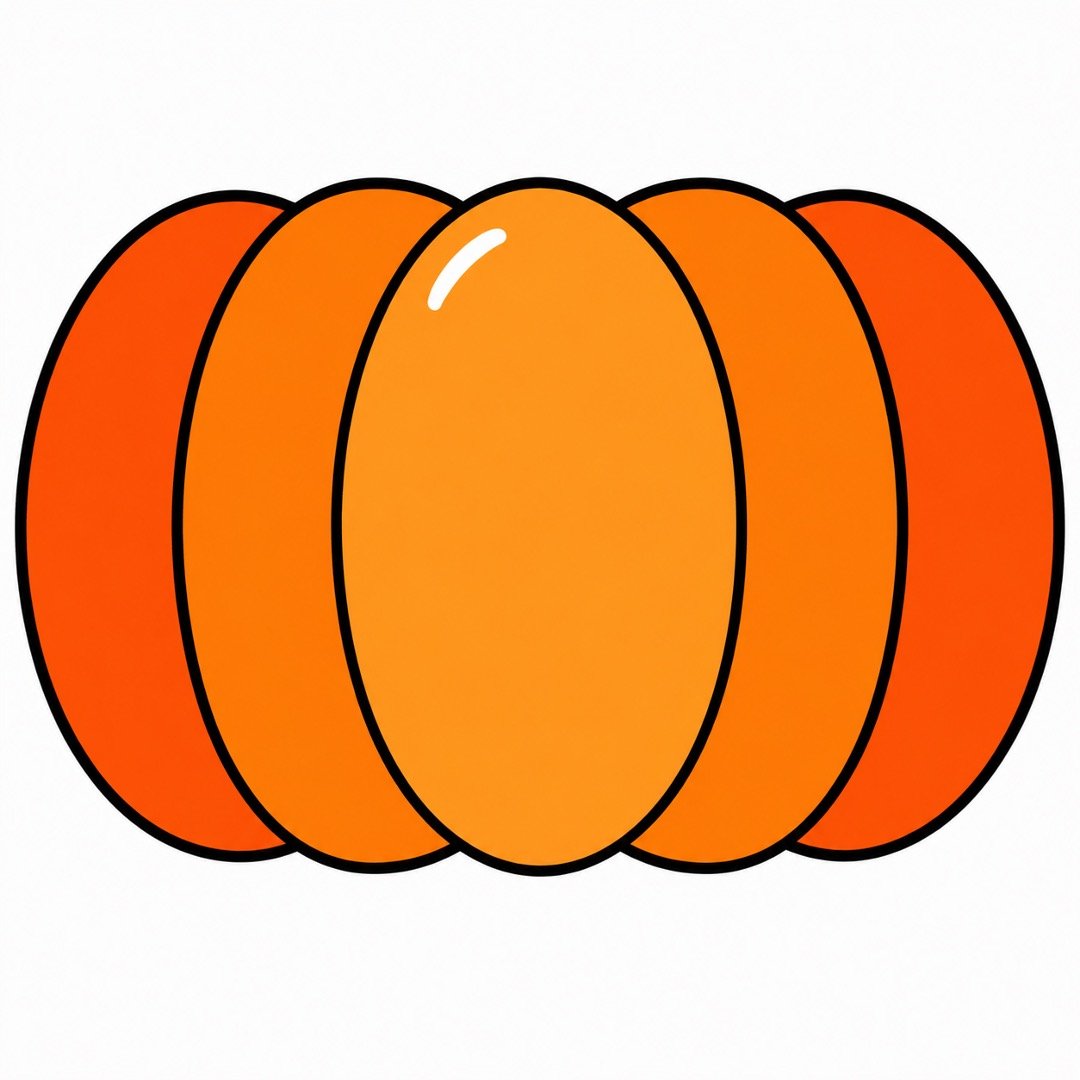
Step 3: Make the Pumpkin Wider
- Instruction: Add one more large curve to the outside of each side. Join the curves at the top and bottom to make a wide, round pumpkin.
- Add color: Color the two outside sections dark orange.
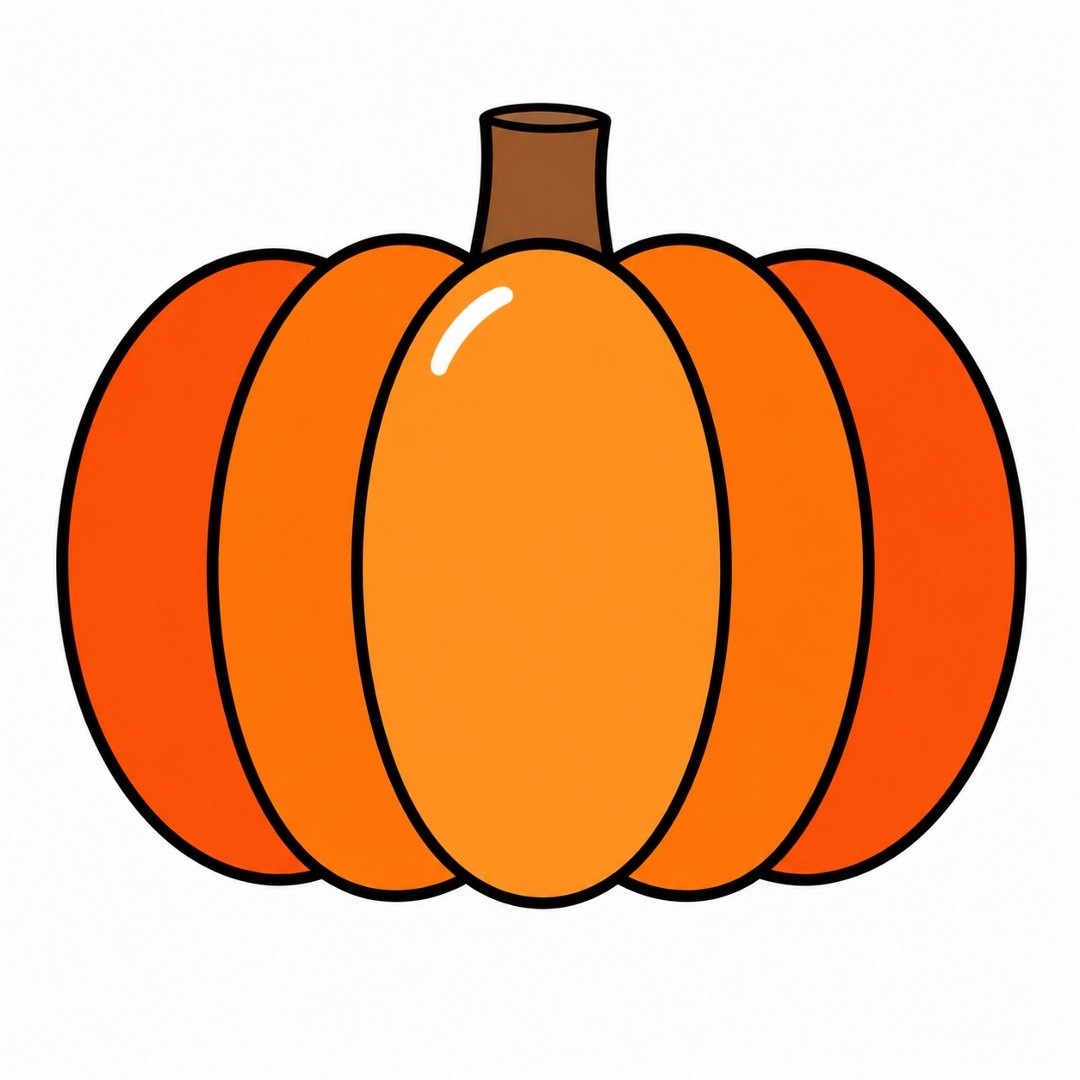
Step 4: Draw the Stem
- Instruction: Draw two short straight lines rising from the top of the pumpkin. Join them with a small curved line to make a short stem.
- Add color: Color the stem warm brown.
Step 5: Add a Green Leaf
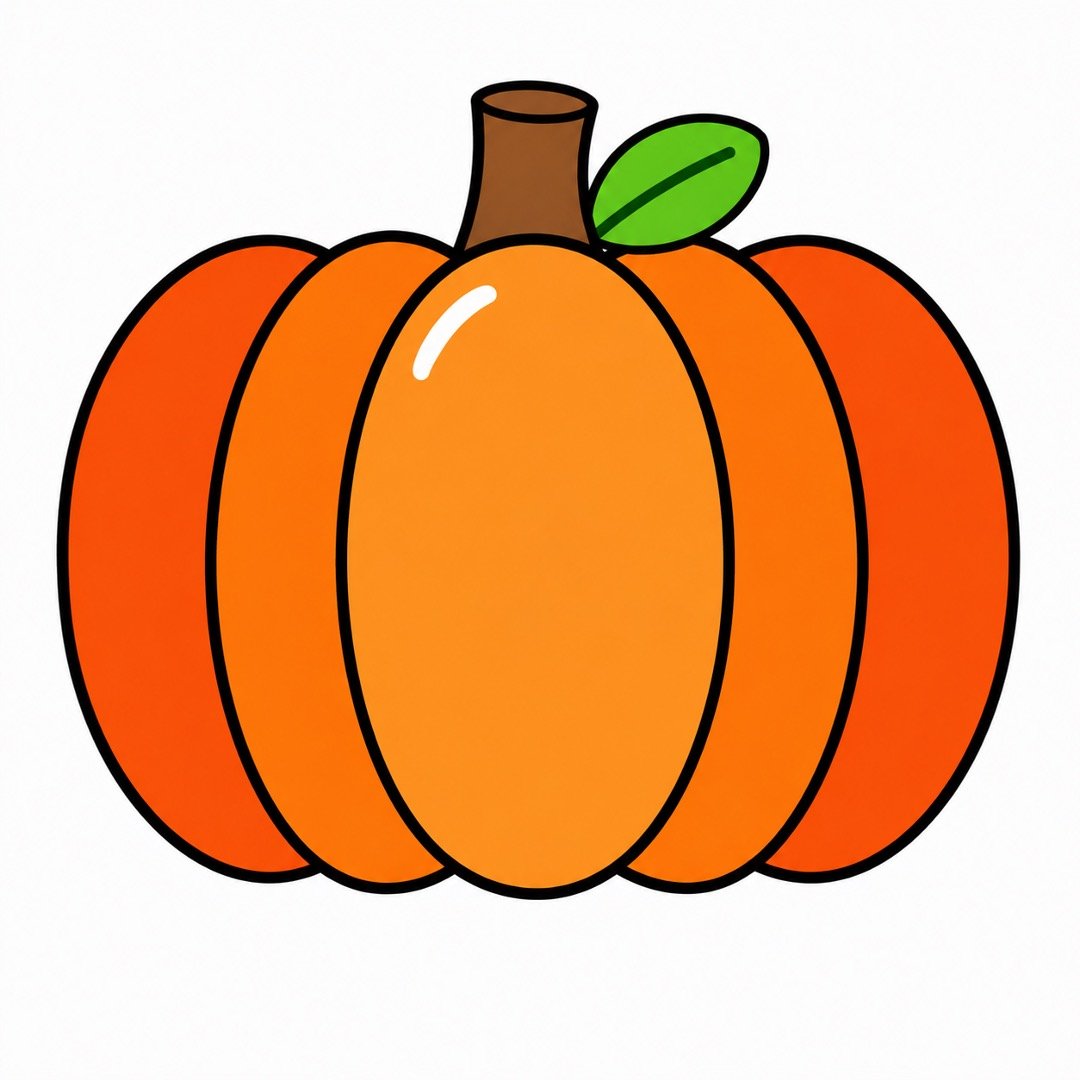
- Instruction: Draw a small oval beside the stem. Add a short straight line through the middle of the oval to make a simple leaf.
- Add color: Color the leaf bright green. Color its middle line dark green.
Step 6: Give It Two Eyes
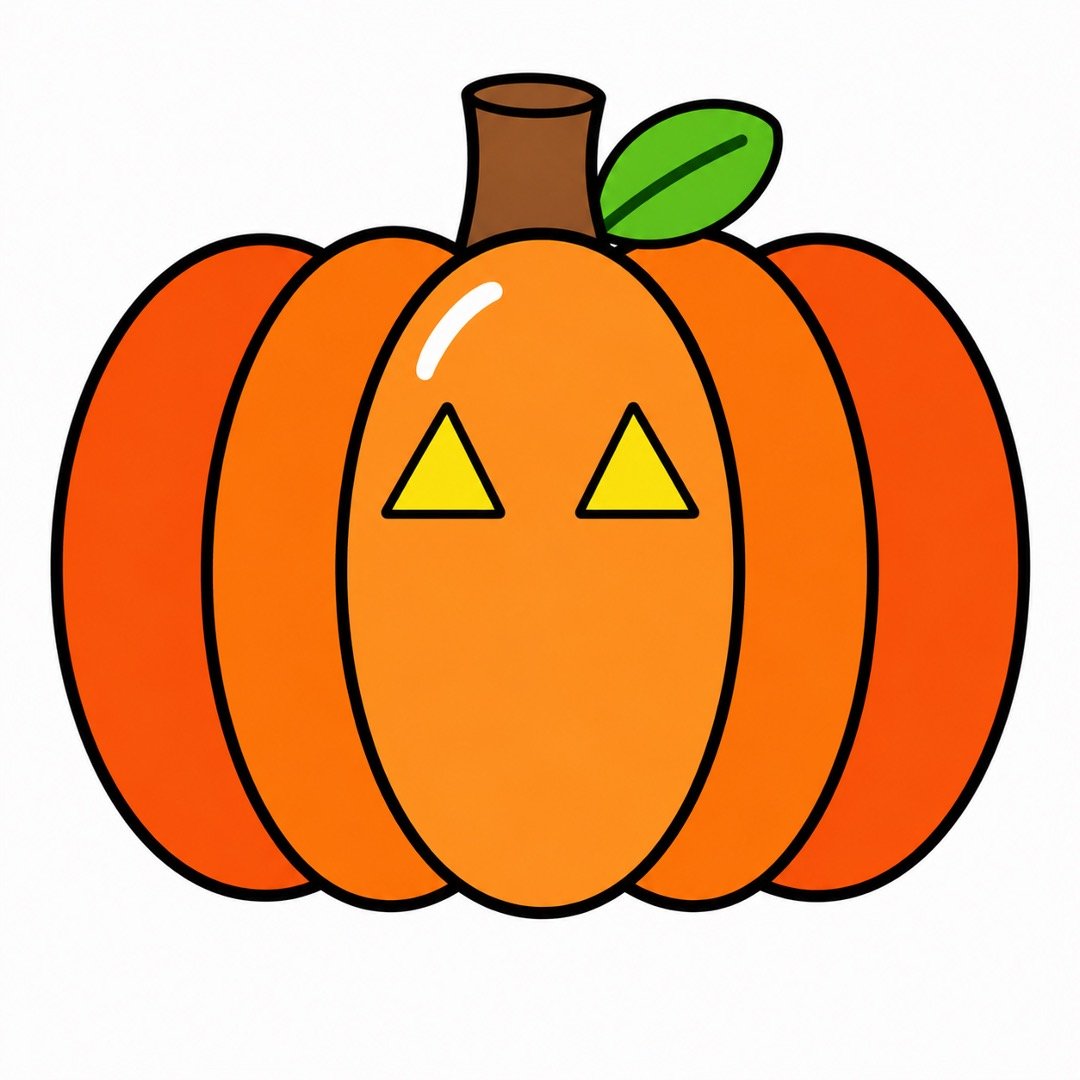
- Instruction: Draw two small triangles on the upper half of the pumpkin. Keep the points facing upward.
- Add color: Color both triangles sunny yellow.
Step 7: Add a Happy Mouth
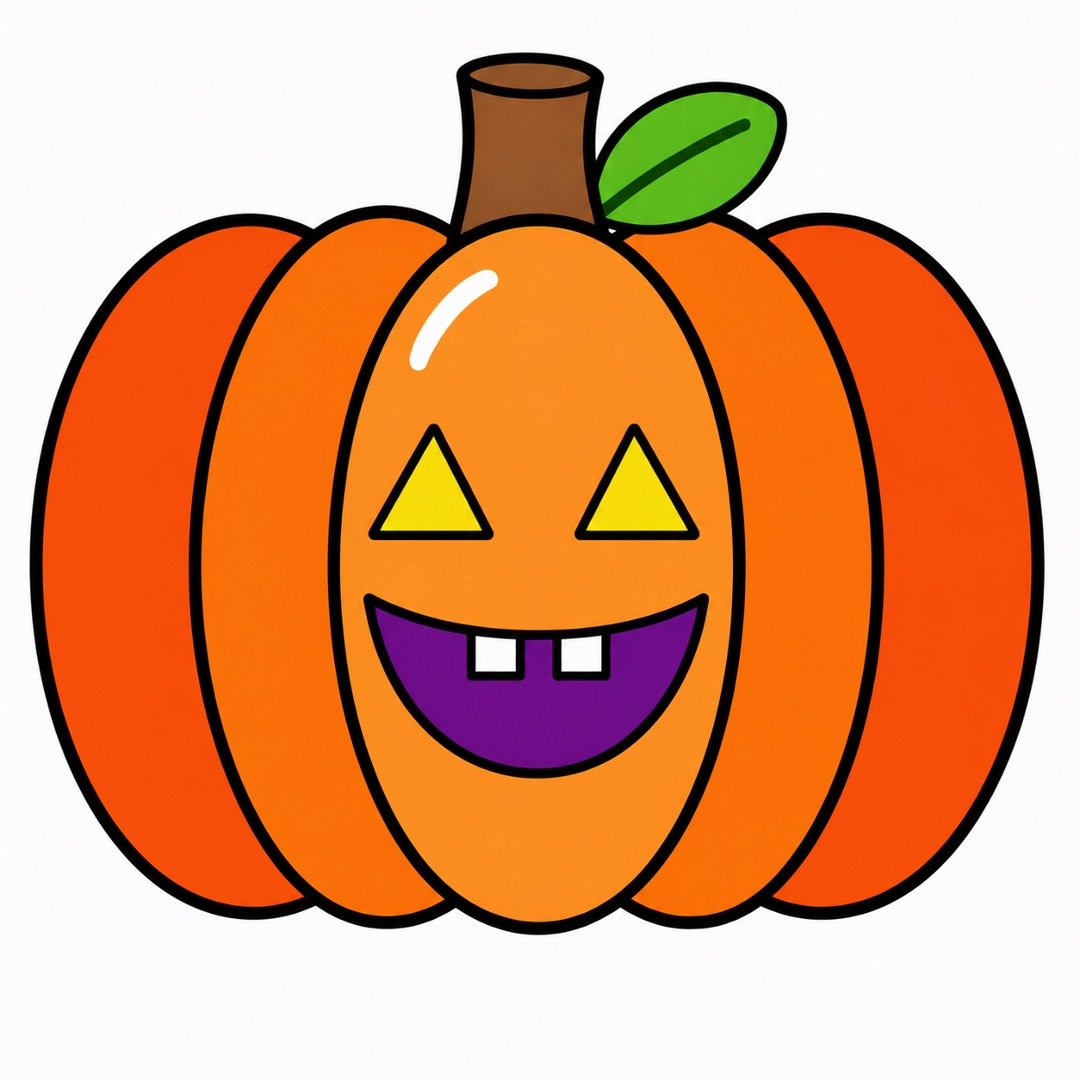
- Instruction: Draw one wide upward curve below the eyes. Add a shorter curve above it, then join the ends to make a smiling mouth.
- Add color: Color the inside of the mouth deep purple. Add two small white square teeth along the top.
Step 8: Finish the Colors and Details
- Instruction: Add one small pink circle on each side of the smile for rosy cheeks. Trace the main lines with your black marker, then erase any extra pencil marks.
- Add color: Color the cheeks bright pink. Add small golden-yellow curved lines near the bottom of the pumpkin for a final cheerful detail.
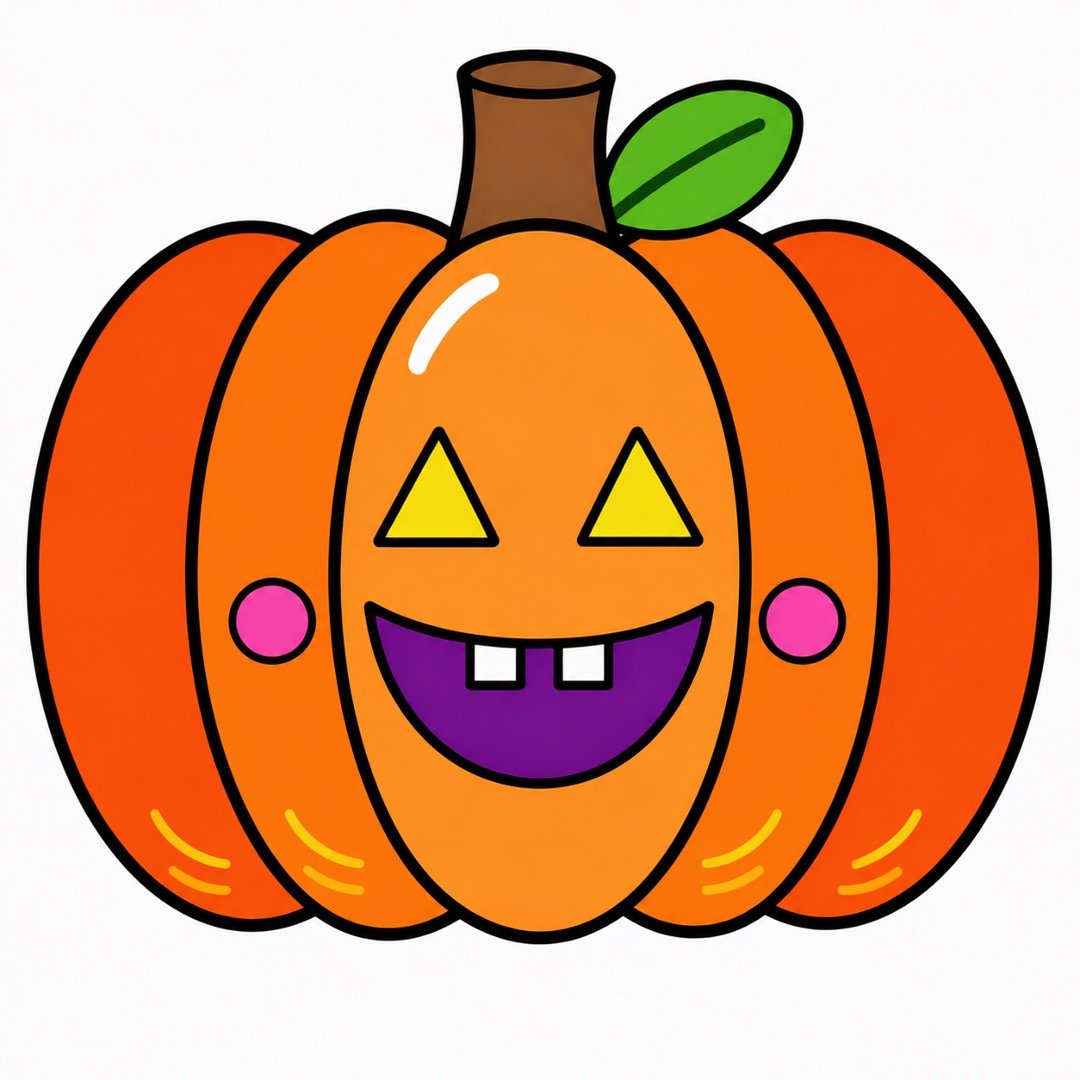
Wonderful work—you have finished your colorful pumpkin drawing! Be proud of every shape and line you made, and share your cheerful pumpkin with a friend or family member. Get ready for the next tutorial, where we will turn more simple shapes into another fun and colorful picture.


About author








Add comment