
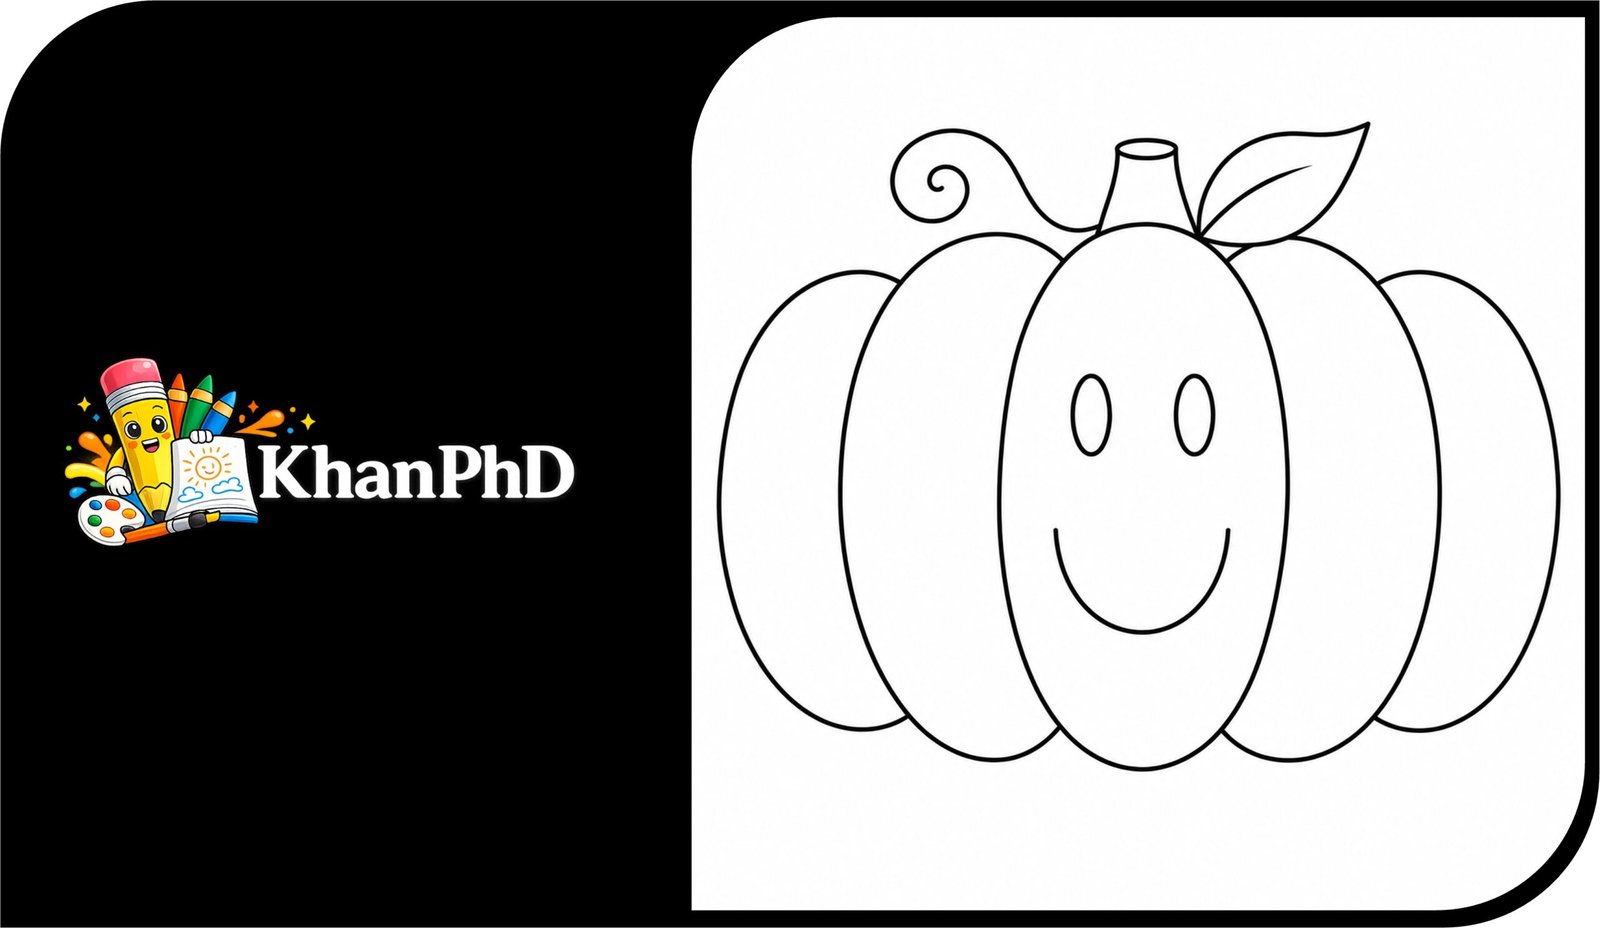
Easy Pumpkin Drawing for Complete Beginners
Drawing a pumpkin may look tricky at first, but it becomes much easier when you build it from simple shapes. In this tutorial, you will use ovals, straight lines, and gentle curves. There is no need to draw perfectly. Pumpkins are naturally bumpy and uneven, so small wobbles can make your picture look even more charming.
We will begin with one oval in the middle of the page. Then we will add more overlapping ovals to create the pumpkin’s rounded sections. After that, you will draw a short stem, a leaf, and a curling vine. In the final step, you can give your pumpkin a friendly face using two small ovals and one simple curved line.
Take your time with each step. Draw lightly with your pencil so you can erase and adjust any line that does not feel right. You do not need special art supplies, and you do not need any drawing experience. The goal is not to make every line exactly the same as the example. The goal is to enjoy the process and create a pumpkin that feels like your own.
By the end, you will have a cute, rounded pumpkin that works well for autumn crafts, Halloween cards, classroom activities, or a relaxing sketchbook page. You can leave it as simple line art or add color and extra details later.
Let’s gather a few basic materials and begin.
MATERIALS NEEDED
- A sheet of plain paper
- A regular pencil
- An eraser
- A black pen or marker, optional
- Orange, green, and brown colored pencils or crayons, optional
Easy Pumpkin Drawing: 8 Friendly Steps for Complete Beginners
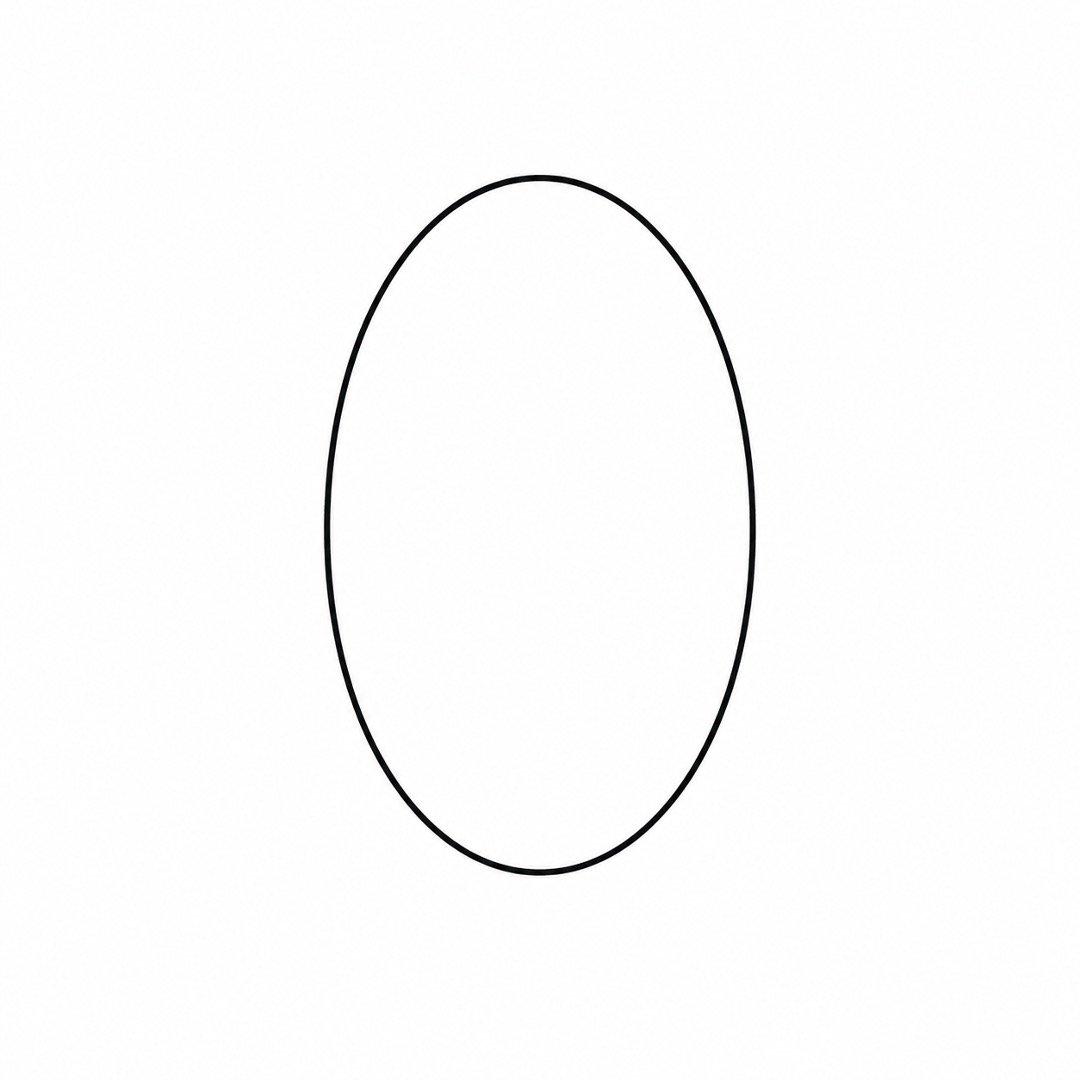
Step 1: Draw the Center Oval
Instructions: Draw one tall oval in the middle of your paper. Make it about one-third of the page height and slightly narrower than it is tall. Draw lightly so the line is easy to change.
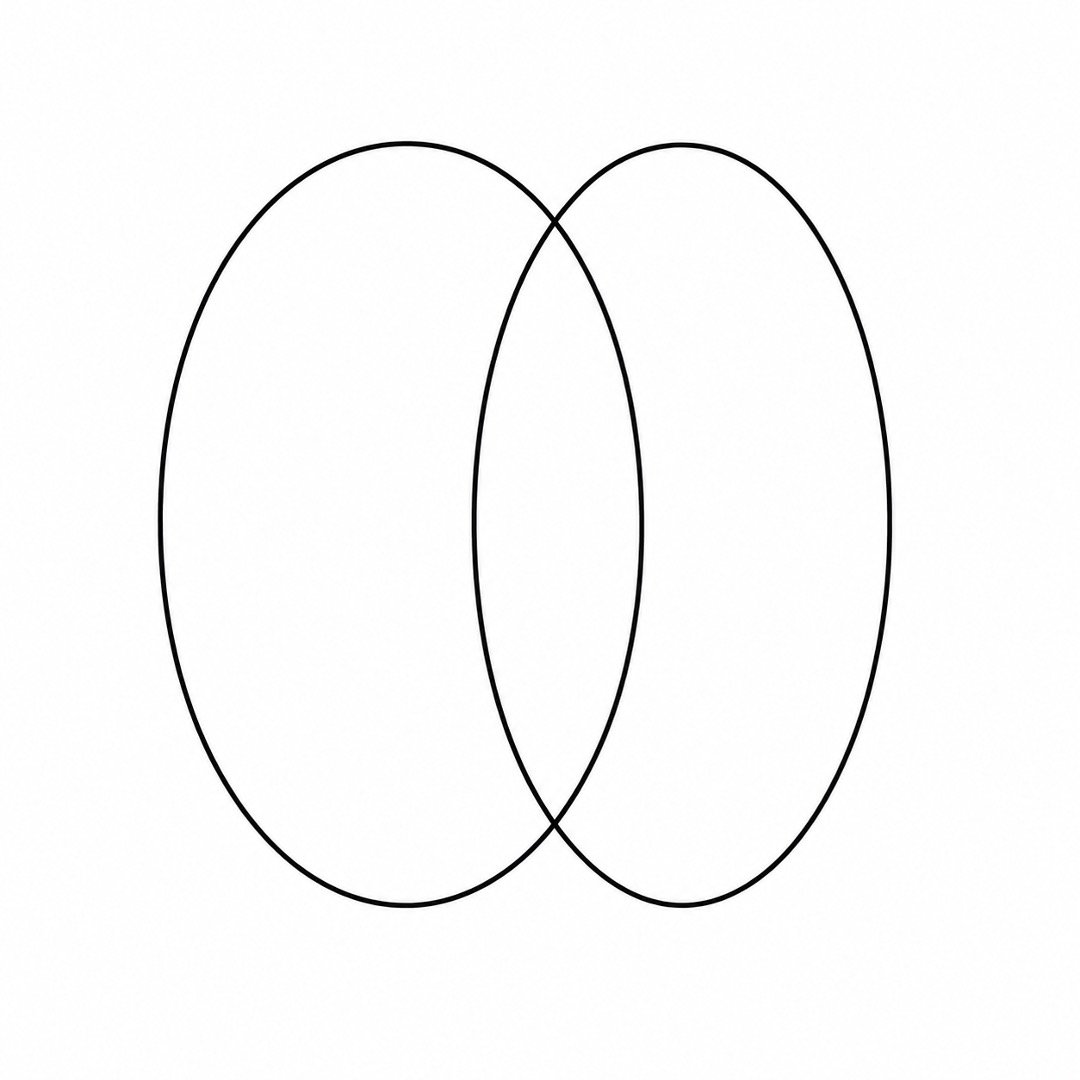
Step 2: Add the Left Pumpkin Section
Instructions: Draw a second oval on the left side of the first oval. Make it about the same height but a little wider. Let it overlap about half of the center oval.
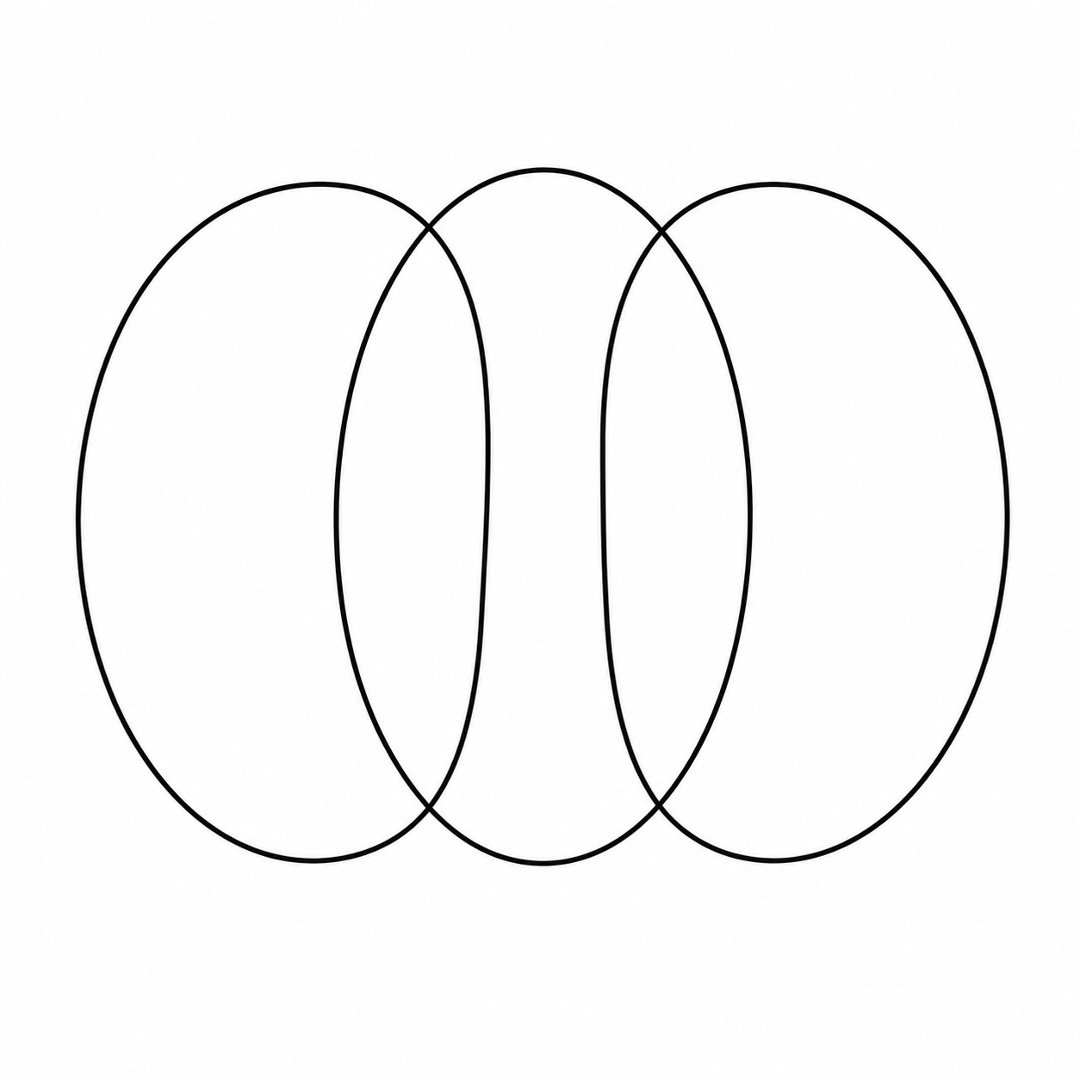
Step 3: Add the Right Pumpkin Section
Instructions: Draw another oval on the right side of the center oval. Make it similar in size to the oval on the left. Let it overlap the center oval by about the same amount.
Step 4: Make the Pumpkin Wider
Instructions: Add one wider oval to each outer side of the pumpkin. Make these two ovals slightly shorter than the first three. Keep them close so the pumpkin looks full and rounded.
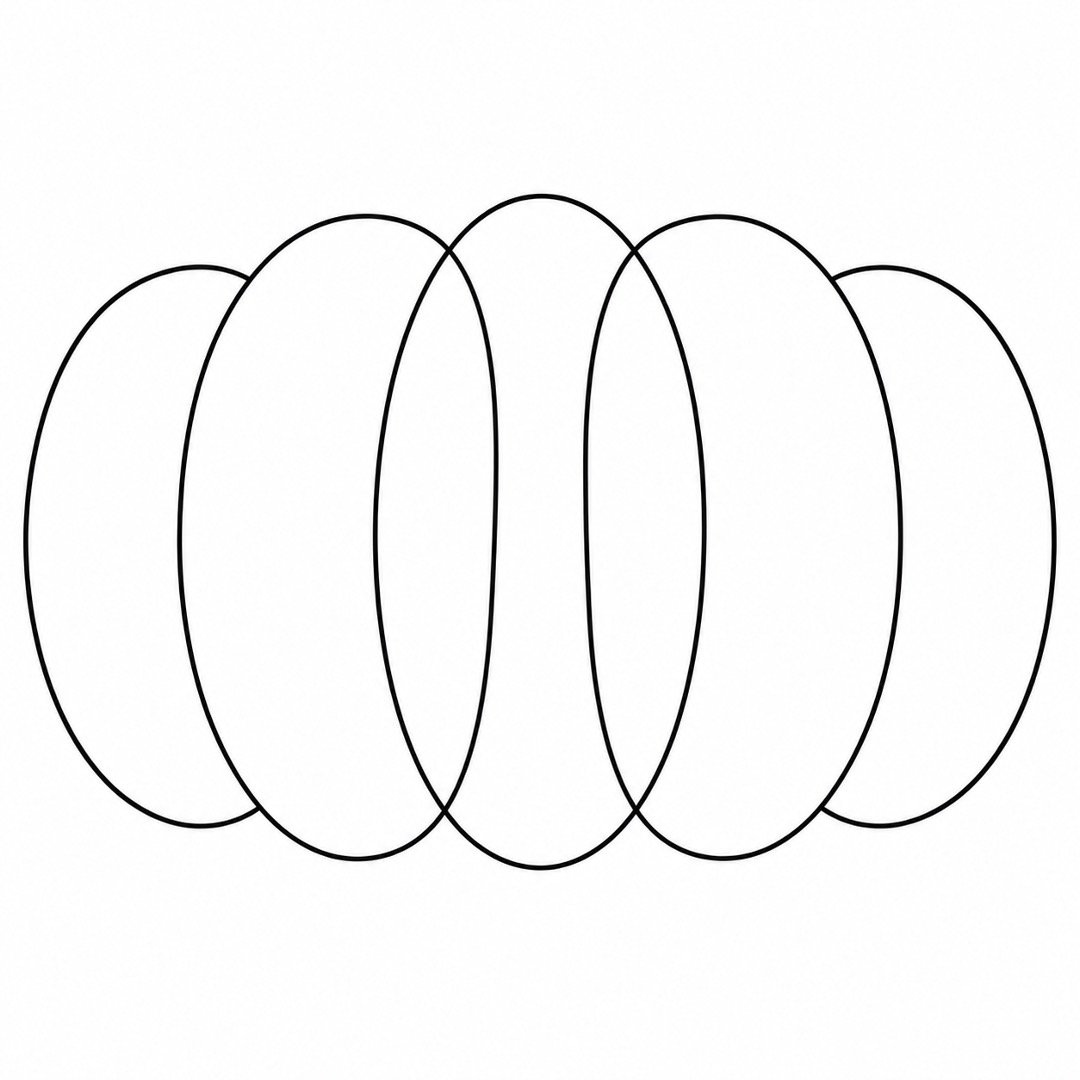
Step 5: Draw the Stem
Instructions: At the top of the center oval, draw two short lines leaning slightly to the right. Join their tops with a small curved line. Erase the tiny pumpkin line inside the stem if needed.
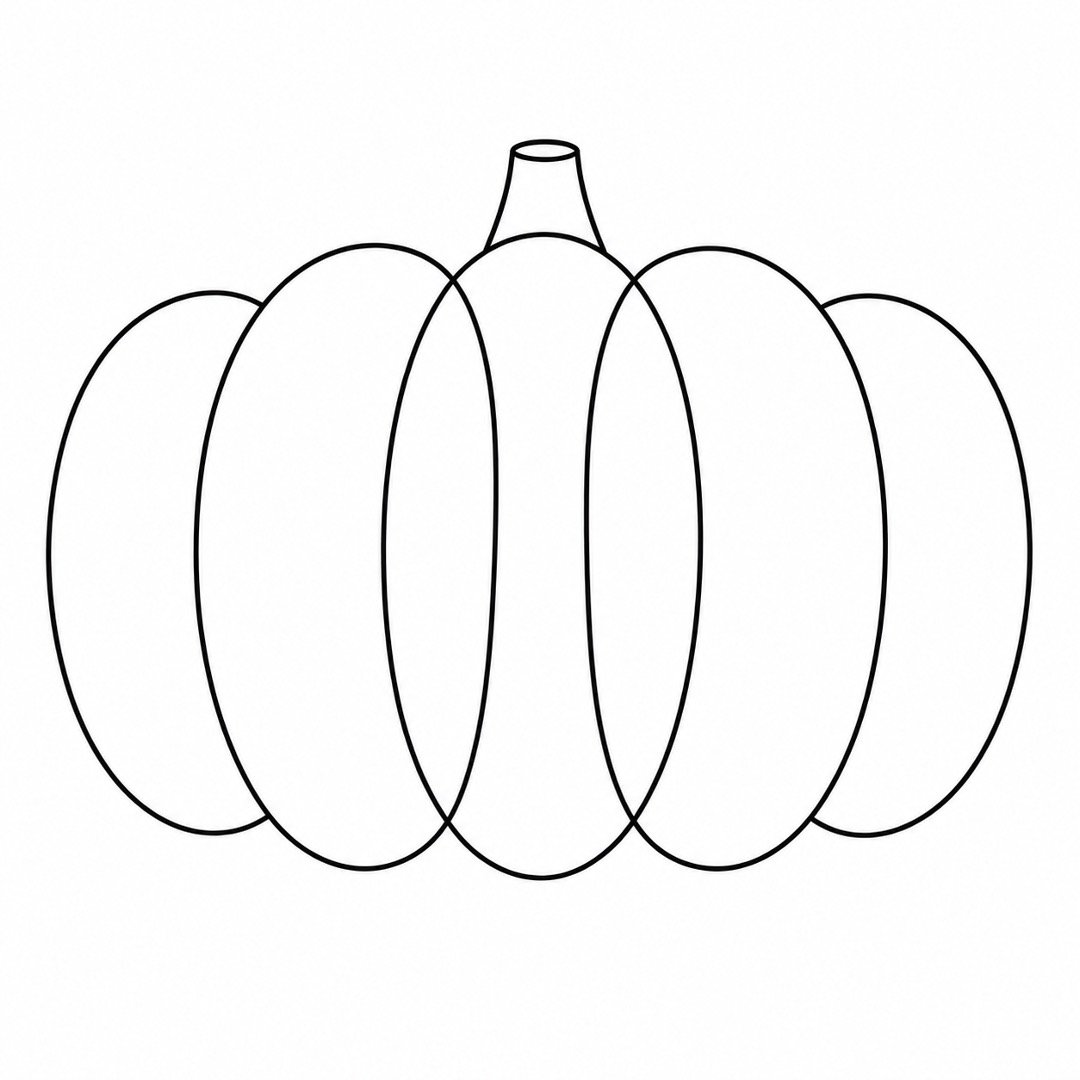
Step 6: Add a Simple Leaf
Instructions: Beside the stem, draw one curved line that points outward. Add a second curve that meets the first at a pointed tip. Draw one short line through the middle of the leaf.
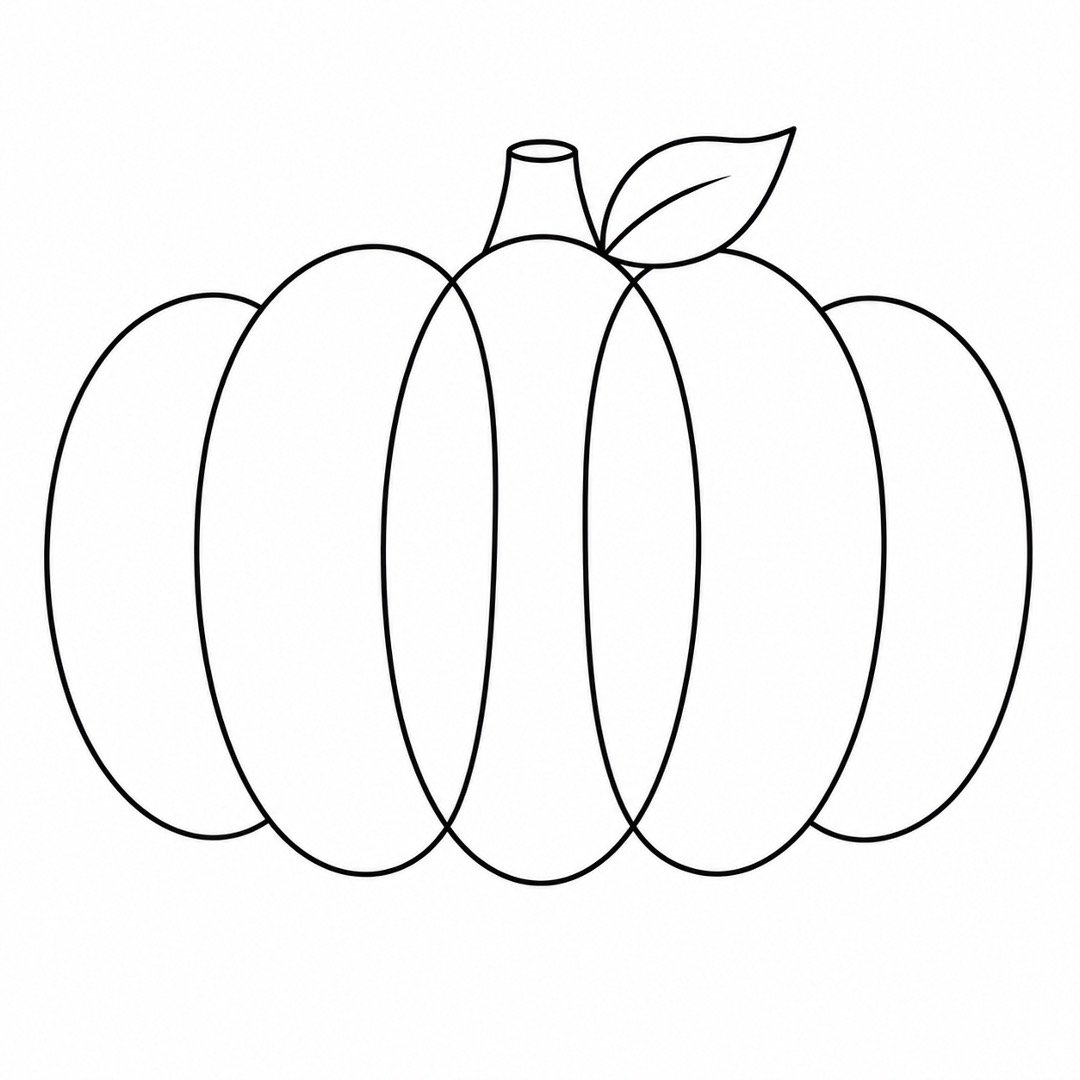
Step 7: Draw a Curling Vine
Instructions: Start near the stem and draw a thin curved line moving outward. Curl the end into a loose spiral. The curve does not need to be perfectly even.
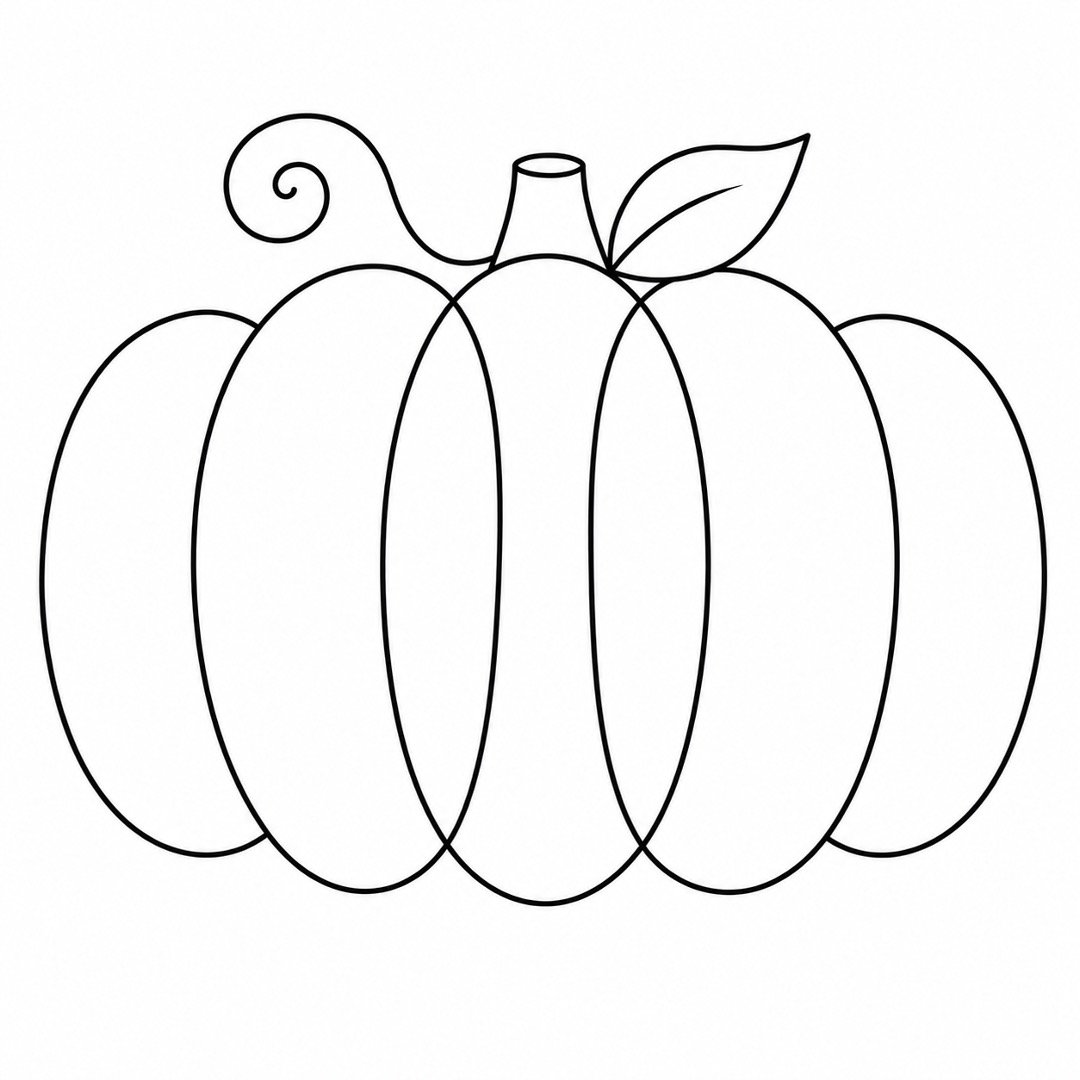
Step 8: Give the Pumpkin a Friendly Face
Instructions: Draw two small vertical ovals inside the upper half of the center section. Place them a small distance apart to make the eyes. Below them, draw a wide U-shaped curve for a simple smile.
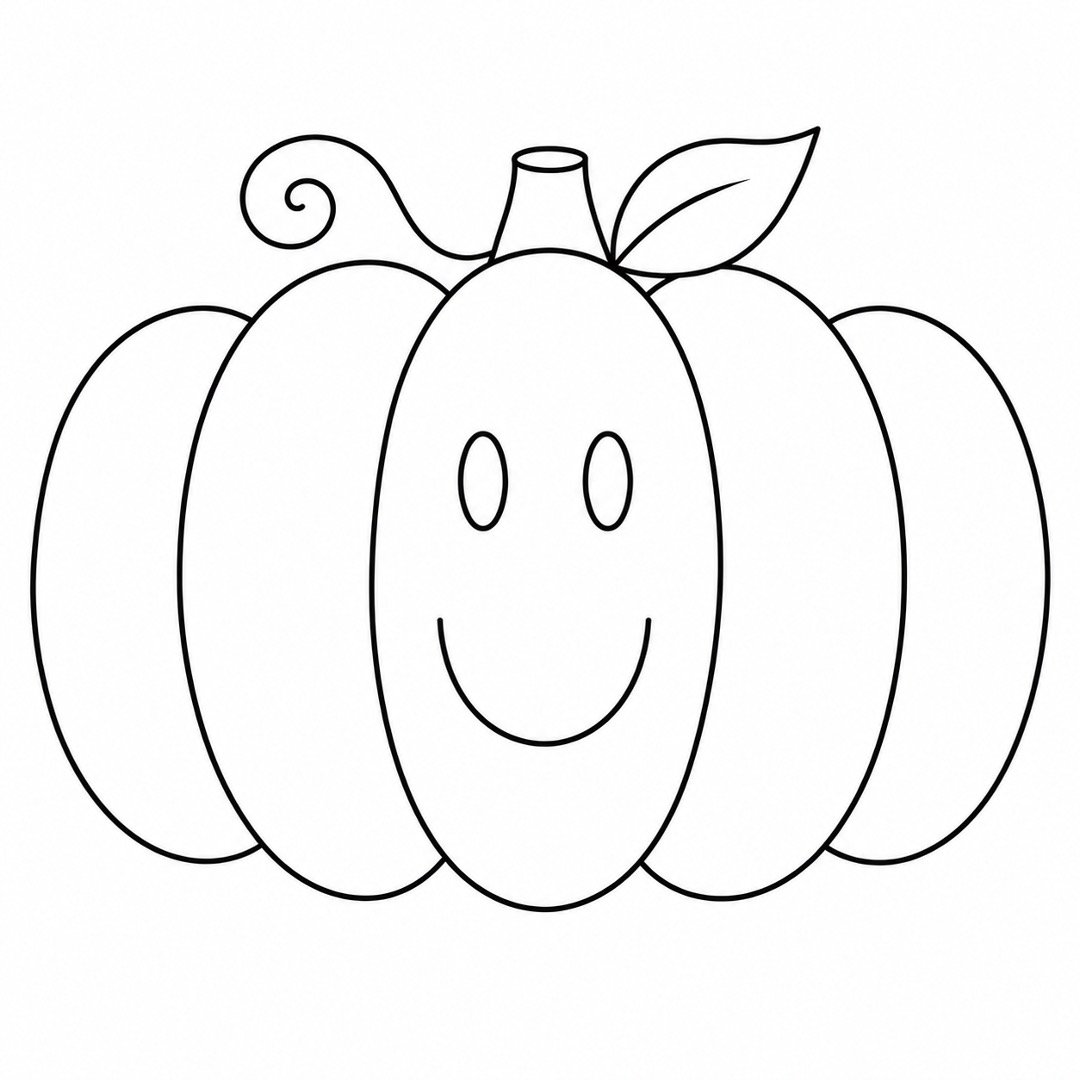
FINAL RESULT
Your completed drawing is a round, cheerful pumpkin made from five simple overlapping ovals. It has a short stem, a pointed leaf, a curling vine, and a friendly smiling face.
You can leave the drawing in pencil or trace your favorite lines with a black pen. Erase any unwanted pencil marks after the ink is dry.
For color, fill the pumpkin with orange, the stem with brown, and the leaf and vine with green. Try pressing lightly near the middle of each pumpkin section and more firmly near the edges. This creates simple shading and helps the pumpkin look round.
You can also add freckles, rosy cheeks, triangle eyes, or a zigzag mouth. Leave the face out completely for a more natural autumn pumpkin.
Great job finishing your pumpkin! Remember that every drawing looks a little different, and that is part of the fun. Share your finished pumpkin, leave a comment with your questions, or try another easy autumn drawing tutorial next.


About author








Add comment