
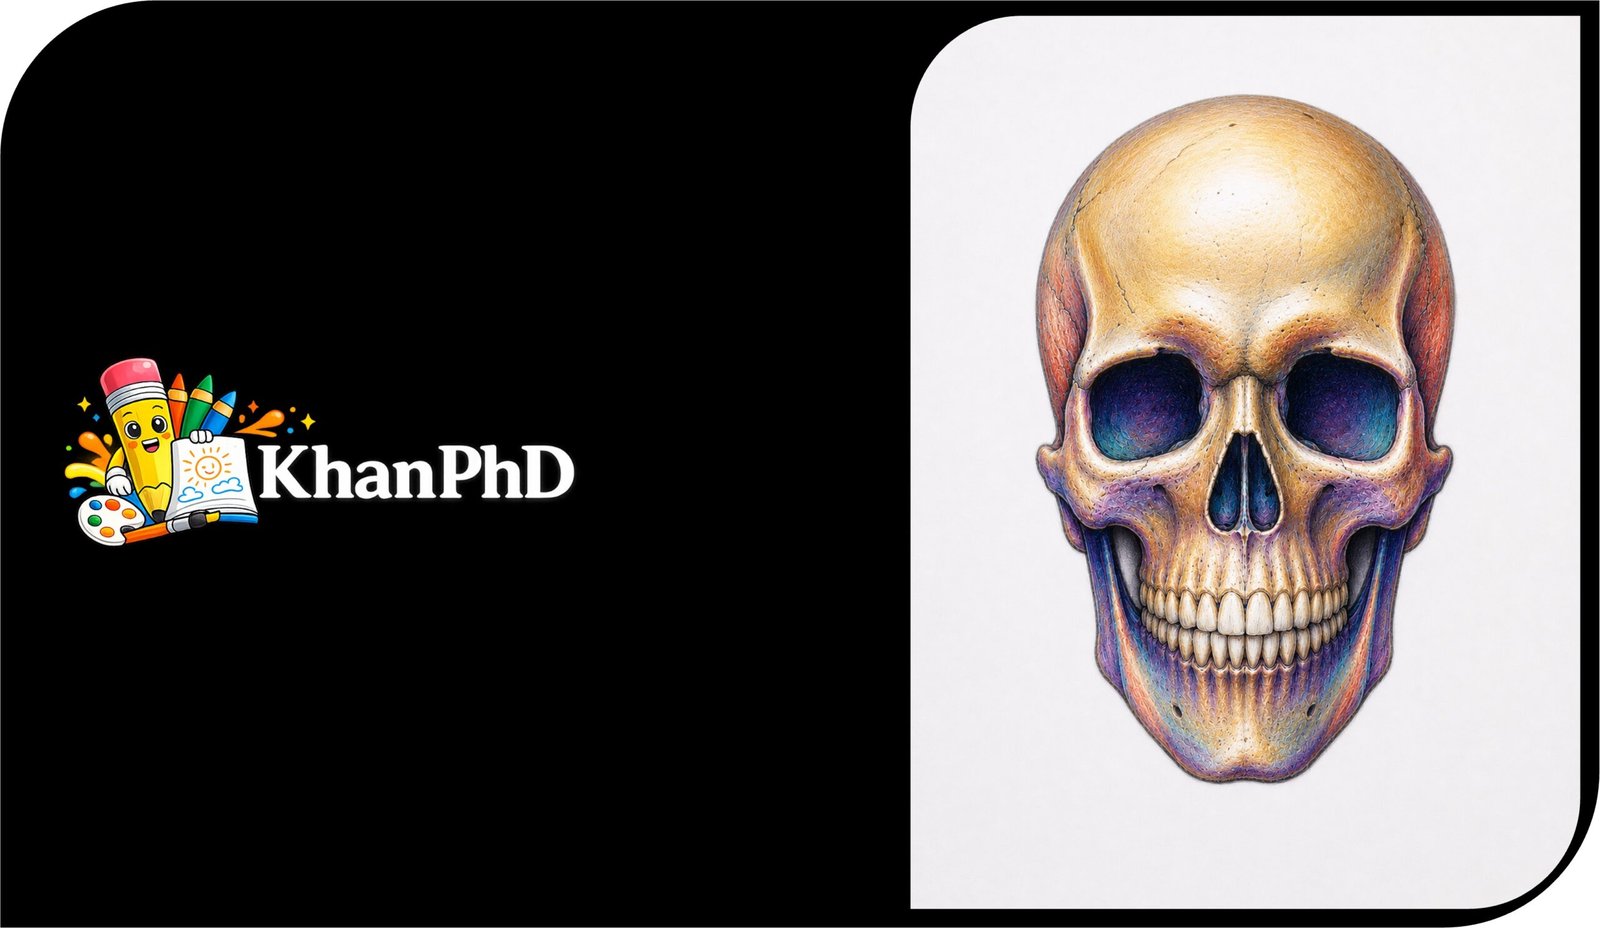
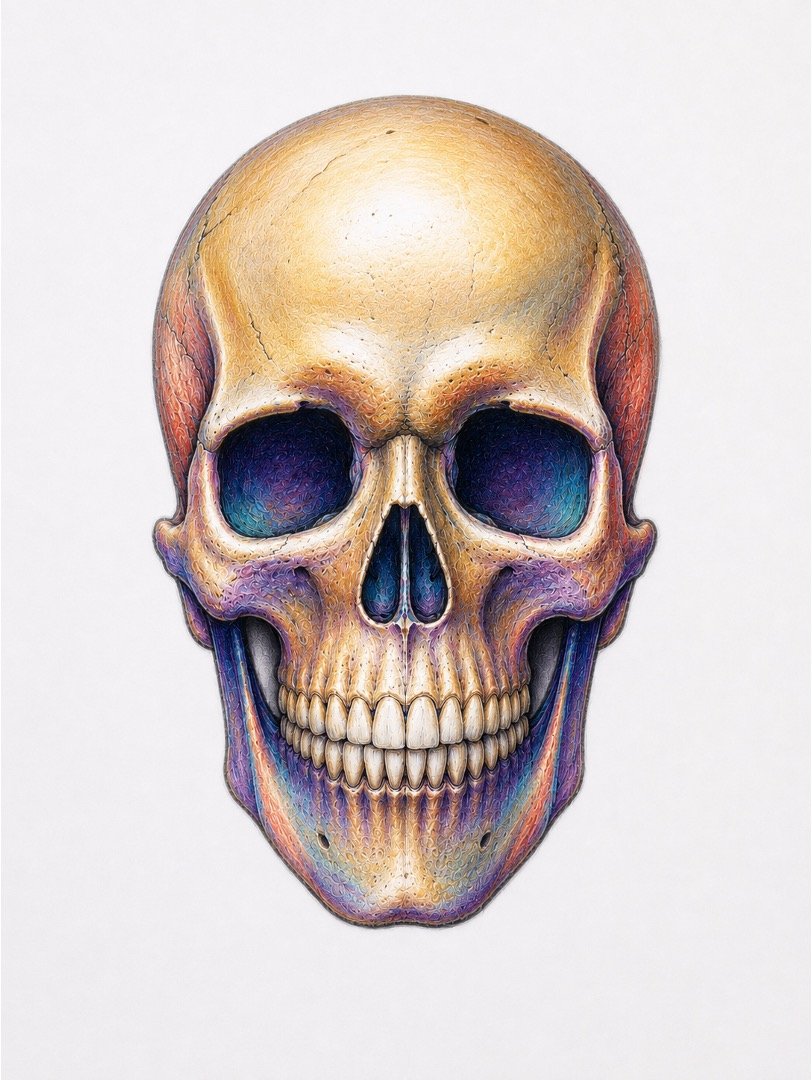
Realistic Colourful Skull Drawing
Welcome! If you have never drawn a skull before, you are in exactly the right place. A Human Skull may look complicated at first, but it becomes much easier when you build it from simple circles, curves, and measured guidelines. There is no need to draw every line perfectly on the first try. We will work lightly, adjust shapes as we go, and slowly develop a realistic, colourful skull that feels dimensional rather than flat.
Our finished drawing will show a front-facing skull with warm ivory bone, cool turquoise and violet shadows, soft coral accents, and small golden highlights. The colour is artistic but still follows believable light and form, so the final result looks both realistic and lively.
You will need a regular pencil, a set of coloured pencils or paints, an eraser, smooth drawing paper, and a blending tool such as a paper stump, cotton bud, or folded tissue. A ruler is optional for checking symmetry, and a white pencil or white paint pen can help with the brightest highlights. Keep a scrap sheet nearby for testing colours before using them on your drawing.
Allow about 60 to 90 minutes, although it is perfectly fine to spread the project over several sessions. The tutorial is divided into eight clear steps, beginning with loose basic shapes and ending with colour blending, texture, and final polish. Take your time, keep your early lines gentle, and enjoy watching the skull gradually come to life.
REALISTIC COLOURFUL SKULL DRAWING
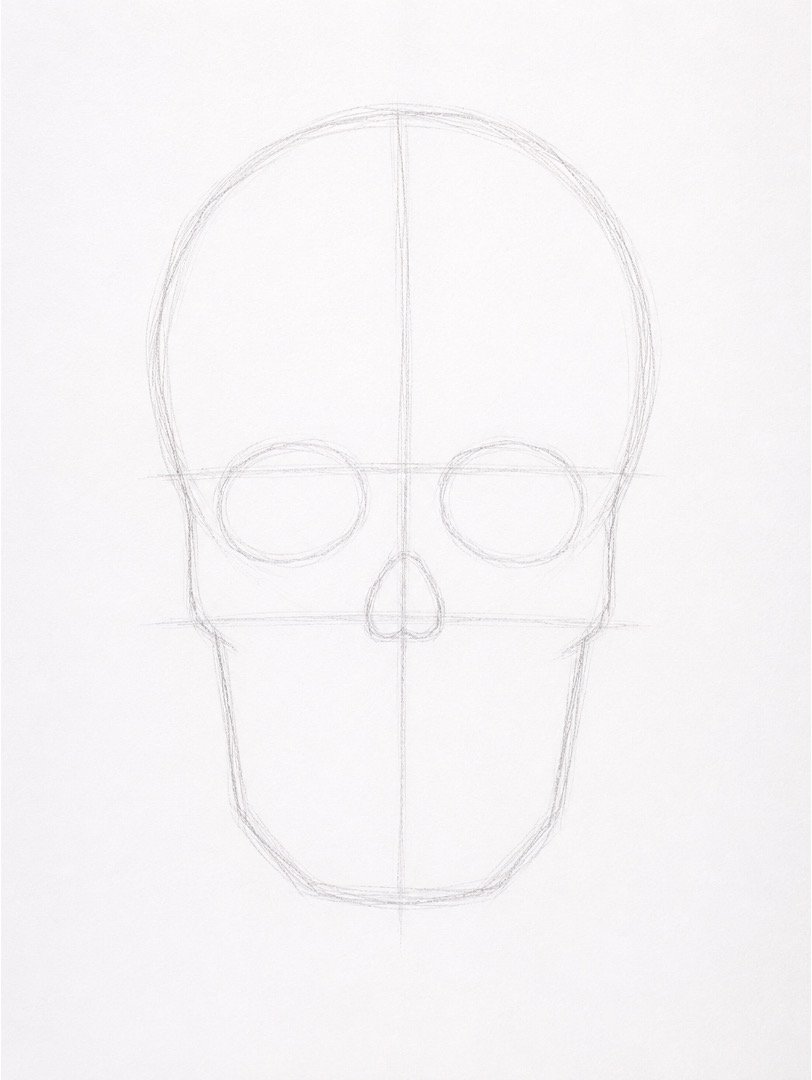
Step 1: Sketch the Basic Shapes
Begin with very light pencil pressure so the lines can be erased easily. Draw a large rounded oval for the upper part of the skull, then add a smaller, box-like shape underneath for the jaw. Place a vertical guideline through the centre and a horizontal guideline slightly below the middle to help position the eye sockets evenly. Add simple ovals for the eye sockets and a small upside-down heart or rounded triangle for the nose opening.
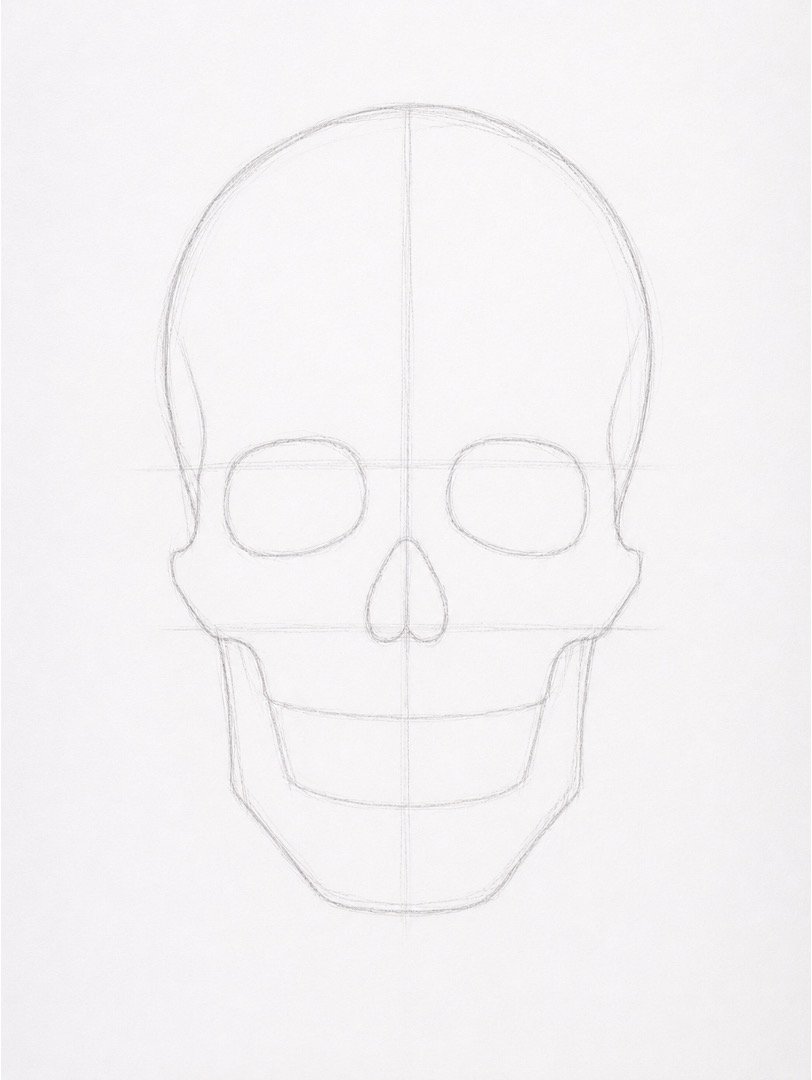
Step 2: Refine the Outline and Proportions
Use the basic shapes as a guide while refining the outside edge of the skull. Round the top of the cranium, gently narrow the sides near the temples, and widen the cheekbone area before bringing the jaw inward. Check that both eye sockets are similar in size and sit at roughly the same height. Keep your pressure light and erase only the construction lines you no longer need.
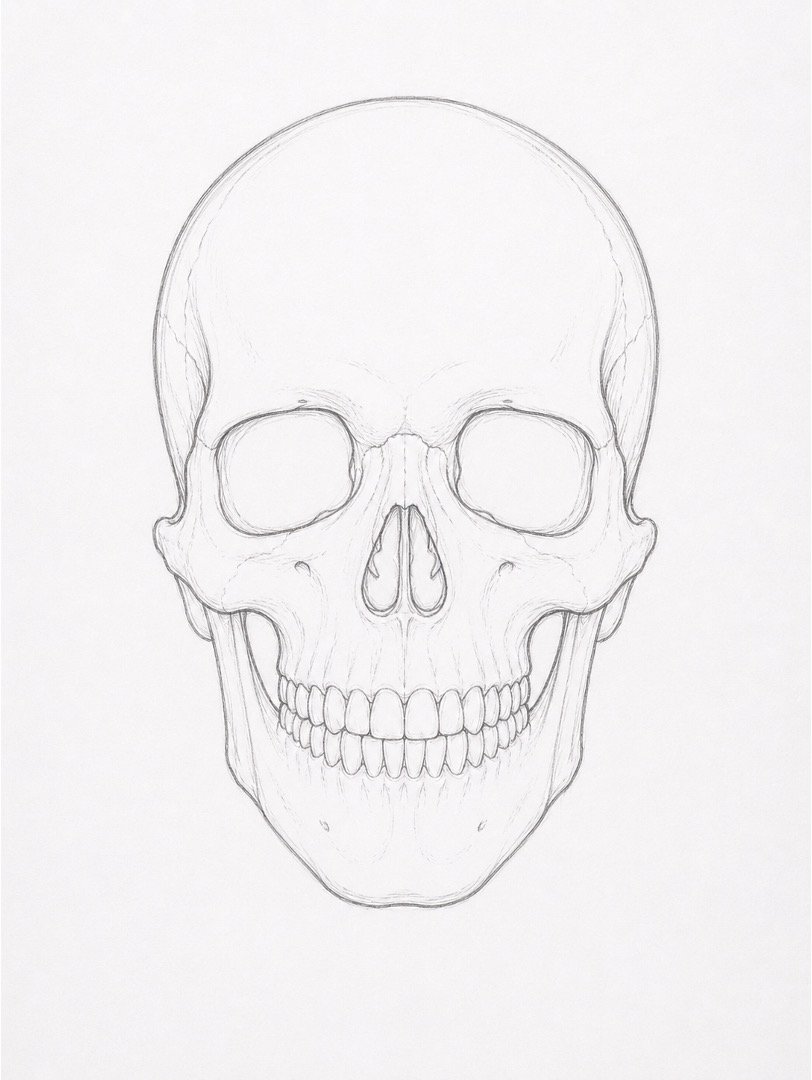
Step 3: Add the Major Features
Darken the important contours slightly, but avoid pressing hard enough to create deep grooves in the paper. Shape the eye sockets with uneven natural curves rather than perfect circles, and divide the nose opening into two lower sections. Add the cheekbone arches, the upper jaw, the lower jaw, and a simple row of tooth shapes. Use gentle vertical lines to separate the teeth, keeping them slightly different in width so they look natural.
Step 4: Lay Down the Light Colours
Begin colouring with soft, gentle pressure and leave plenty of white paper showing through. Cover the main bone areas with a pale ivory or cream layer, using small circular strokes to avoid harsh lines. Add very light turquoise inside the eye sockets, pale lavender beneath the cheekbones, and a touch of coral around selected edges. Keep these first colours delicate because stronger layers will be added later.
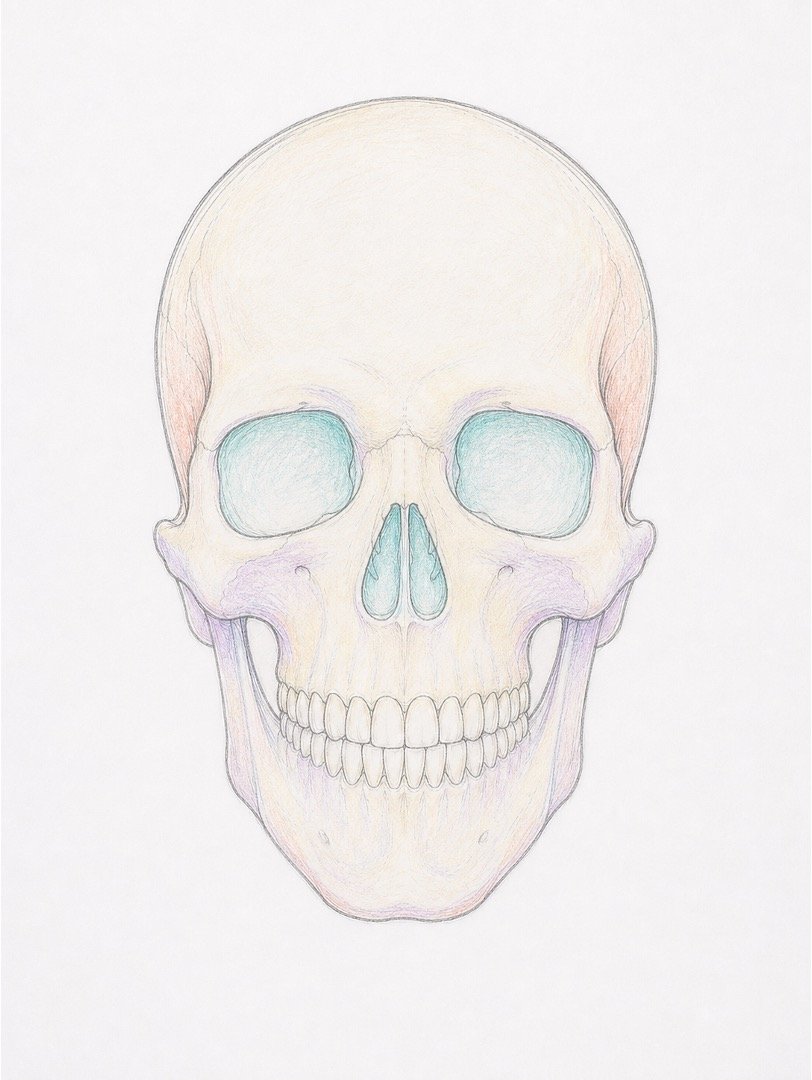
Step 5: Build the Shading and Mid-Tones
Look at each part of the skull as a rounded form rather than a flat shape. With medium-light pressure, strengthen the ivory and add warm ochre around the forehead, sides of the cranium, cheekbones, and teeth. Build turquoise and violet mid-tones inside the sockets, under the brow ridge, beside the nose, and beneath the jaw. Blend each colour outward gently so the transitions remain soft.
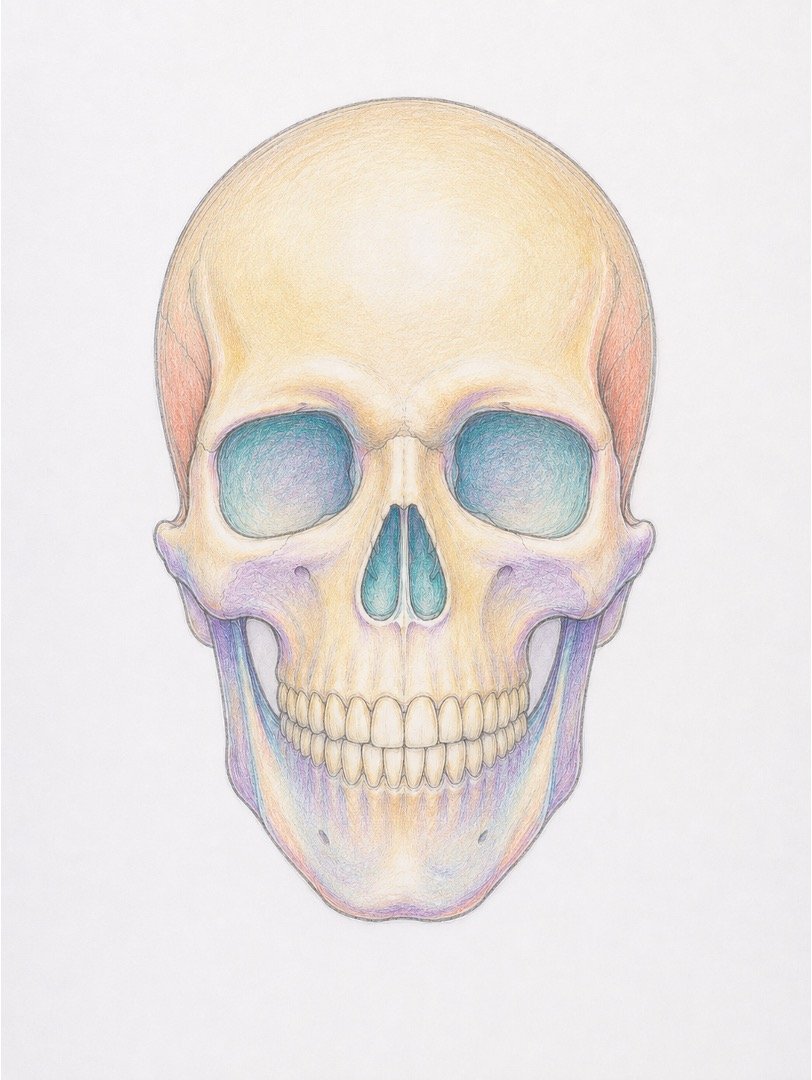
Step 6: Deepen the Shadows
Now add depth with dark indigo, deep violet, and dark brown instead of relying only on black. Apply the darkest colour inside the eye sockets, nasal cavity, gaps between the teeth, under the cheekbones, and along the inner jaw. Use firmer pressure only in the deepest areas, then reduce the pressure as you move toward the lighter bone. Compare both sides often, but allow small differences so the skull does not appear unnaturally perfect.
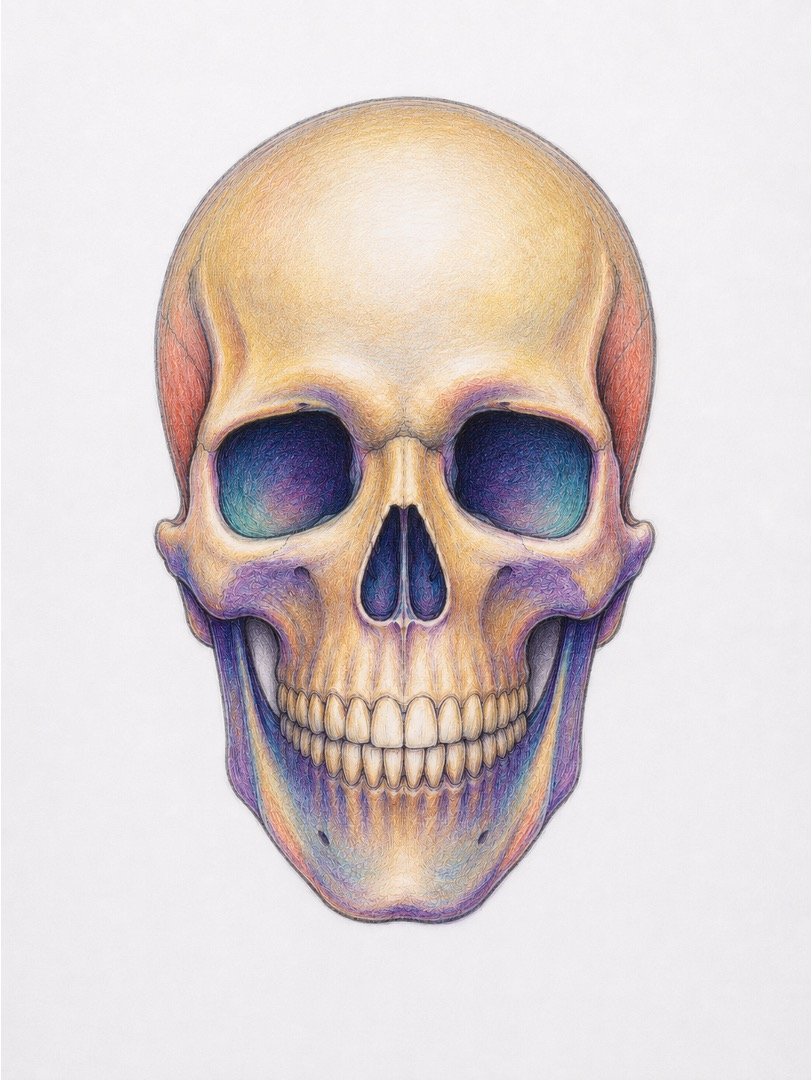
Step 7: Add Highlights and Fine Details
Use a sharp white pencil or a tiny amount of white paint to brighten the forehead, upper cheekbones, bridge of the nose, and front edges of the teeth. Add a few fine cracks, tiny bone marks, and delicate colour variations, but keep them subtle so they do not overwhelm the drawing. Sharpen selected edges around the sockets and teeth while leaving other edges soft. A few small golden and coral accents can make the cooler turquoise and violet shadows feel more colourful.
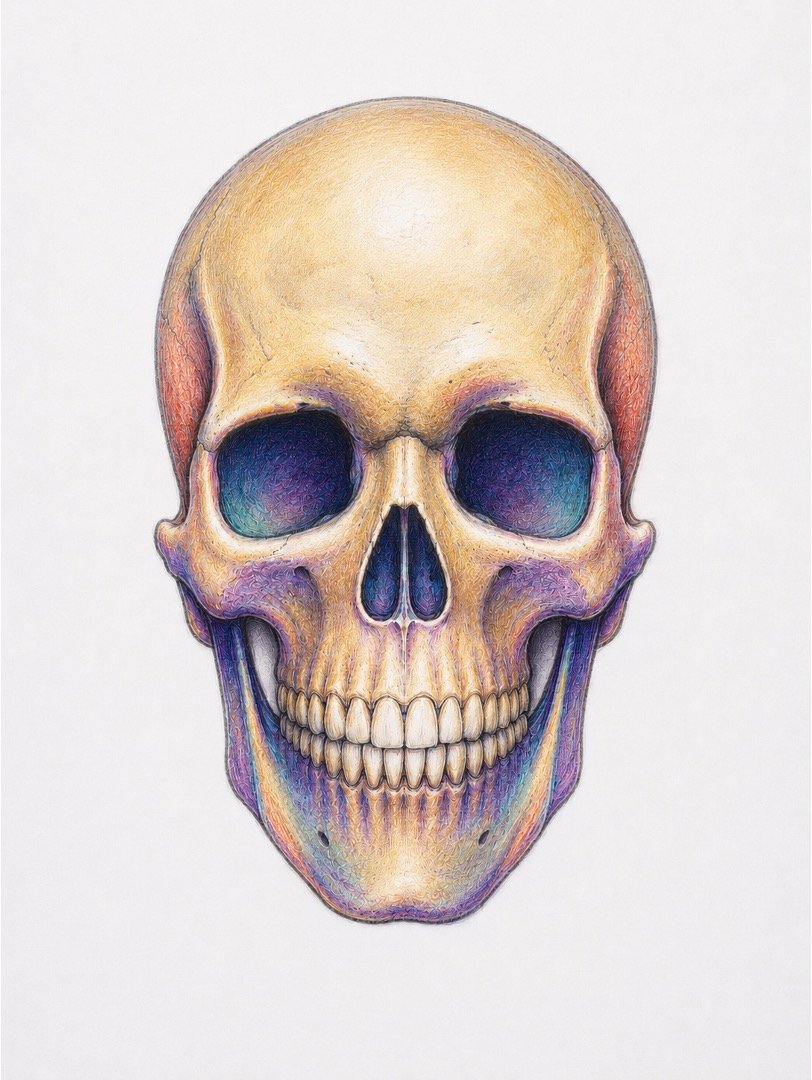
Step 8: Blend and Polish the Drawing
Step back from the page and check whether the light, middle, and dark areas are clearly different. Blend rough colour transitions with a colourless blender, white pencil, paper stump, or gentle additional layers. Reinforce only the deepest shadows and brightest highlights, then clean the surrounding paper with an eraser. Finish by softening any distracting outlines so the realistic form and colourful shading become the main focus.
TIPS
- Keep your first lines light. Heavy outlines are difficult to erase and can make the finished skull look flat.
- Build colour slowly in several gentle layers instead of trying to reach the darkest shade immediately.
- Check the drawing in a mirror or take a quick photo to notice uneven proportions more easily.
- Practise individual features such as teeth or eye sockets separately, and remember that improvement comes from patient repetition.


About author









Add comment