
Easy Skull Drawing Tutorial for Young Beginners
Drawing a skull may look tricky at first, but this easy lesson turns it into a group of simple shapes. You do not need special talent or any drawing experience. You only need to go slowly, copy one small step at a time, and let your pencil lines be light and relaxed.
This tutorial creates a friendly cartoon skull rather than a scary one. We will begin with one large oval for the top of the head. Then we will add a simple jaw, two oval eye spaces, a small triangle nose, curved cheek lines, and an easy row of teeth. Every new part will connect to shapes you have already drawn, so you will always know where the next line belongs.
Do not worry if your oval is not perfectly even or if one eye is a little larger than the other. Small differences make drawings feel handmade and full of character. You can erase and try a line again, but you do not need to make everything perfect. The goal is to enjoy the process and finish with a skull you are proud to show.
By the end of these eight steps, you will have a complete kid-friendly skull drawing with a rounded head, clear face shapes, a smiling tooth line, and a few fun details. You can leave it as clean line art or add color and shading afterward.
Gather a few simple supplies, and let’s begin.
MATERIALS NEEDED
- A sheet of plain paper
- A regular pencil
- An eraser
- A black pen or marker, optional
- Colored pencils or crayons, optional
EASY SKULL DRAWING TUTORIAL: 8 EASY STEPS FOR YOUNG BEGINNERS
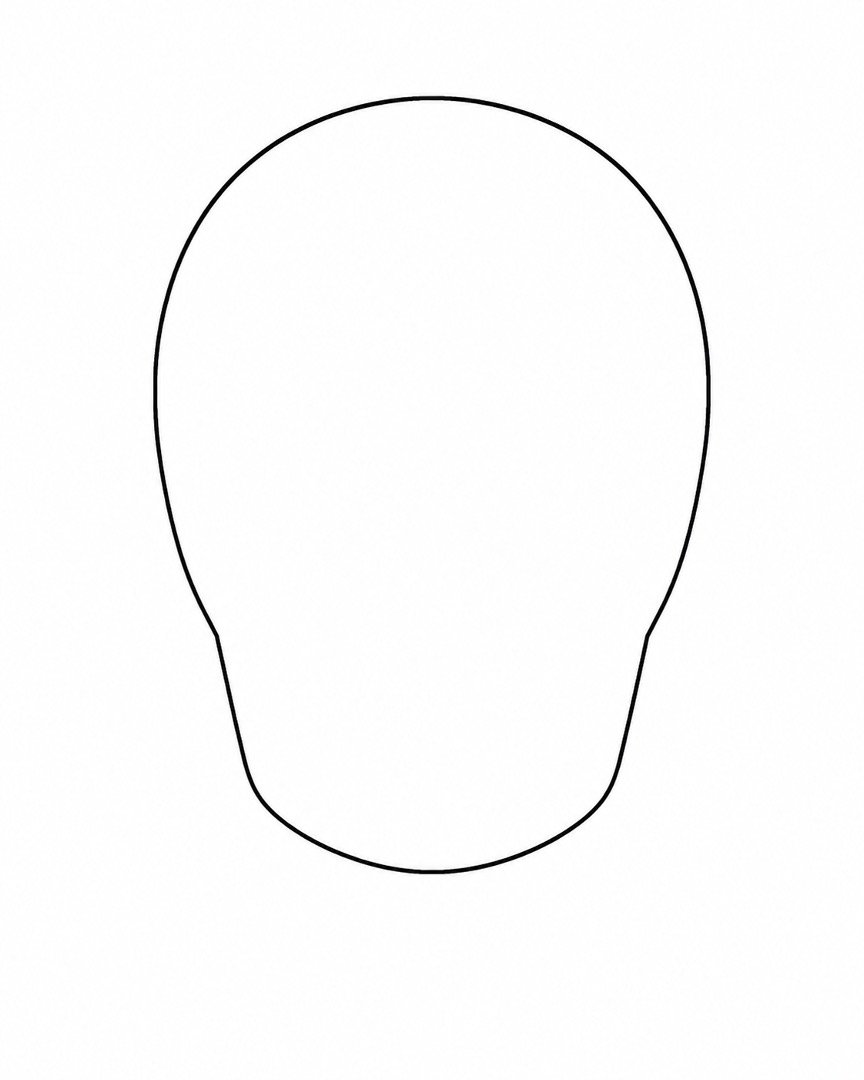
Step 1: Draw the Top of the Head
Near the middle of your paper, draw one large upright oval. Make it a little wider near the top and about as tall as your hand. Leave some empty space below it for the jaw.
Step 2: Add the Jaw
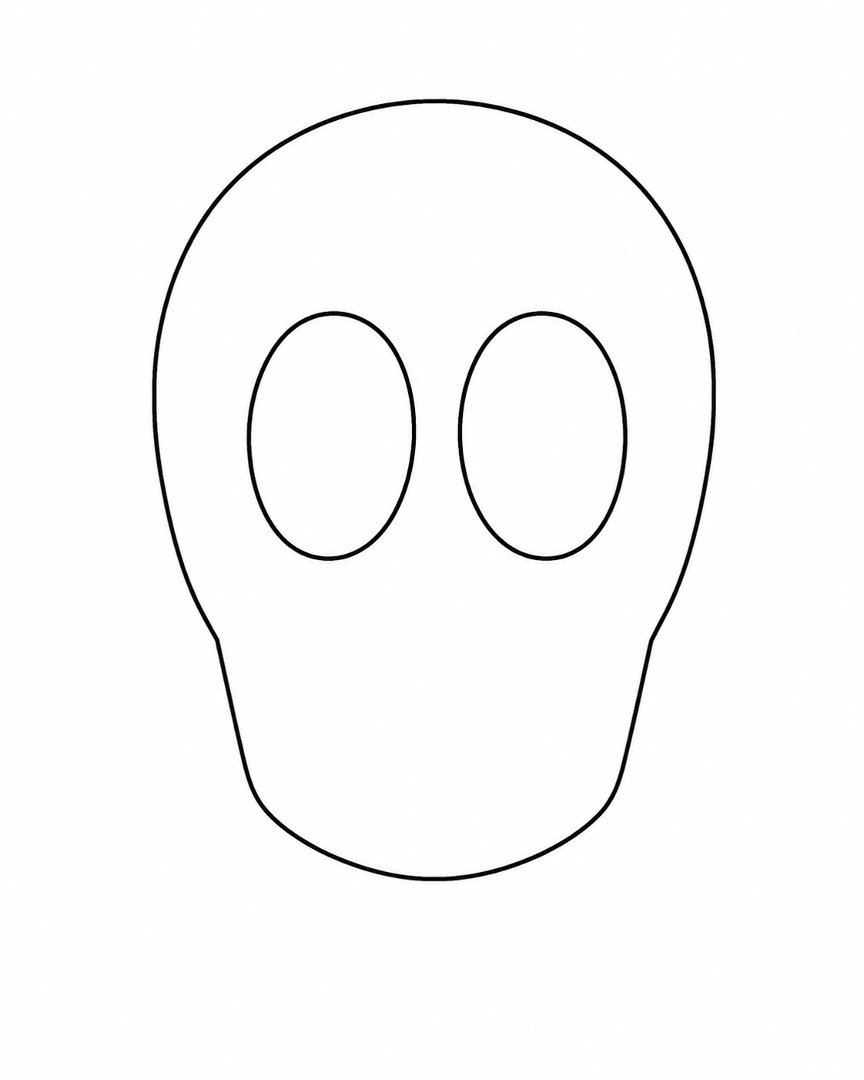
Start at the lower-left and lower-right sides of the oval. Draw two short straight lines that slope inward. Join their bottom ends with a wide, shallow curve to make the chin.
Step 3: Draw the Eye Spaces
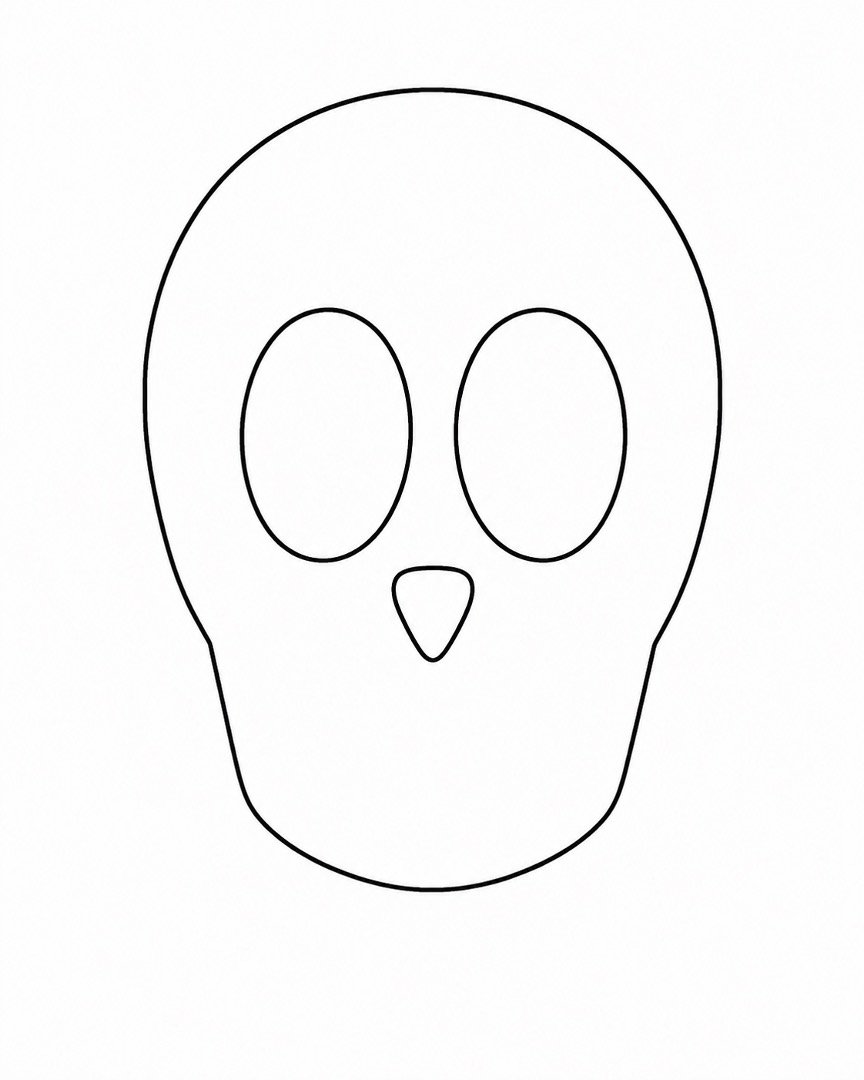
Inside the oval, draw two large upright ovals for the eye spaces. Place them side by side in the upper-middle area of the face. Leave a small gap between them that is about half the width of one eye oval.
Step 4: Add the Nose
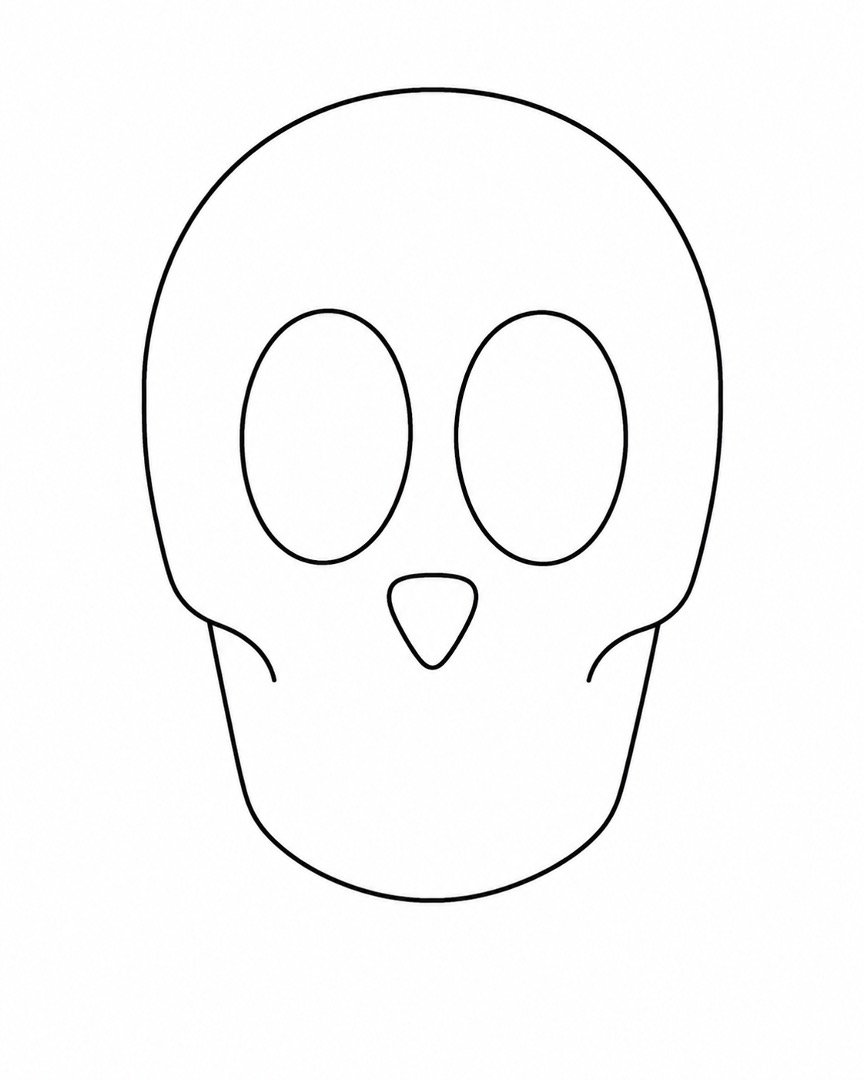
Find the space directly below and between the eyes. Draw a small upside-down triangle there. Soften its three corners with tiny curves so the nose does not look too sharp.
Step 5: Shape the Cheeks
Draw one short curve from the lower outside edge of each eye. Let each curve bend gently outward and then down toward the jaw. Try to make the two cheek curves look similar.
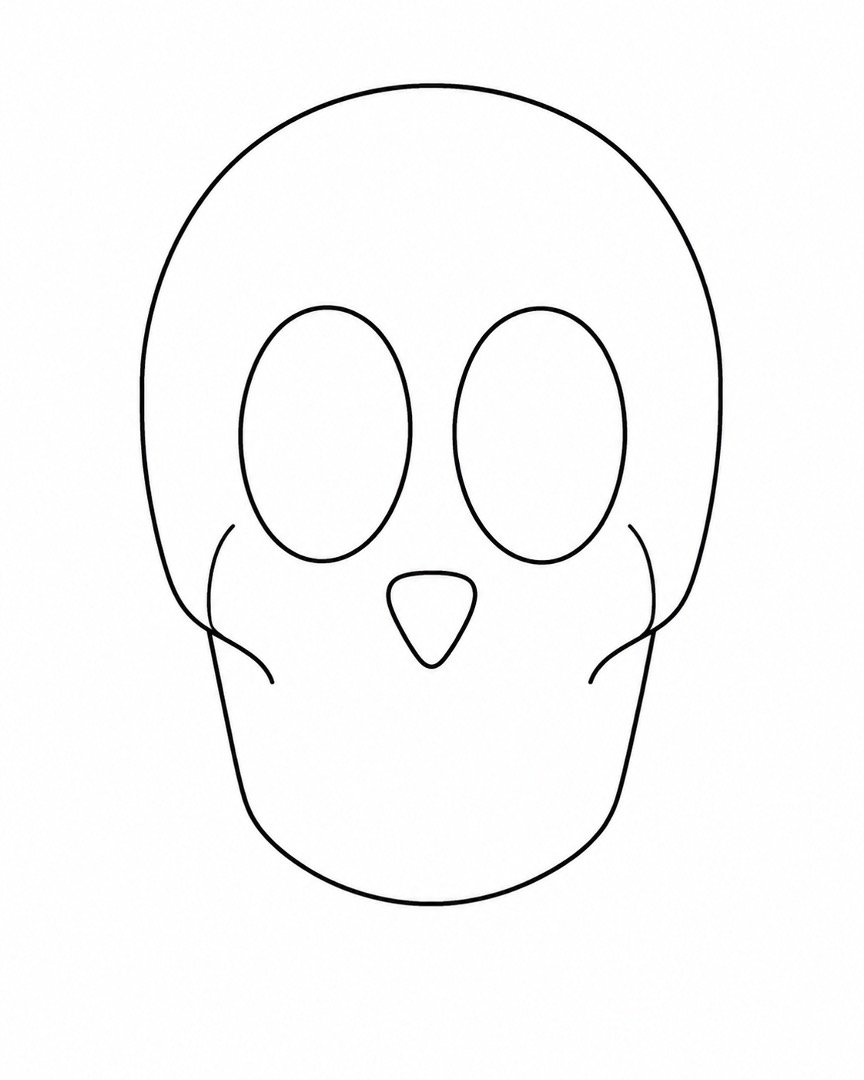
Step 6: Draw the Mouth Area
Below the nose, draw a long, shallow curve that bends slightly upward like a small smile. Add a second shallow curve just below it. Keep the two curves close together and centered inside the jaw.
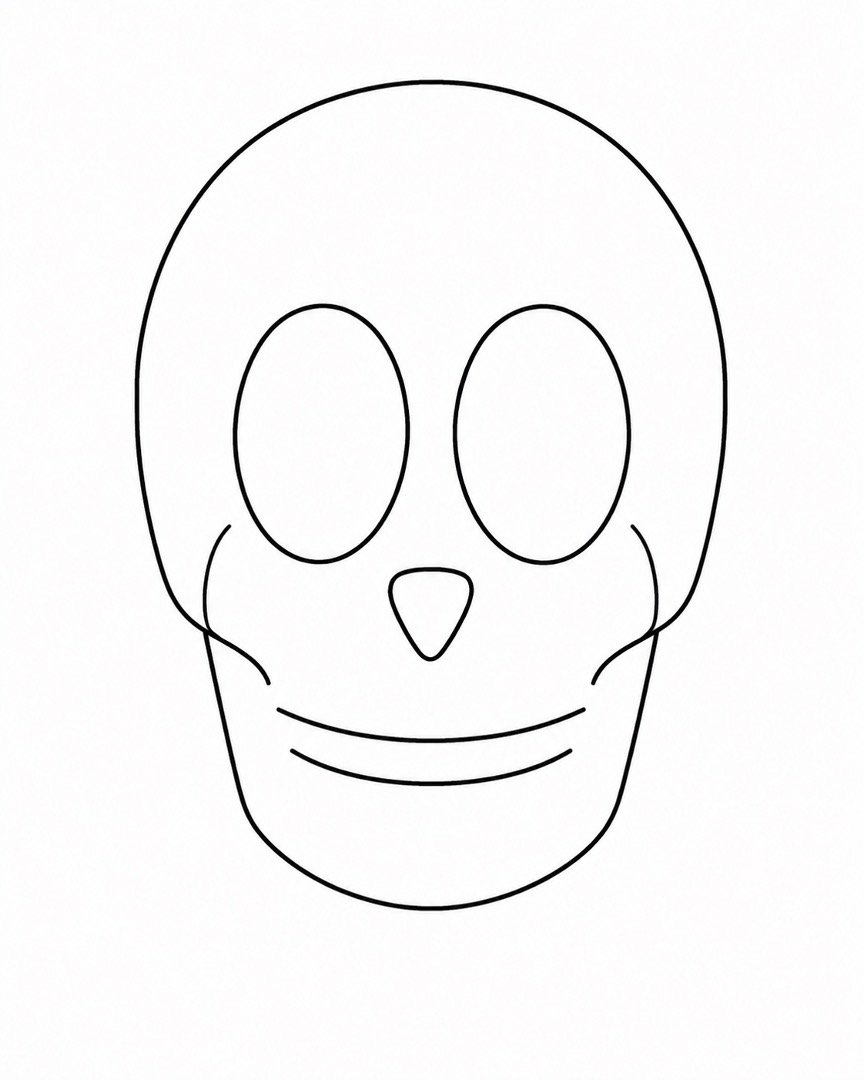
Step 7: Separate the Teeth
Draw six or eight short straight lines between the two mouth curves. Space the lines as evenly as you can. These small lines divide the mouth into simple teeth.
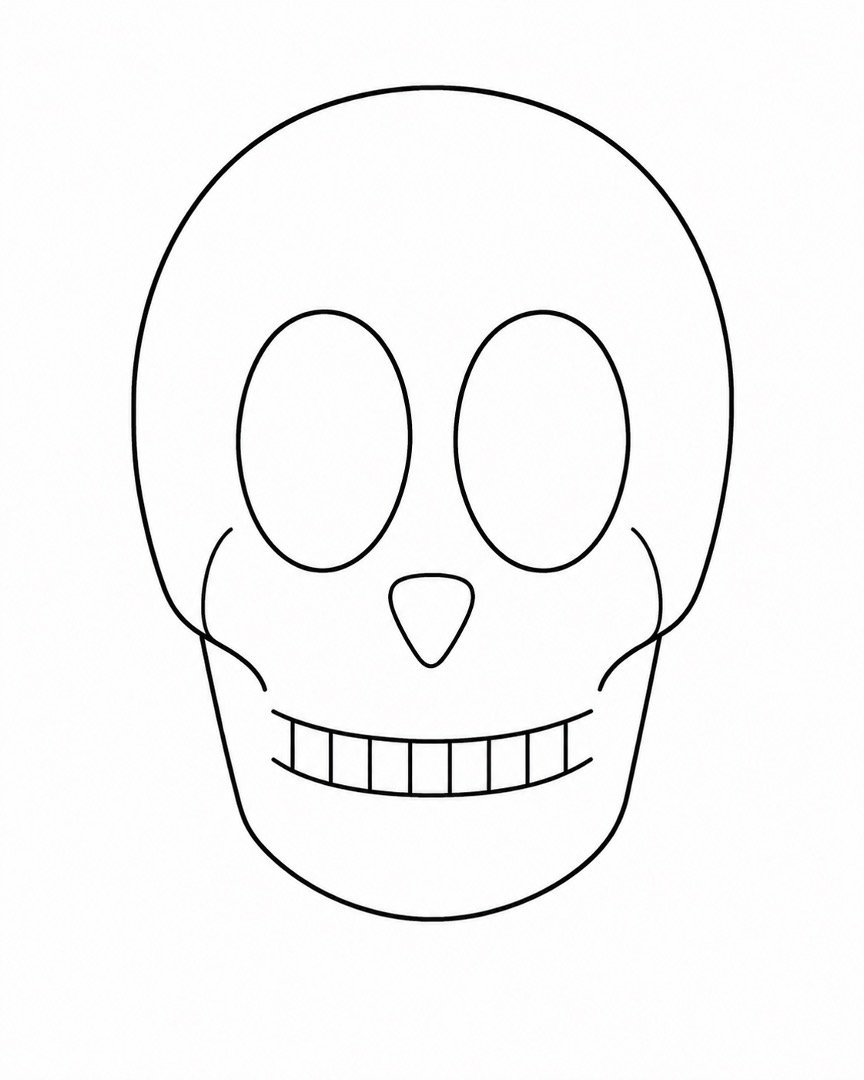
Step 8: Add the Final Details
On the forehead, add a small crack using two or three short straight lines. Draw a tiny curve beside each lower cheek if you want a little more shape. Trace the finished lines with a black pen after you are happy with your drawing.
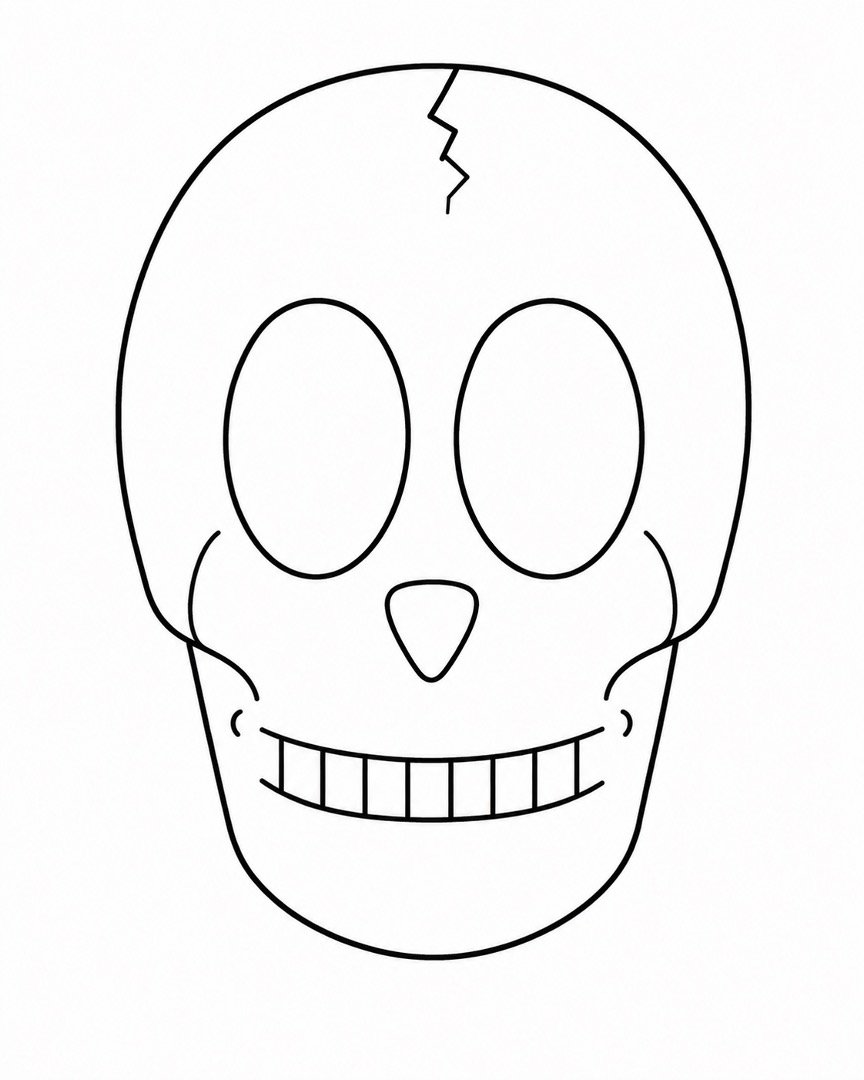
FINAL RESULT
Your completed drawing is a friendly cartoon skull made from one large oval, simple jaw lines, two oval eye spaces, a triangle nose, curved cheeks, and a neat row of teeth. The rounded shapes help it look playful instead of frightening.
For extra detail, lightly shade the eye spaces and nose with your pencil. You could also color the skull pale gray, cream, pink, blue, or any color you enjoy. Try adding small stars, flowers, hearts, or extra cracks around the head.
For a Halloween picture, draw a crescent moon, bats, or a few pumpkins around the skull. Keep these decorations simple so the skull remains the main part of your drawing.
Great job finishing your skull drawing! Remember that every artist starts with simple lines and shapes. Share your picture with a friend or family member, leave a comment with your questions, or try another easy drawing tutorial to keep practicing.


About author










Add comment