

Easy Rose Drawing with Colour for Beginners
Welcome! If you have never drawn a flower before, you are in exactly the right place. A red rose may look complicated because it has many curling petals, but we will simplify it into gentle curves and easy overlapping shapes. There is no need to make every petal perfect. Roses are naturally uneven, so small differences will make your drawing feel more realistic.
By the end of this tutorial, you will have a colourful red rose with softly layered petals, deep shadows, bright highlights, a green stem, and two natural-looking leaves. We will build the drawing slowly, beginning with a very light pencil guide and finishing with rich colour and polished details.
You will need a regular graphite pencil, an eraser, smooth white drawing paper, red coloured pencils in light, medium, and dark shades, green coloured pencils, and a white or pale pink pencil for highlights. A colourless blending pencil, blending stump, or folded tissue is helpful but optional. You can also adapt the steps for paint by using thin layers and allowing each layer to dry.
Set aside about 45 to 75 minutes, depending on how slowly you like to work. The tutorial is divided into eight clear steps, so you can pause whenever you need a break. Keep your pencil pressure gentle at first, build colour gradually, and remember that every finished drawing begins with a few simple shapes.
1. EASY ROSE DRAWING WITH COLOUR FOR BEGINNERS: THE 8-STEP TUTORIAL
Step 1: Sketch the Basic Shapes
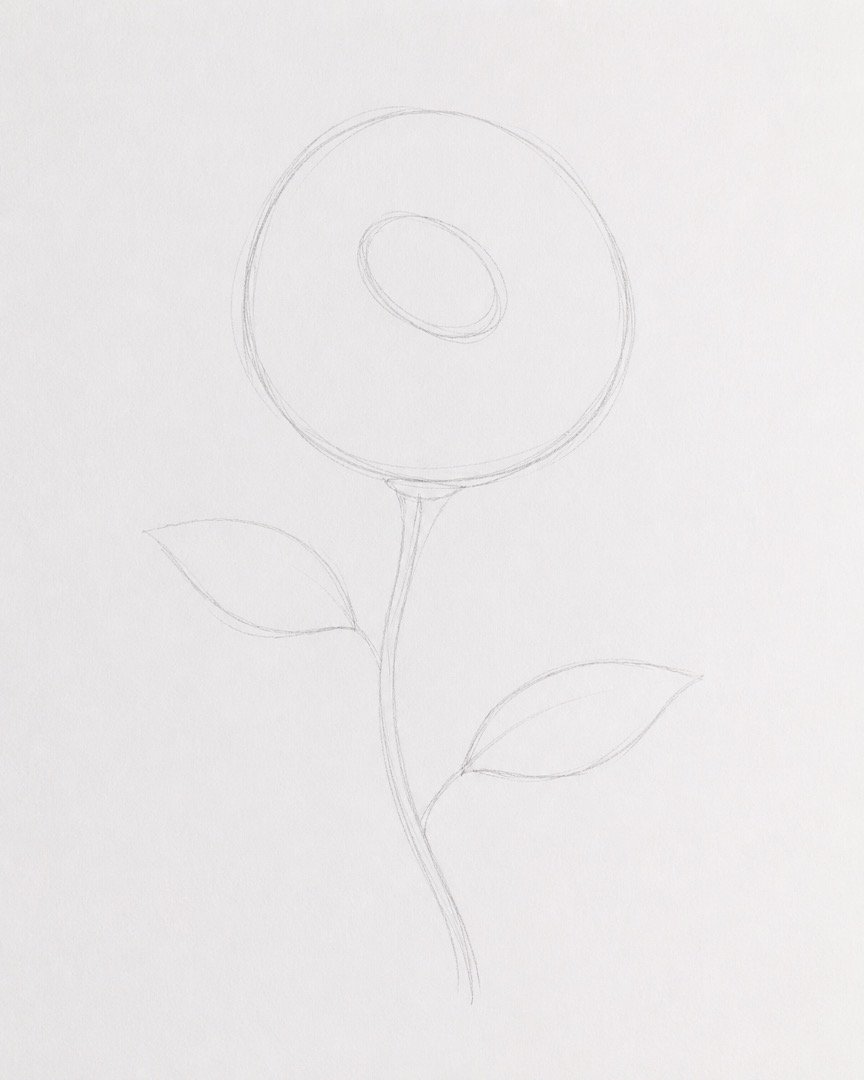
Begin with very light pencil pressure so your guidelines will be easy to erase later. Draw a loose oval for the rose bloom, then place a smaller tilted oval near its centre to guide the tightly curled inner petals. Add a gently curved line for the stem and two simple leaf shapes, keeping the bloom much larger than the leaves. Do not add colour yet; concentrate only on the overall size, position, and balance of the rose.
Step 2: Refine the Outline and Proportions
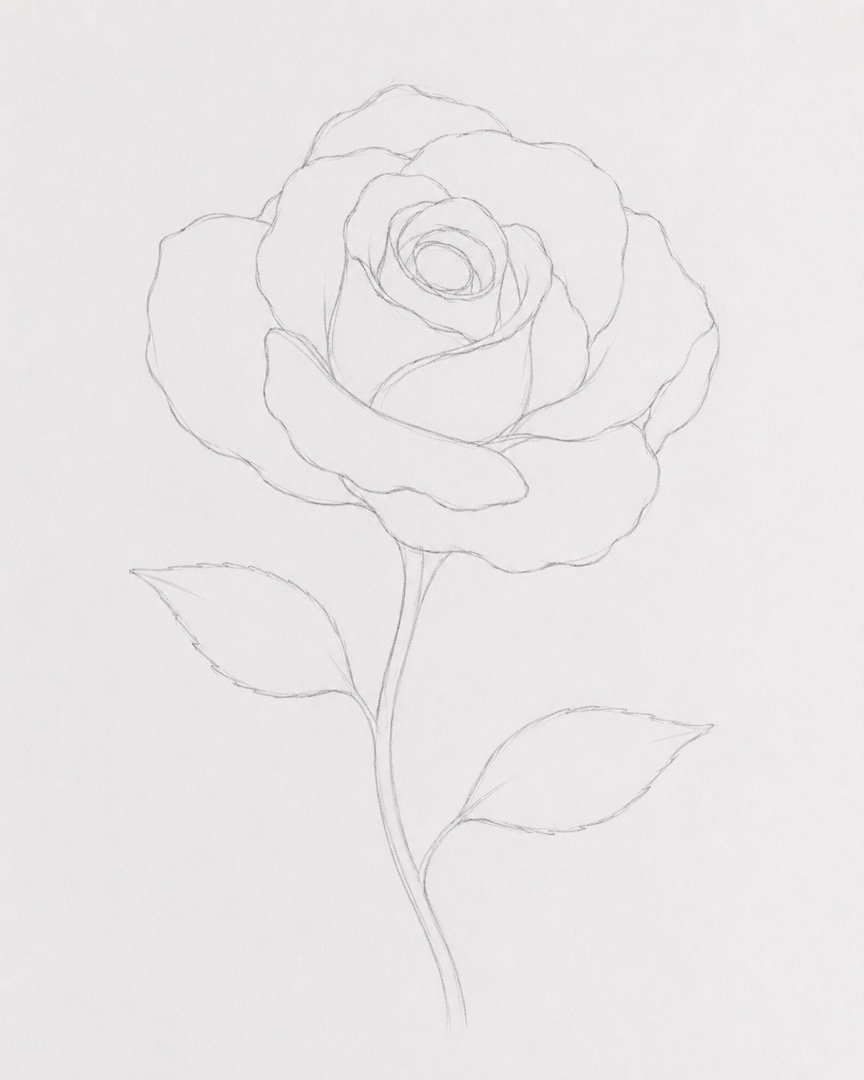
Using the guidelines, sketch the outer edge of the rose with broad, uneven curves instead of following the oval exactly. Add several overlapping petal shapes around the centre, making the inner petals smaller and the outer petals wider. Use light pressure and check that the flower head feels full without becoming perfectly circular. Refine the stem and leaf outlines, but keep everything uncoloured so corrections remain easy.
Step 3: Add the Petal and Leaf Details
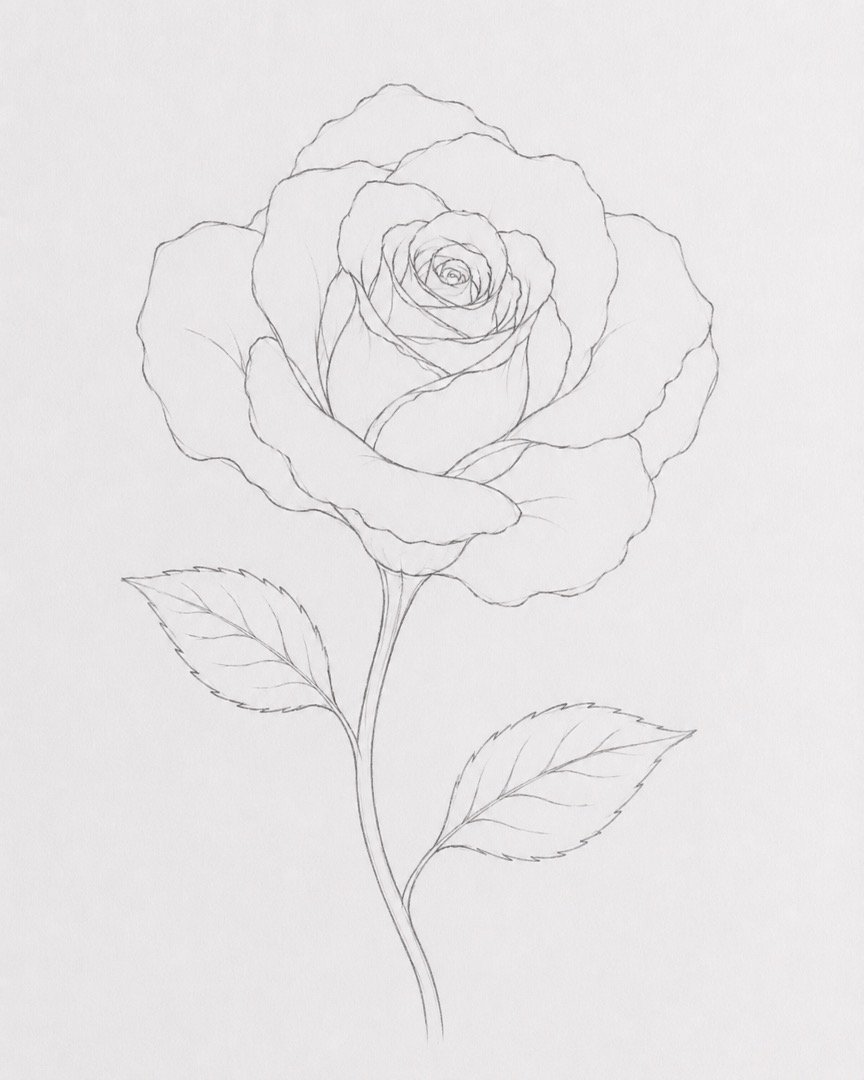
Draw the major folds inside the rose, beginning with a small spiral-like curl in the centre and working outward. Use curved lines to show where one petal overlaps another, leaving some open spaces so the flower does not look crowded. Add a central vein and a few side veins to each leaf, using lighter pressure than you used for the final outline. Keep the drawing in graphite at this stage, but begin planning where the lightest reds, deepest reds, and greens will appear.
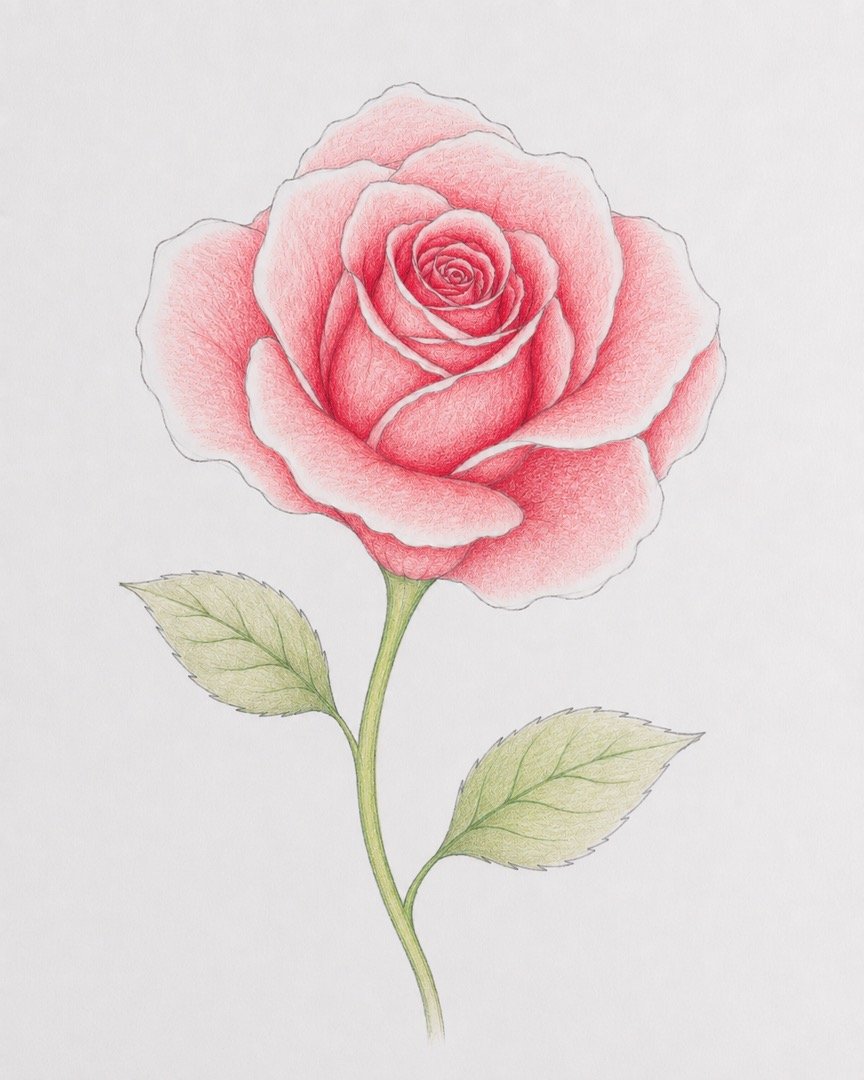
Step 4: Lay Down the Light Base Colours
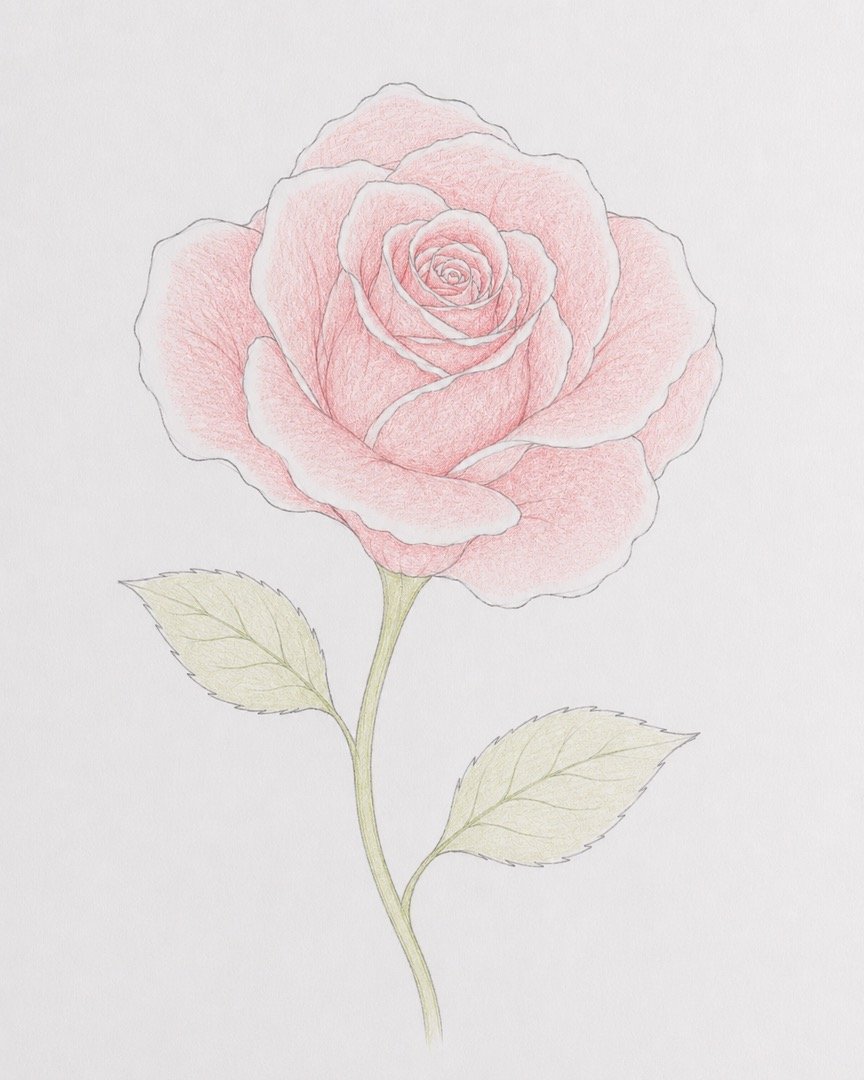
Erase any remaining guidelines until they are barely visible, then begin colouring with very gentle pressure. Cover the petals with a thin, even layer of pale red or pink-red, leaving small white areas along the upper petal edges for future highlights. Add a light yellow-green layer to the stem and leaves, following their natural direction with smooth strokes. Keep this first colour layer soft and slightly grainy because stronger colours will be built on top.
Step 5: Build the Shading and Mid-Tones
Choose a medium red pencil and add colour where petals curve inward, overlap, or turn away from the light. Press a little more firmly than before, but build the colour with several gentle layers rather than one heavy layer. Blend the medium red into the pale base so each petal changes gradually from light to dark. Add medium green beside the leaf veins, along the underside of the stem, and near the bases of the leaves.
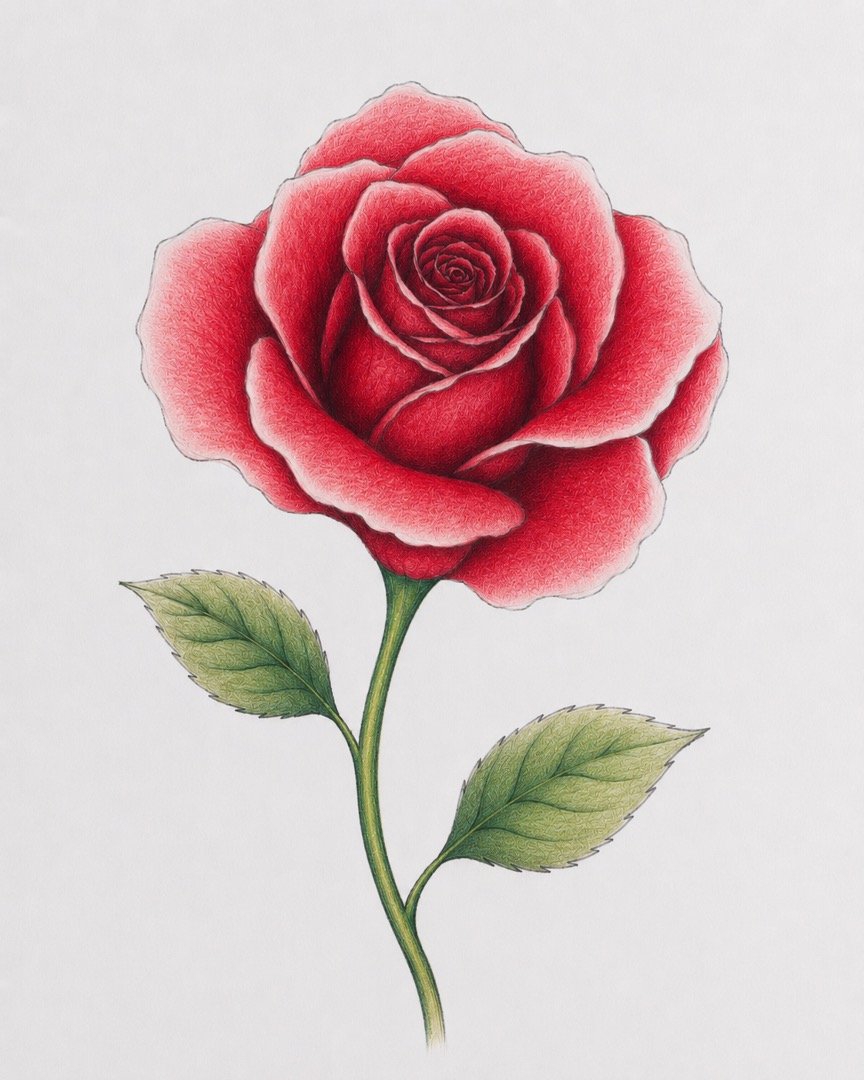
Step 6: Deepen the Shadows and Form
Use dark crimson, burgundy, or a small amount of dark brown-red to strengthen the deepest spaces between the petals. Apply the darkest colour with controlled pressure near overlaps, then reduce your pressure as you move outward into the medium red. Keep some outer petals lighter so the centre appears deeper and more tightly folded. Add dark green beneath the leaves, around their bases, beside the main veins, and along one side of the stem to make the plant look rounded.
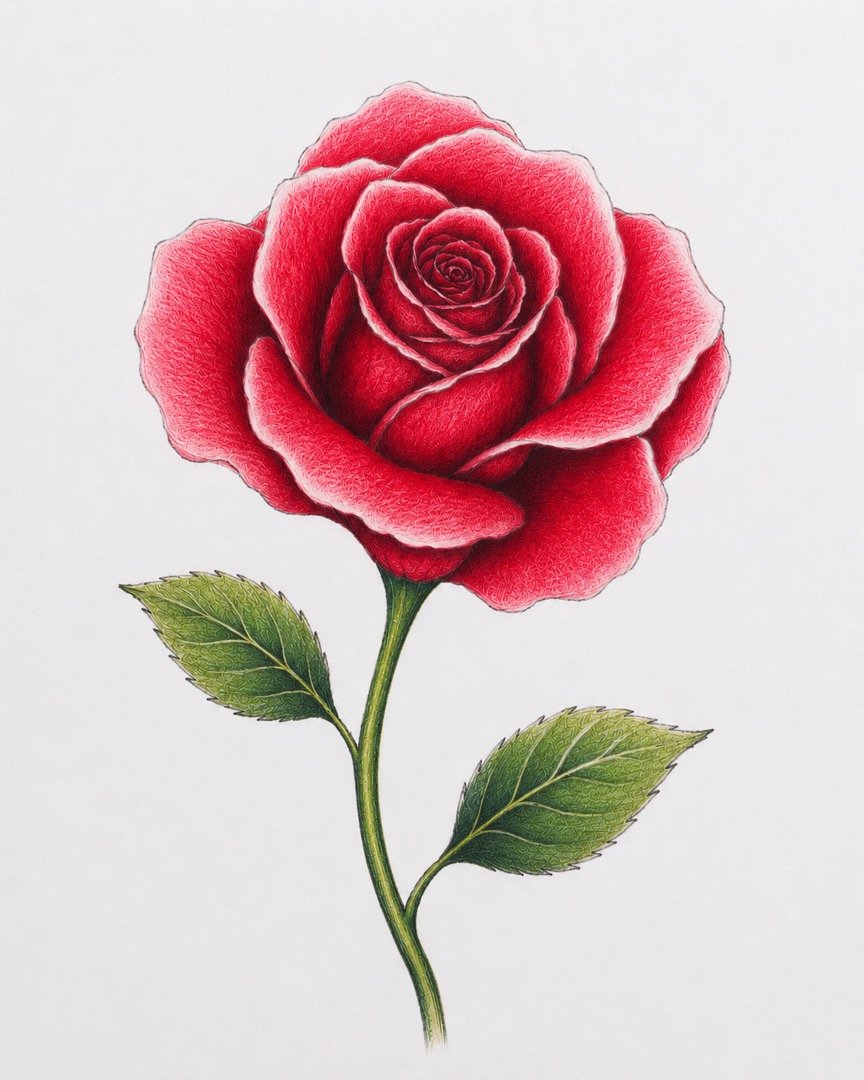
Step 7: Add Highlights and Fine Texture
Use a white or pale pink pencil to brighten selected petal rims and soften any rough transitions between colours. Add a few thin curved lines that follow the direction of each petal, creating gentle texture without covering the smooth colour layers. Sharpen several leaf veins with a light green pencil and add tiny serrated points along the leaf edges. Use firmer pressure only for the brightest highlights and smallest details, keeping the rest of the rose soft.
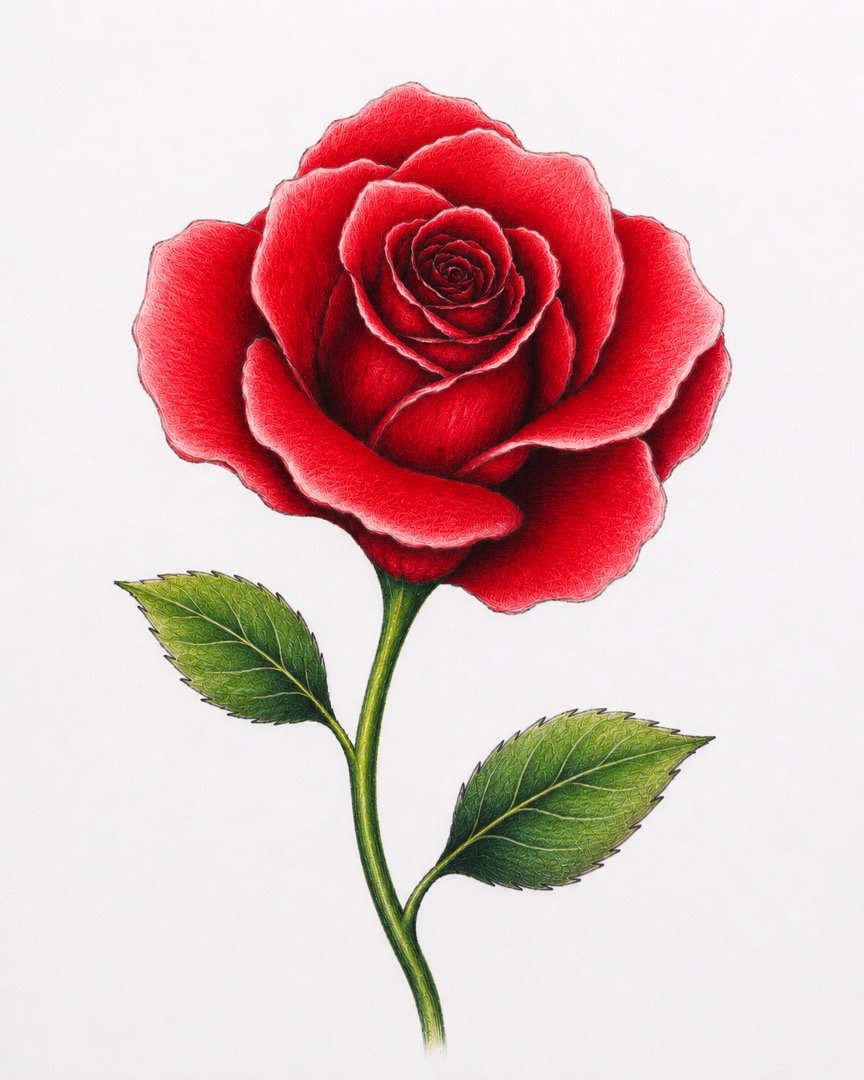
Step 8: Blend, Balance, and Polish
Look at the whole drawing and gently deepen any shadows that are not dark enough, especially near the rose’s centre. Blend the reds with a light red, pale pink, white, or colourless blending pencil, using small strokes that follow the curves of the petals. Strengthen a few edges while leaving others soft so the rose feels natural rather than outlined like a cartoon. Erase stray marks, brighten the final highlights, and stop when the flower looks rich, balanced, and three-dimensional.
1. CLOSING TIPS
- Keep your first lines and colour layers light. Dark marks are much harder to erase or soften.
- Avoid outlining every petal with the same heavy line. A mixture of soft and sharp edges will look more realistic.
- Be patient with coloured pencils; several gentle layers usually create richer colour than one layer pressed down firmly.
- Practise individual petals on scrap paper and celebrate your progress rather than comparing your rose with someone else’s.

About author










Add comment