
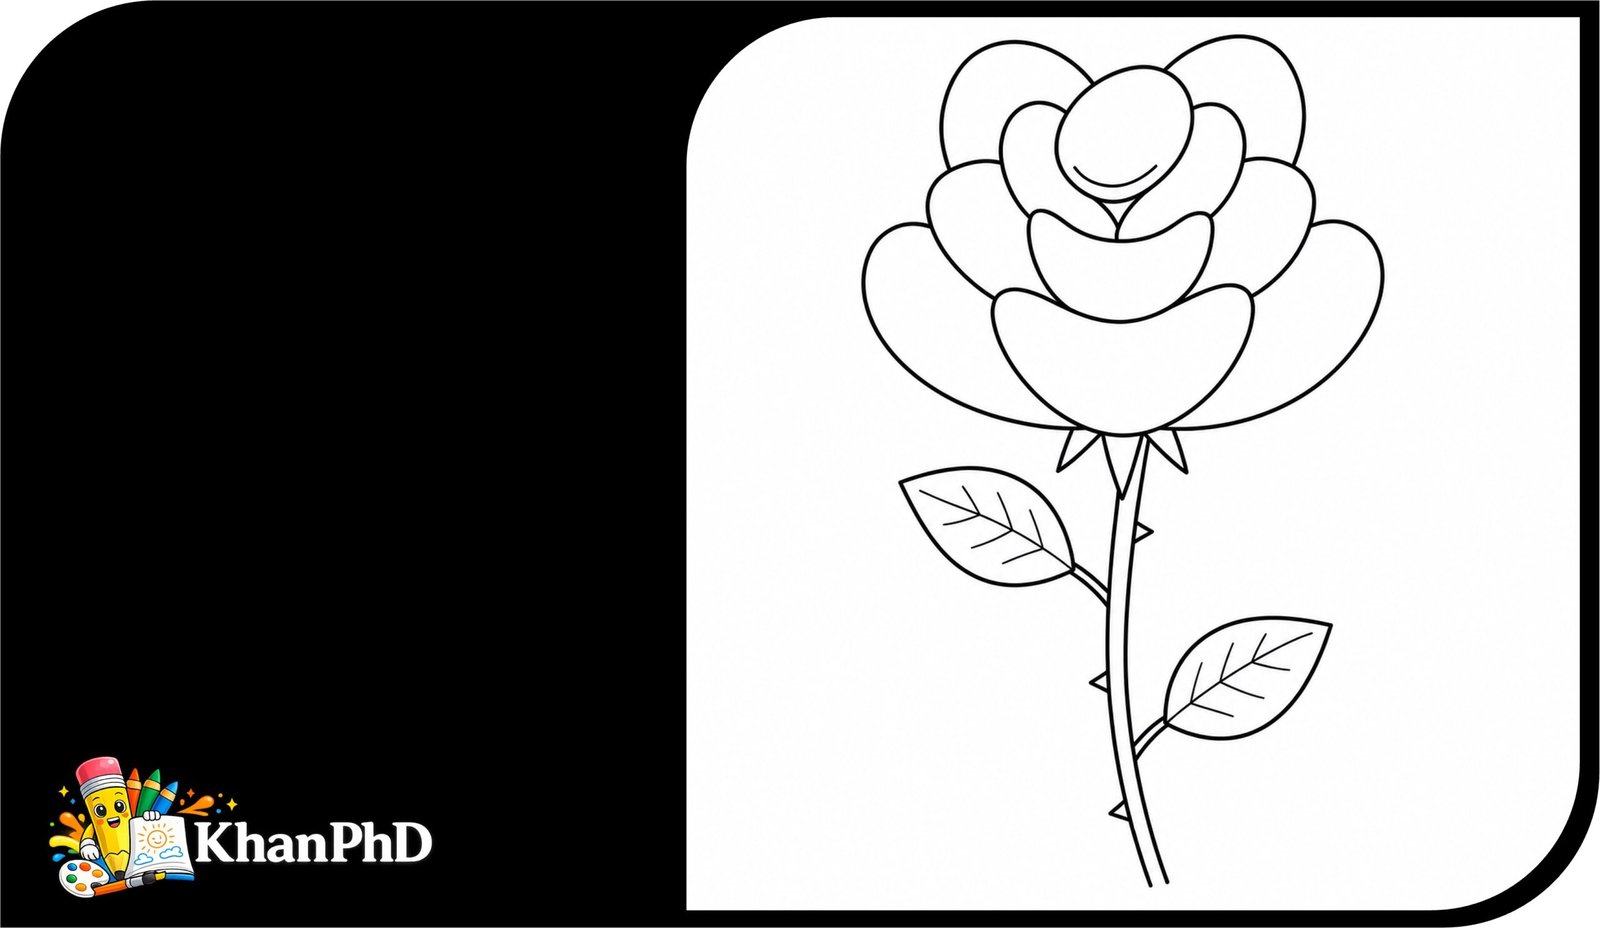
Easy Rose Drawing for Beginners: 8 Simple Steps Anyone Can Follow
Drawing a rose may look difficult at first, but it becomes much easier when you build it one small shape at a time. You do not need special talent, steady hands, or any drawing experience. A pencil, a piece of paper, and a little patience are enough.
In this Easy Rose Drawing tutorial, we will use simple ovals, curved lines, straight lines, and small triangles. We will begin with the tiny center of the flower. Then we will add petals around it, working from small petals to larger ones. After the flower is complete, we will draw a stem, leaves, and a few simple details.
Do not worry about making both sides match perfectly. Real roses are not perfectly even, so a slightly different curve can make your drawing feel more natural. Draw lightly at first. This makes it easier to erase a line or try a curve again. You can also pause after each step and compare your page with the visual description before moving on.
By the end, you will have a complete rose with a layered flower, a long stem, pointed leaves, and tiny thorns. You can leave it as a clean pencil drawing, trace it with a black pen, or add your favorite rose colors. Take your time and enjoy each small success.
Let’s gather a few simple materials and begin.
MATERIALS NEEDED
- A sheet of plain paper
- A regular pencil
- An eraser
- A black pen or fine marker, optional
- Colored pencils, crayons, or markers, optional
EASY ROSE DRAWING FOR BEGINNERS: 8 SIMPLE STEPS ANYONE CAN FOLLOW
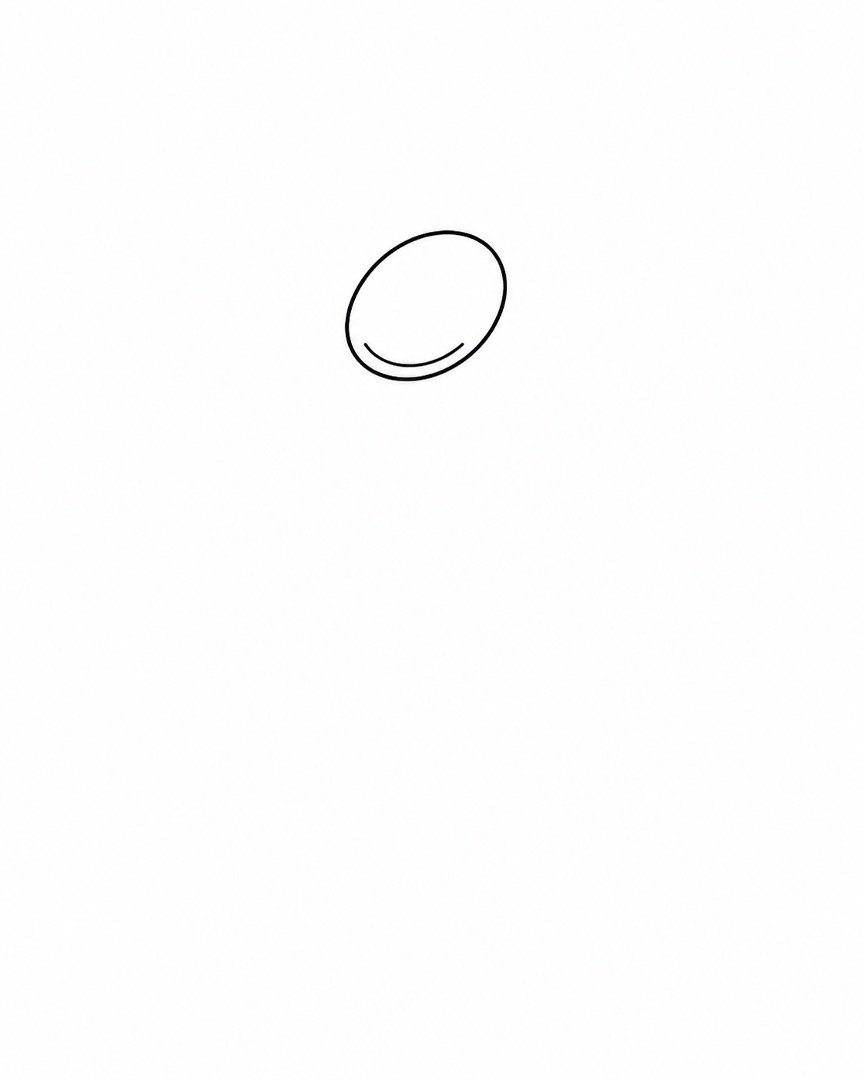
Step 1: Draw the Small Rose Center
Near the upper middle of your paper, draw a small oval tilted slightly to one side. Make it about the size of your thumbnail. Add one short curved line inside the oval, following its lower edge.
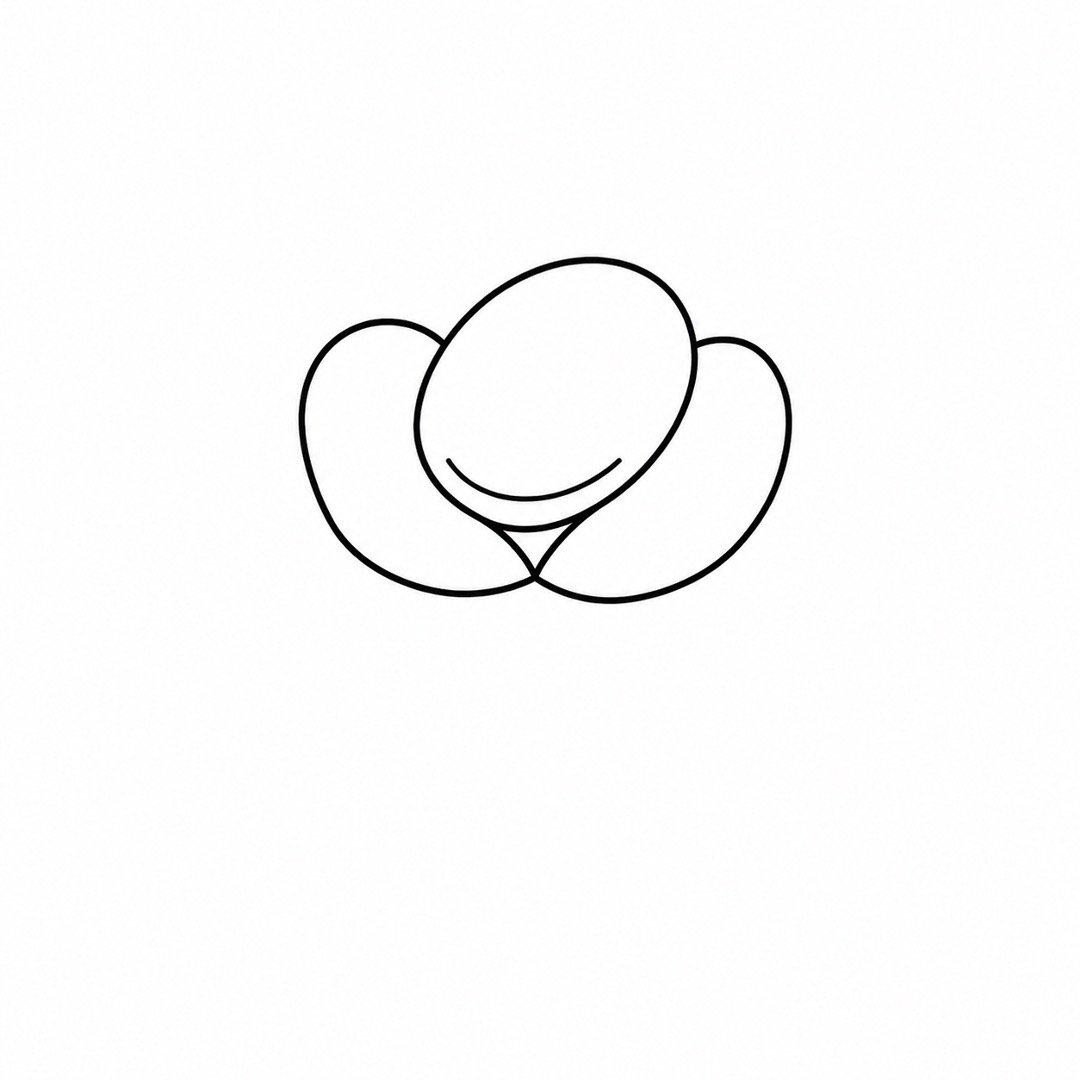
Step 2: Add Two Inner Petals
Draw a curved line around the left side of the center oval. Add another curved line around the right side, allowing the two curves to overlap slightly at the bottom. These small curves should look as though they are gently wrapping around the center.
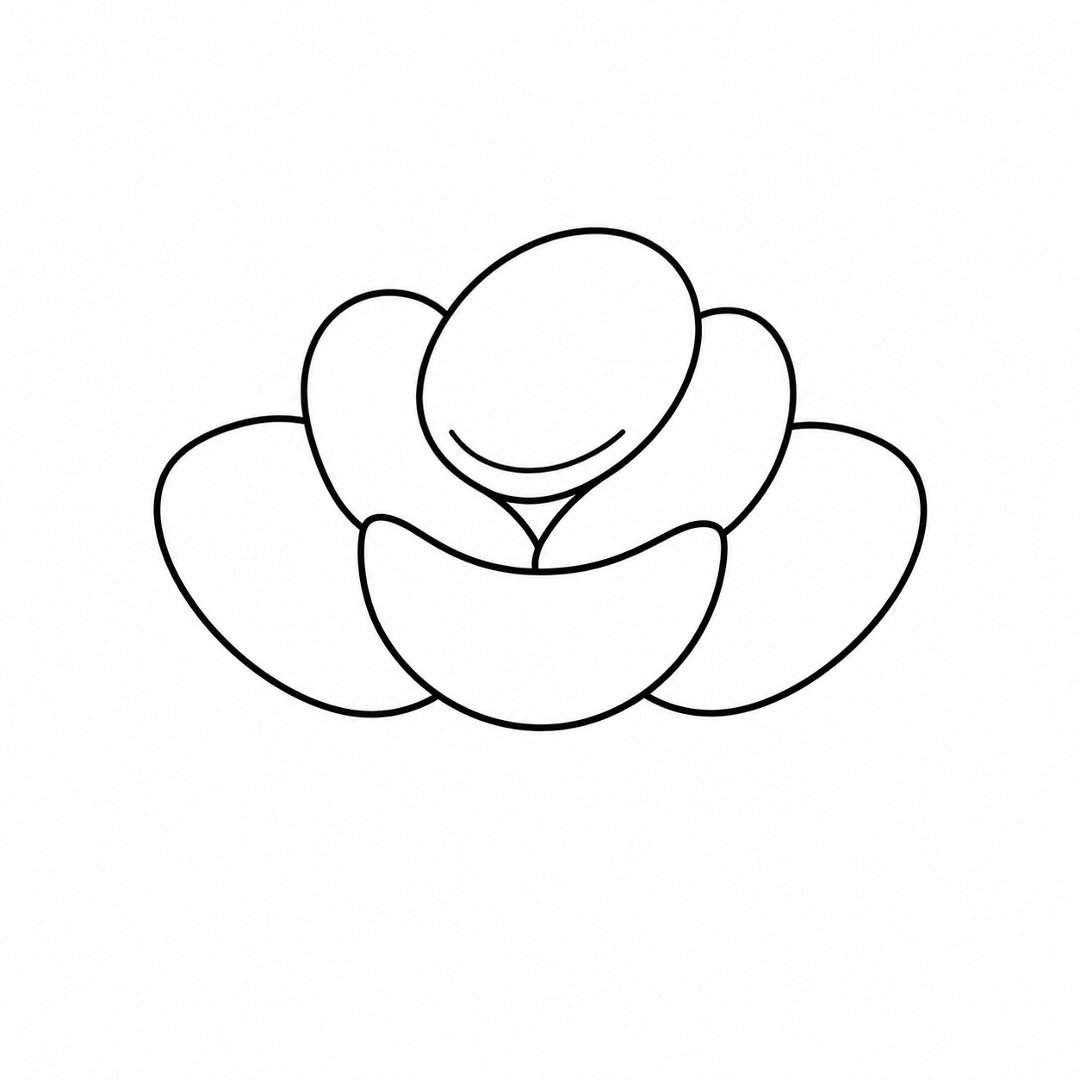
Step 3: Draw Three Middle Petals
Add a wider U-shaped curve beneath the inner petals. Draw one rounded petal on the left and another on the right. Make these petals about twice as wide as the center oval.
Step 4: Build the Large Outer Petals
Draw a large curved petal around the lower left side of the flower. Add a matching curved petal on the lower right. Connect them with one broad, shallow curve across the bottom.
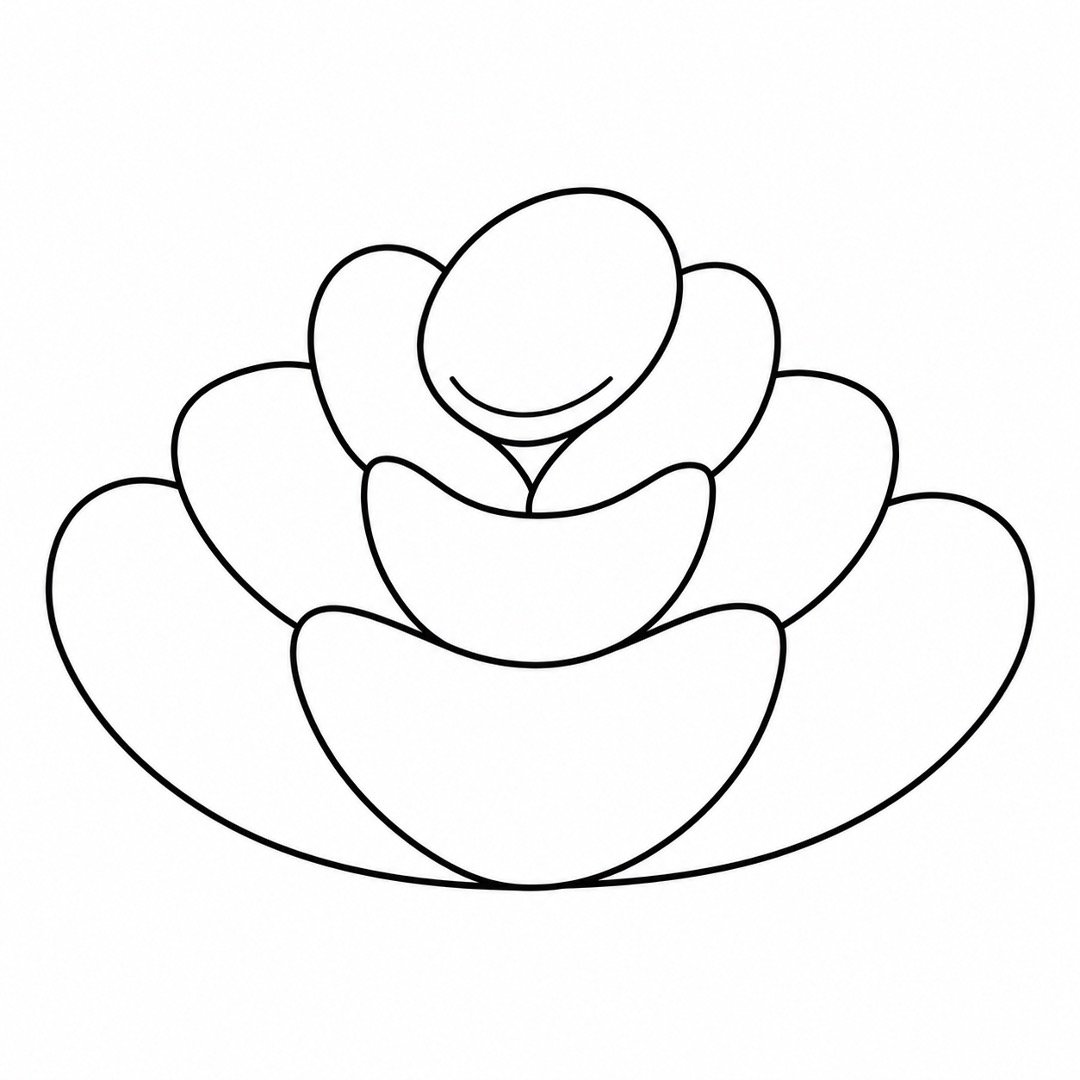
Step 5: Finish the Flower Shape
Add one broad curved petal behind the upper left side of the flower. Draw another behind the upper right side. Beneath the bloom, add three small pointed triangles for the green parts that hold the flower.
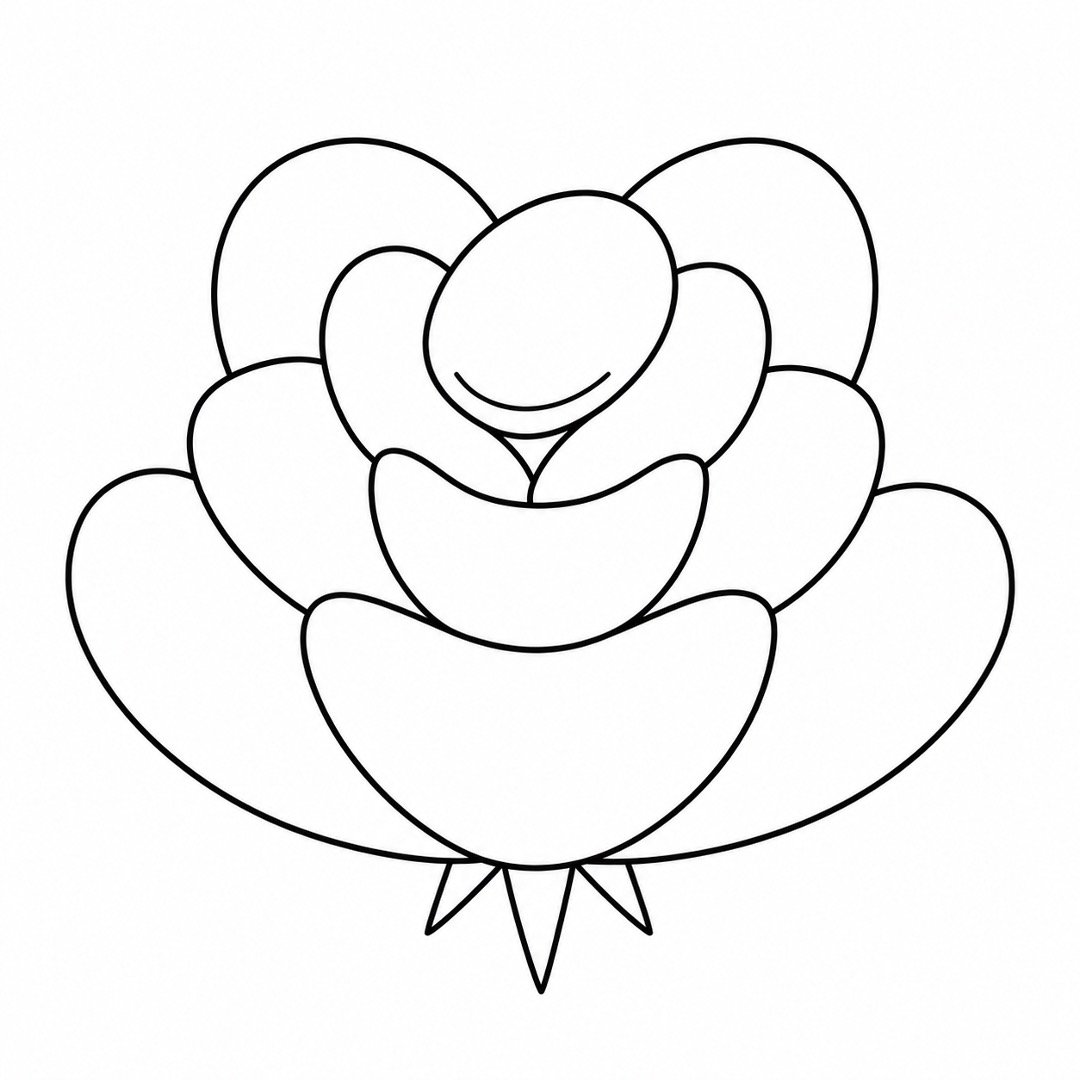
Step 6: Draw the Stem
From the center of the flower’s base, draw a long line downward. Add a second line beside it to make a thin stem. Let both lines curve very slightly instead of making them perfectly straight.
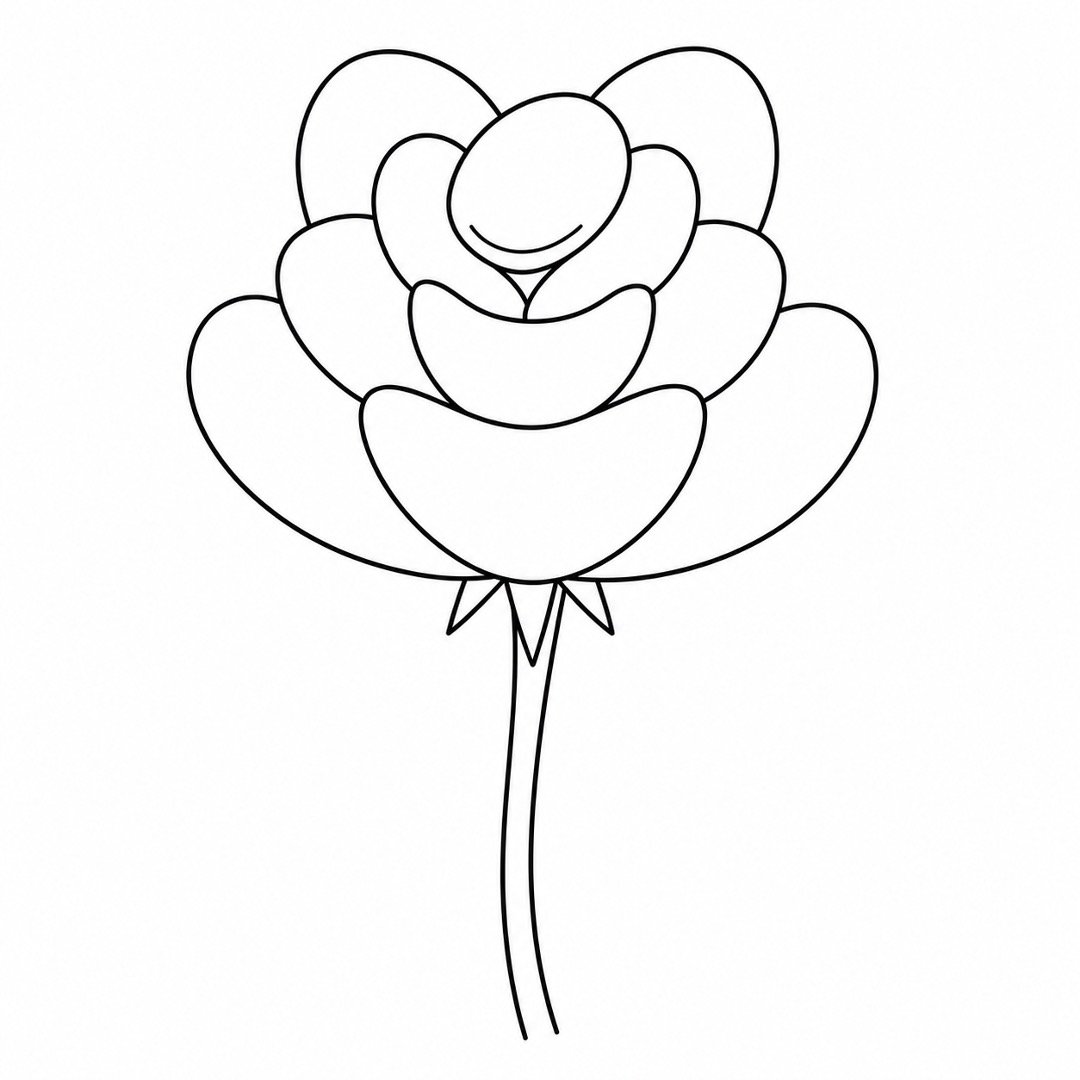
Step 7: Add Two Leaves
On the left side of the stem, draw two curves that meet at a point to form a leaf. Make a second leaf on the right side, slightly lower than the first. Connect each leaf to the stem with a short straight line.
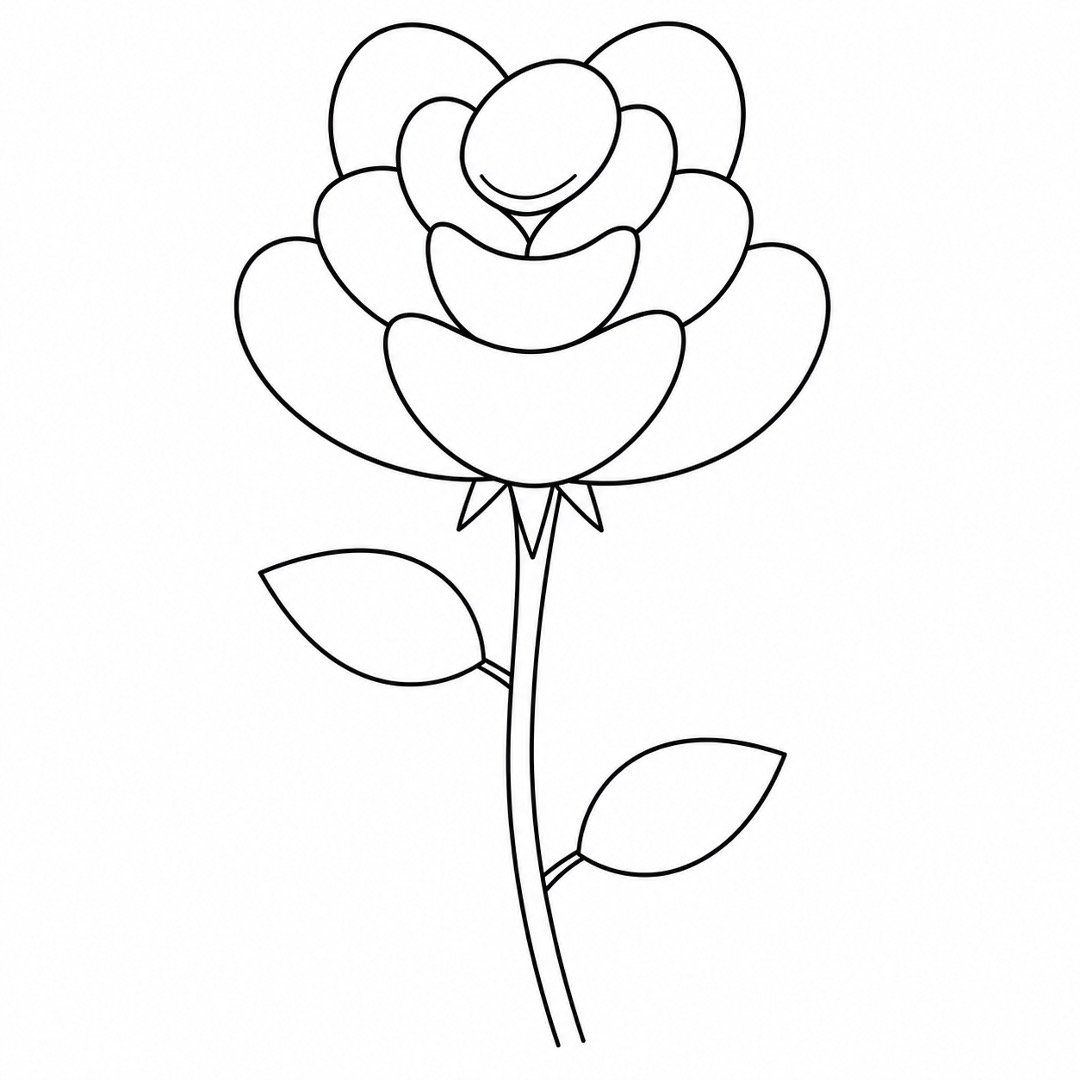
Step 8: Add Leaf Lines and Small Thorns
Draw one straight center line through each leaf, from its base toward its tip. Add a few short diagonal lines beside each center line. Finish with two or three tiny triangles along the stem for simple thorns.
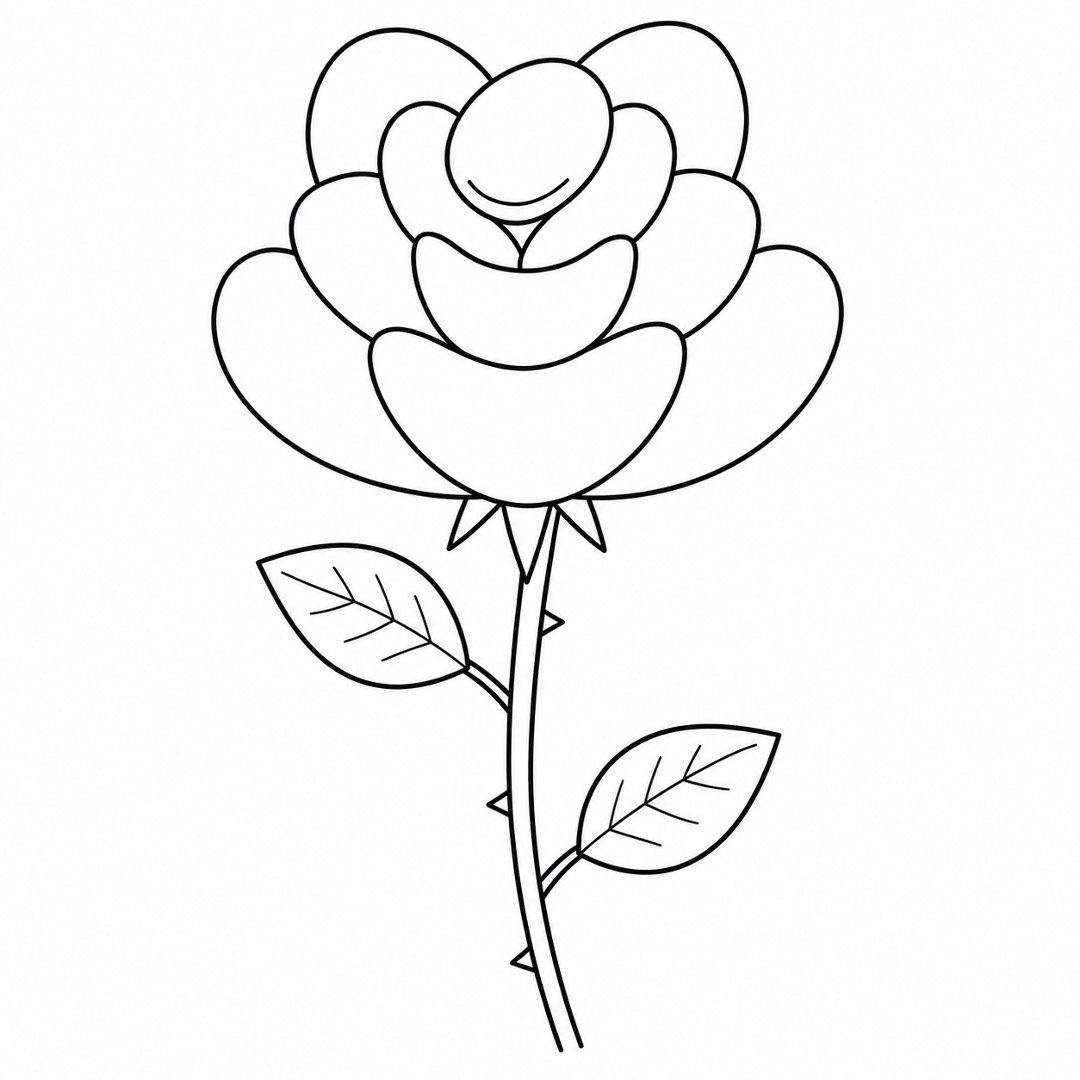
FINAL RESULT
Your completed drawing should now show a full rose with a small curled center, several layers of rounded petals, a long stem, two pointed leaves, and a few tiny thorns. The petals do not need to be perfectly even. Small differences help the flower look soft and natural.
For a clean finished drawing, carefully trace your favorite lines with a black pen. Wait for the ink to dry before erasing the pencil marks.
You can also add light shading with your pencil. Make the spaces between overlapping petals slightly darker and leave the outer parts of the petals lighter. For color, try red, pink, yellow, peach, purple, or even blue petals. Use green for the stem and leaves, or invent your own color combination.
Wonderful work! You created a complete rose using only simple shapes and lines. Share your drawing with a friend, leave a comment with your questions, or try another easy flower tutorial to keep building your confidence.

About author










Add comment